Share your craft projects
Make new craft buddies
Ask craft questions
Blog your craft journey

In this project, I'll be building a pair of chairs modeled after Hans Wegner's, "Bukkestolen", which he designed for Johannes Hansen in 1959.
Weg...
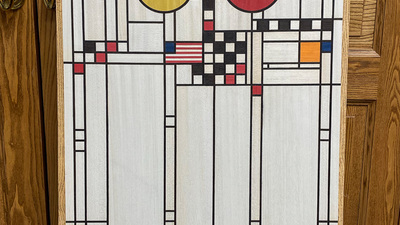
The panel is done, but since it is a piece of another project, the final panel photos are a bit anti-climactic. The panel received a couple coats...
After 4.5 hrs in the press, this is what greeted me when I pulled-out the panel. At first I thought the ripples were the result of too much glue, ...
I just had a few steps to get the panel ready for glue-up.
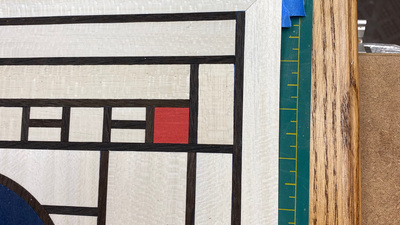
Finishing the border:
[20240413-IMG_9024.jpg]
[20240413-IMG_9031.jpg]
Applying the ...
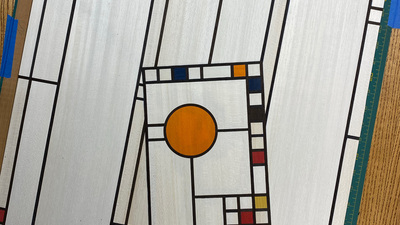
Before tackling the remaining steps on the large panel, I made a small test panel to experiment with. I didn't really have a plan for the layout, ...
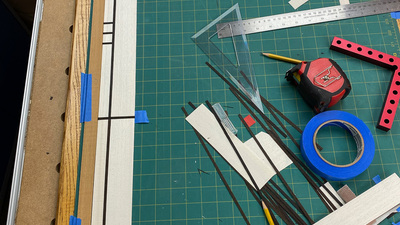
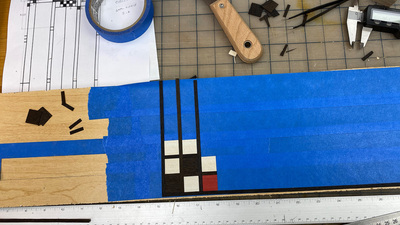
I shifted the cutting mat down to work on the bottom portion and put the whole thing on top of some salvaged plywood shelves for full length suppor...
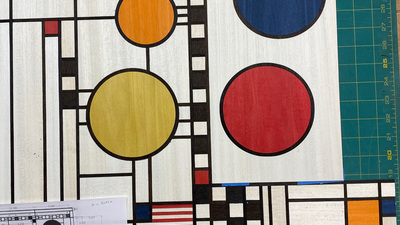
Just some more progress photos as I completed the upper right quadrant.
[20240329-IMG_8956.jpg]
[20240329-IMG_8957.jpg]
[20240330-IMG_8958.jpg]
[2...
Tonight I finished the top-left quadrant. No hiccups, fortunately.
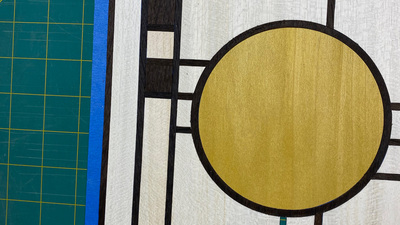
I had left space for the "string" for the yellow balloon, thinking I might p...
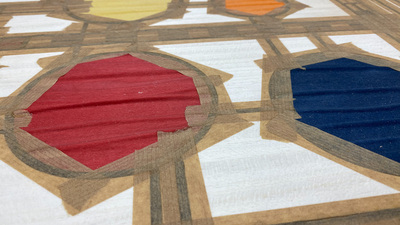
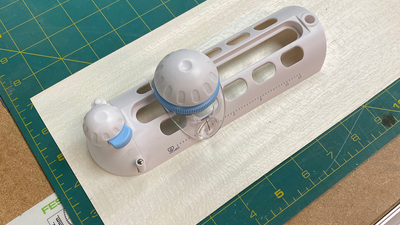
Armed with a new circle-cutting tool, I thought it would be smooth sailing cutting out the balloons and the outline rings. Nope. There were two t...
While waiting for the circle cutter to arrive, I identified the boundaries for another independent module I could assemble - the cluster underneath...
Initially, I didn't plan to make any blog posts for this project because I didn't know if it would work out or crash and burn (still don't).
But si...
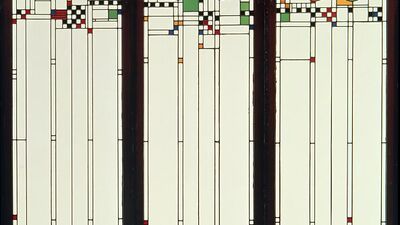
In the near future, I'll be building a sliding panel similar to what Ron Stewart did here. In my case, I thought I'd try to make the panel a sort ...


