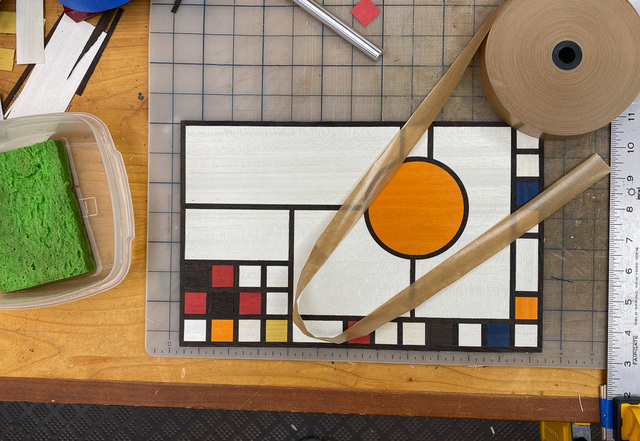
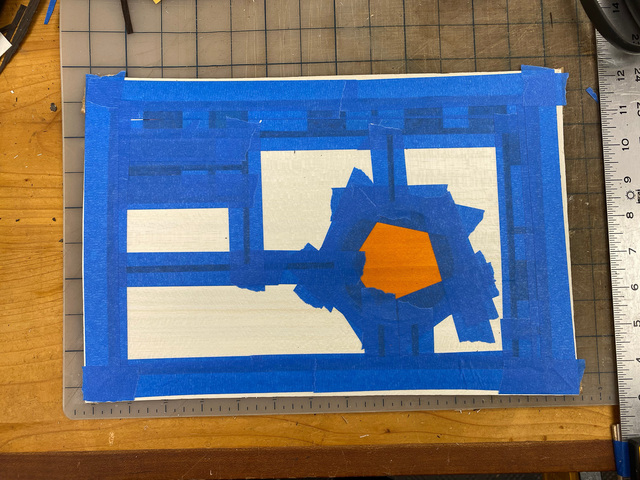
Before tackling the remaining steps on the large panel, I made a small test panel to experiment with. I didn't really have a plan for the layout, I just started with a circle and built outward.
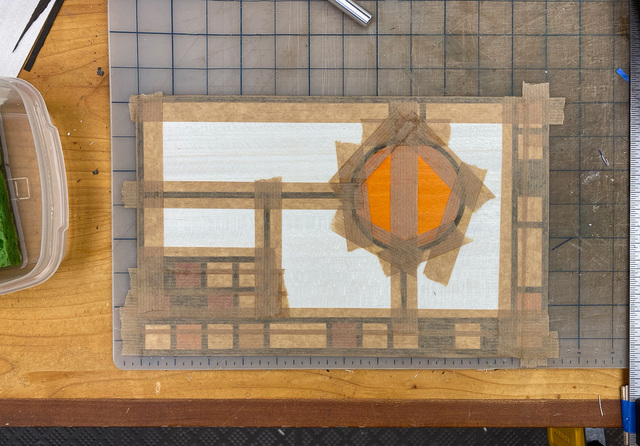
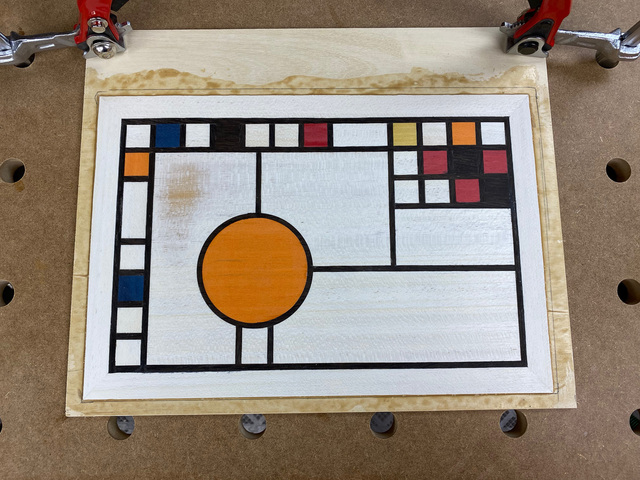
Now, all of the seams can be covered in veneer tape.
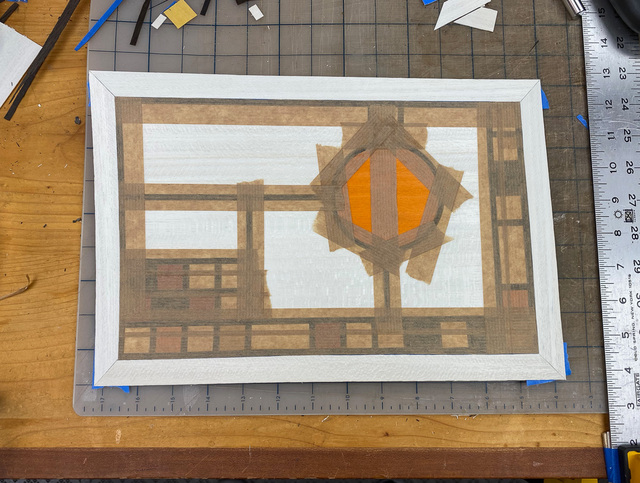
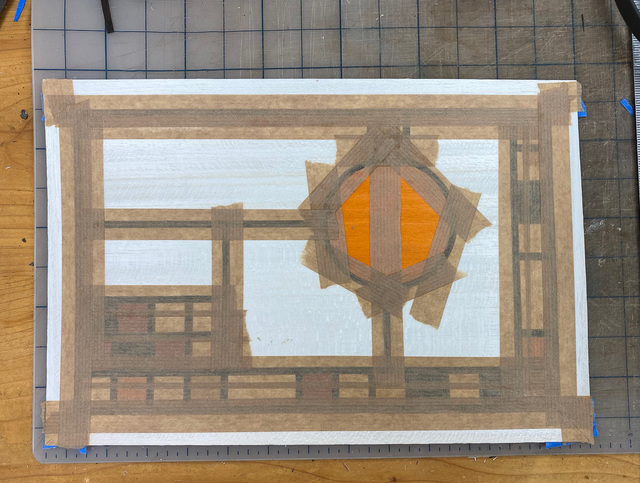
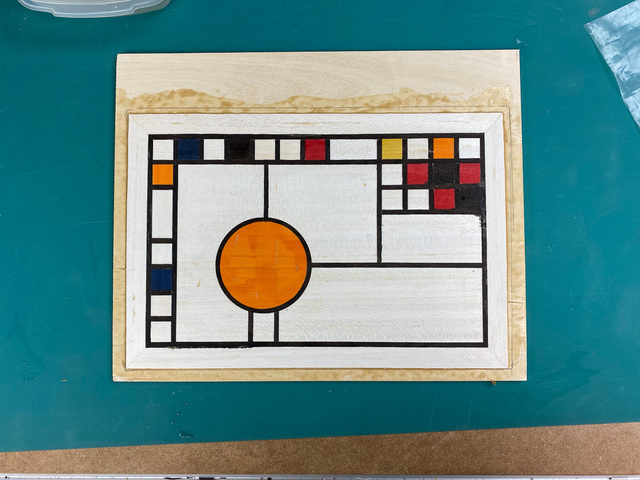
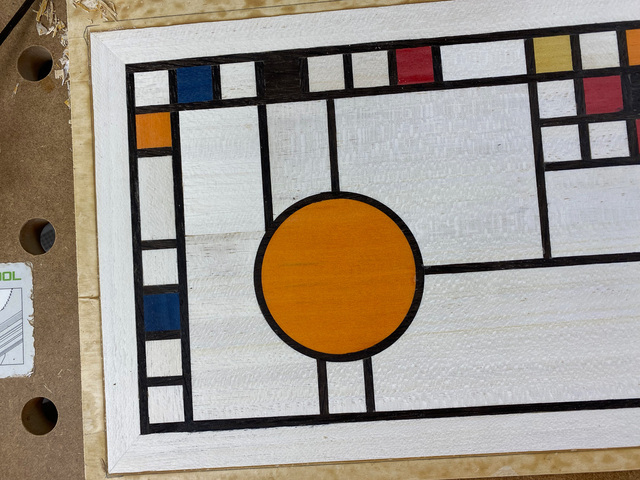
After applying the tape, I decided to go back and add a picture frame border. If I like how this turns out, I can do something similar on the full panel.
Once the veneer tape was dry, I flipped the panel and removed the blue tape. All the pieces held together except for one small strip, which was easily fixed by dampening the exposed veneer tape and pressing the piece back in place. There was also some damage to the soft obeche in a few areas as the tape was removed. This will be the glue side, so no big deal.
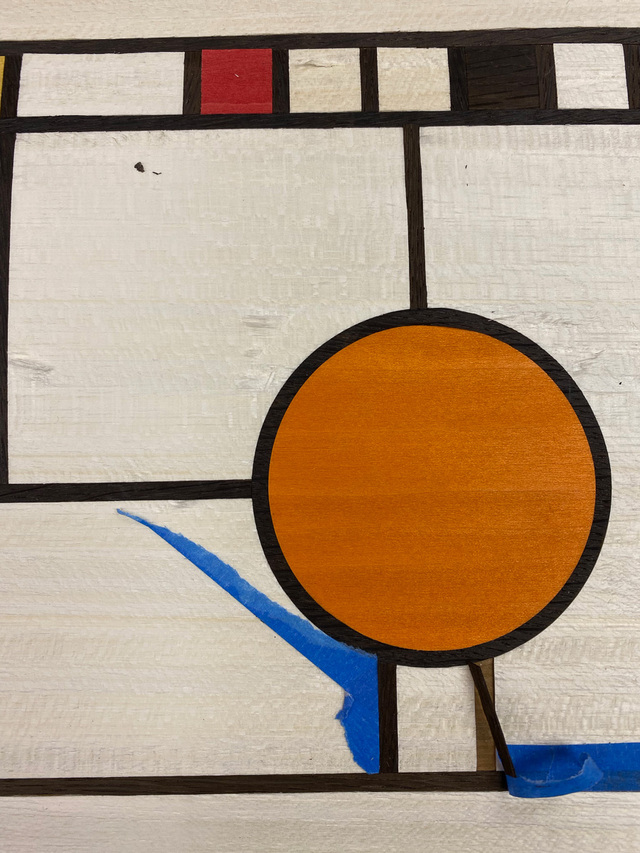
I used some black CA glue in some of the gaps around the "lead" strips, but medium viscosity turned out to be too thin. I ended up with some black bleeding on the show face. I'll not mess with the gaps on the full panel.
I cut a piece of 1/4" birch ply to use as the substrate.
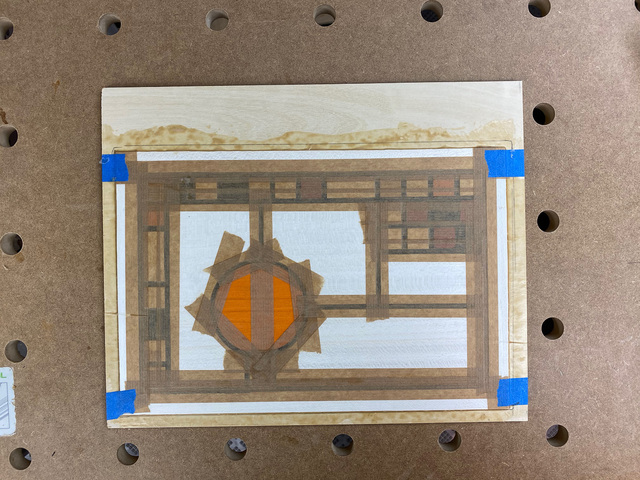
The panel after being removed from the vacuum bag.
I dampened the veneer tape, let the water re-activate the glue, and then scraped-off all the tape. This went pretty well. It just take some patience waiting for the glue the re-hydrate. (you can see some of the black CA glue bleeding in the upper right area)
I was curious to find out if I could use a random-orbit sander to level the surface. Nope. The obeche is very soft and it didn't take long before I accidentally sanded through a section. I'll just hand-sand the full panel to avoid this problem.
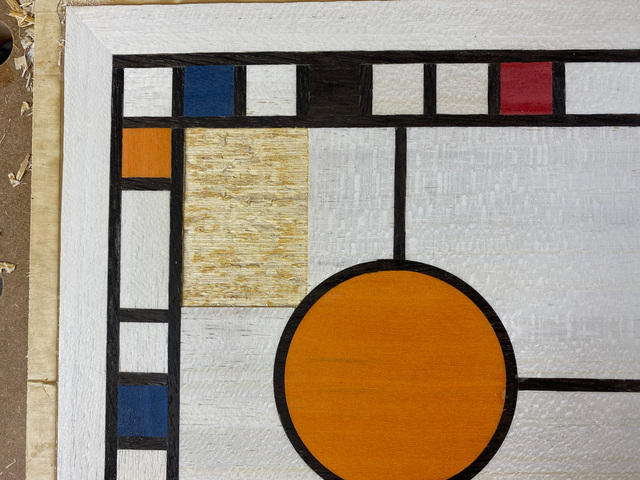
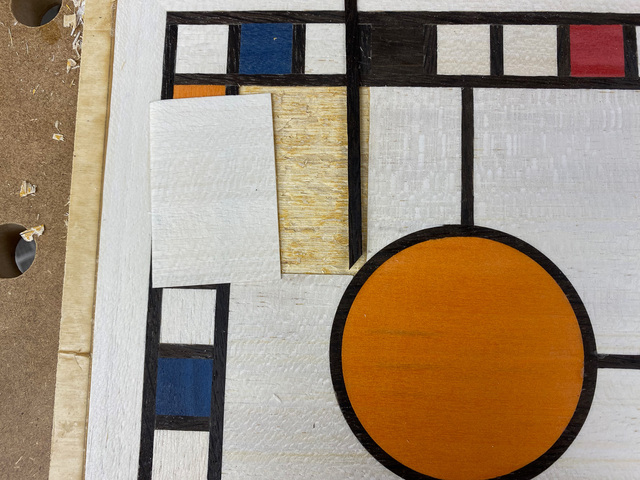
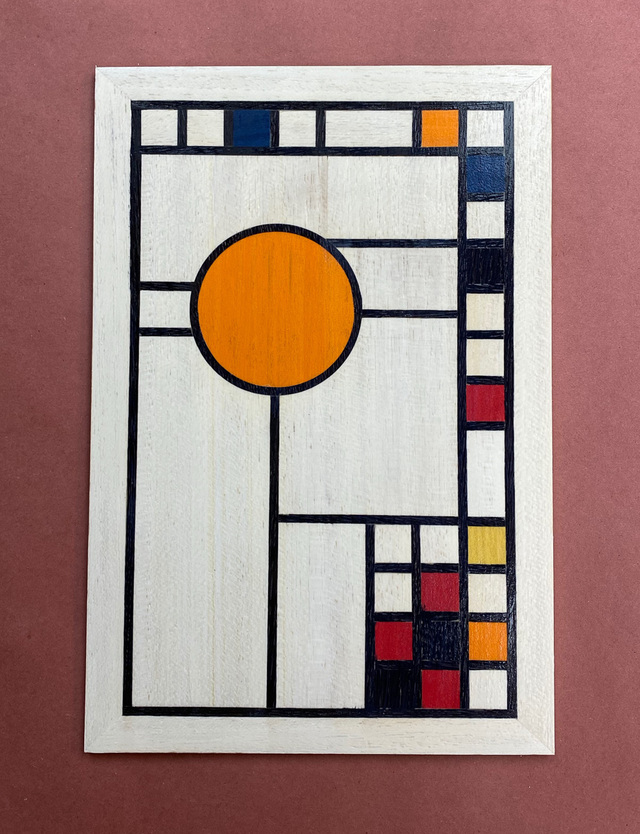
In the hopes of still displaying the test panel, I went about replacing the worst of it. I cut scored the boundaries deeply with an X-Acto knife and then chiseling out the damaged area, down through the top birch ply of the plywood.
The repair isn't invisible, but it's the most work I'm willing to do on the test panel.
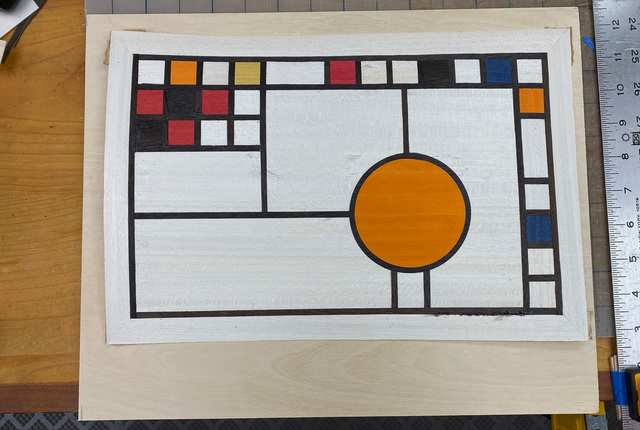
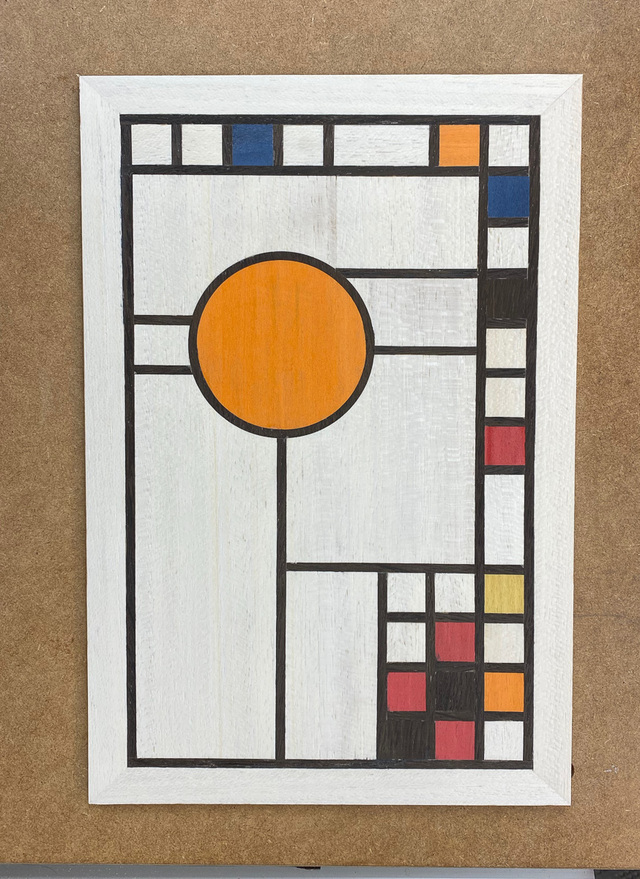
I trimmed-off the excess ply around the edges, and completed the hand-sanding.
One coat of matte water-borne poly. I just brushed it on for the test panel, but will spray the full panel.
Lessons learned:
Don't bother gap filling the small cracks, at least not with black CA glue.
Only hand sand. And, I don't think it's critical to make everything perfectly even with a pattern that's meant to resemble stained glass.
I got some cupping because I didn't apply a balancing veneer on the back. I was surprised at this because I assumed that the pieced-together veneers wouldn't have that effect. I'll either use a thicker substrate for the full panel or apply a balancing veneer on the back.
I like the white border.
Next, I'll apply the outer edge veneers on the full panel and start applying the veneer tape.
Great that you decided to preserve this test! I could make for a nice accent piece somewhere.
One thing I've found beneficial with working upside down is the glue will make the top surface flat, regardless of varying thicknesses of veneer. Fortunately I've not burned through any soft/thin veneer, I'll do a light pass over with 220 on a ROS, then maybe 320 if I'm going for something special.
I'm also surprised on you getting some warpage, I have gobs of backer I use for big stuff but maybe I never looked close enough at the small panels to notice?
Looks good, Ross! Yeah, I’ve encountered warping when I only do one side, but I find that once it all dries again, it flattens back out. On my faux book, when I put the cover paper on, the covers warped outward such that they wouldn’t close, but a couple days later they were fine again.