Share your craft projects
Make new craft buddies
Ask craft questions
Blog your craft journey
Woodworking
2/8/2026 Note: I originally posted this blog on LumberJocks back in April 2017. I m re-posting it here so I can eventually remove it from there.
W...
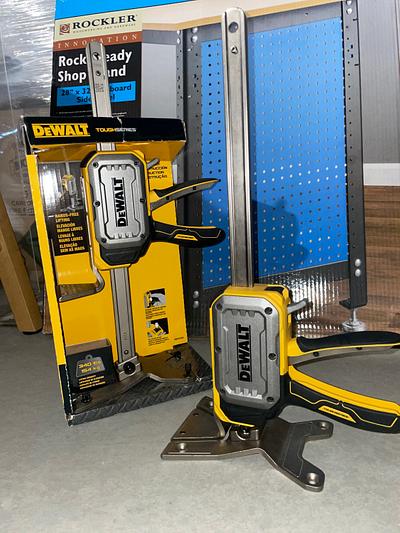
Bench slave board Jack, dead man. From time to time we could all need a helper, but luckily the slavery is over, so we will go for a dead man naaaa...
2/8/2026 Note: I originally posted this blog on LumberJocks back in April 2017. I m re-posting it here so I can eventually remove it from there.
F...
Initially, I thought I could assemble the entire shelf in the garage, and that my wife and I could move it into the study. As my wife is happy to t...
This series of blog posts describes my Floating Serpentine Shelf project in detail.
2/6/2026 Note: I originally posted this blog on LumberJocks ba...
Hey folks,
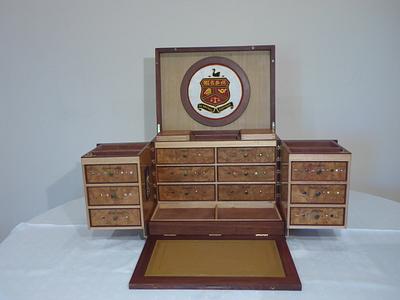
It’s been a minute since I last said hello, so I thought I’d share a little update on this humble cigar box and the challenge it quietl...


