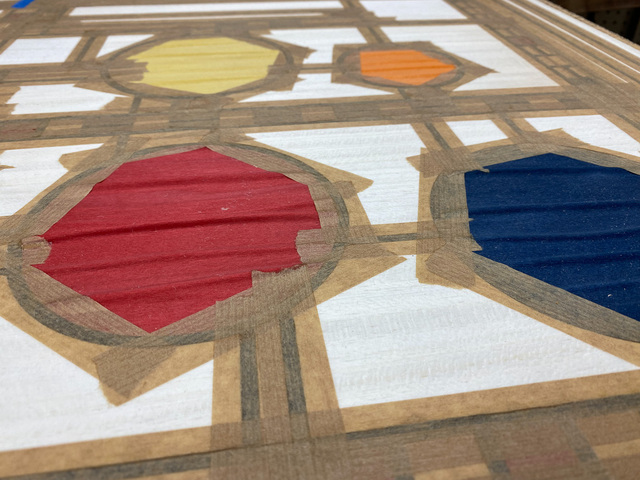
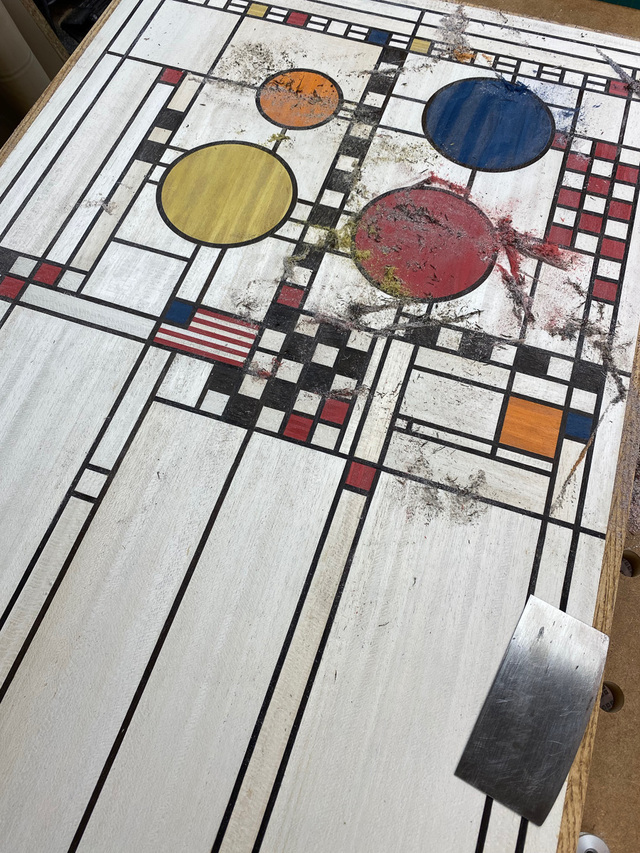
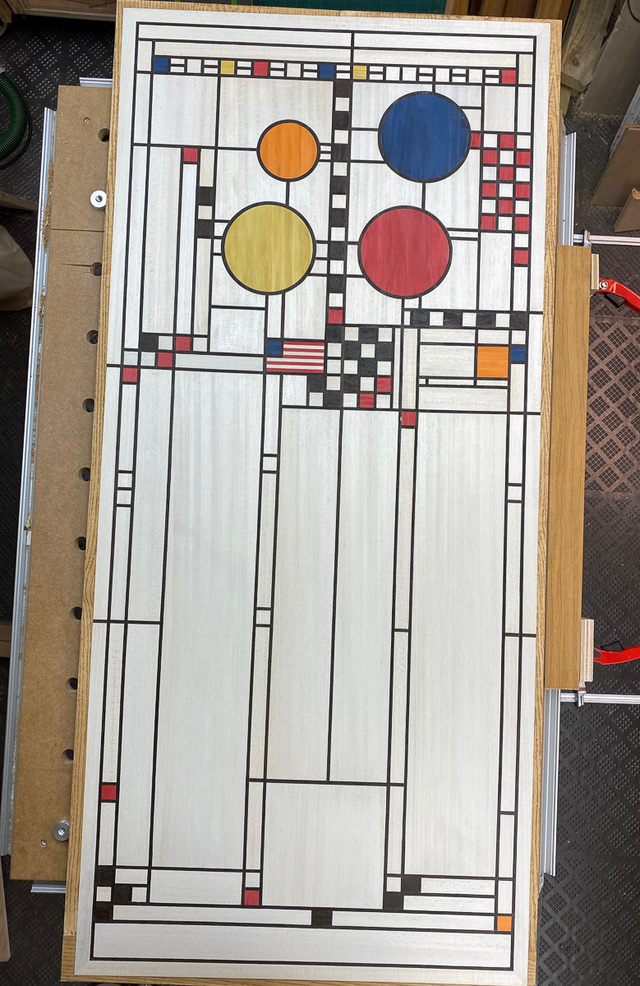
After 4.5 hrs in the press, this is what greeted me when I pulled-out the panel. At first I thought the ripples were the result of too much glue, but after more investigation, I found it had only affected the poplar veneers, and I had spread the glue very evenly. I think that the species must swell a lot with moisture. I had used a water-based veneer glue, and the surface of the wood was still quite moist when I removed the panel from the bag. I think a glue like Unibond 800 might have been a better choice (but I don't have any experience with it yet). Or, a coat of shellac on the underside prior to glue-up.
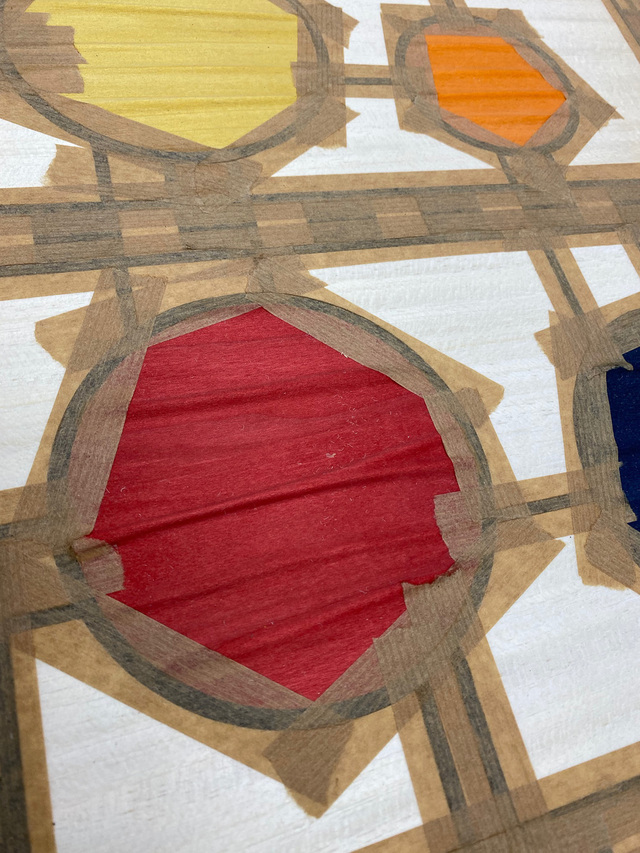
I set to work quickly on removing the veneer tape around the rippled balloons. And plugged-in the my old clothes iron. The heat both shrunk the wood and reactivated the glue underneath (which wasn't completely cured at this point yet), and I was able to get the discs flattened. I did have some glue get pressed out, unfortunately, making a bit of a mess. The hot iron resulted in some over shrinking across the grain, so the joints weren't quite as tight anymore.
Initially, I started with a sanding block and some 120 paper and focused on the interior of the balloons. This glue dries fairly hard, and I quickly realized that sanding was not the way to go. I switched to a card scraper, and that was the ticket. It worked well on the problem areas, and since it didn't generate the fine dust of sanding, the white obeche didn't smudge with color. And, the scraper excels at controlled and even leveling, so I started working around the panel. I figured I'd do a conservative pass over the the entire panel and then go back and fine-tune.
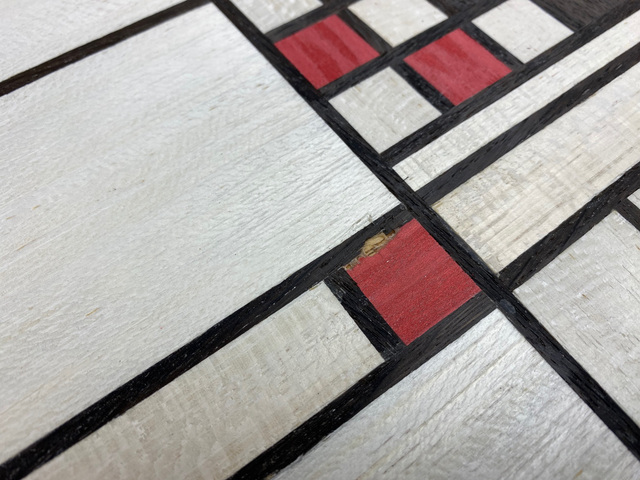
Even with a fresh hook on the scraper, obeche is so soft, it tends to come off as fuzz. And its susceptible to tear-out, so I had to constantly shift scraping directions. But I enjoy scraping. It's very satisfying when you have a nice sharp hook.
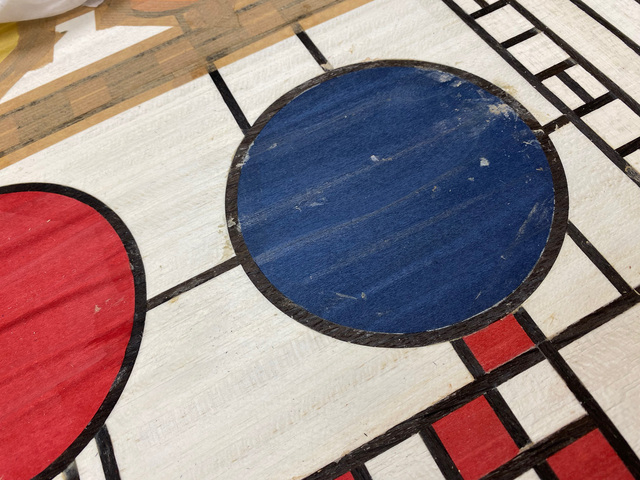
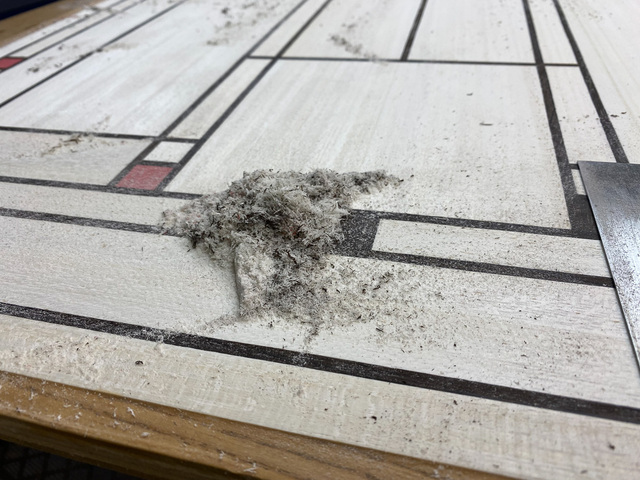
The one casualty I had when the scraper lifted out a chunk. I'd started to clear the area when I took this pic. It should be a simple fix.
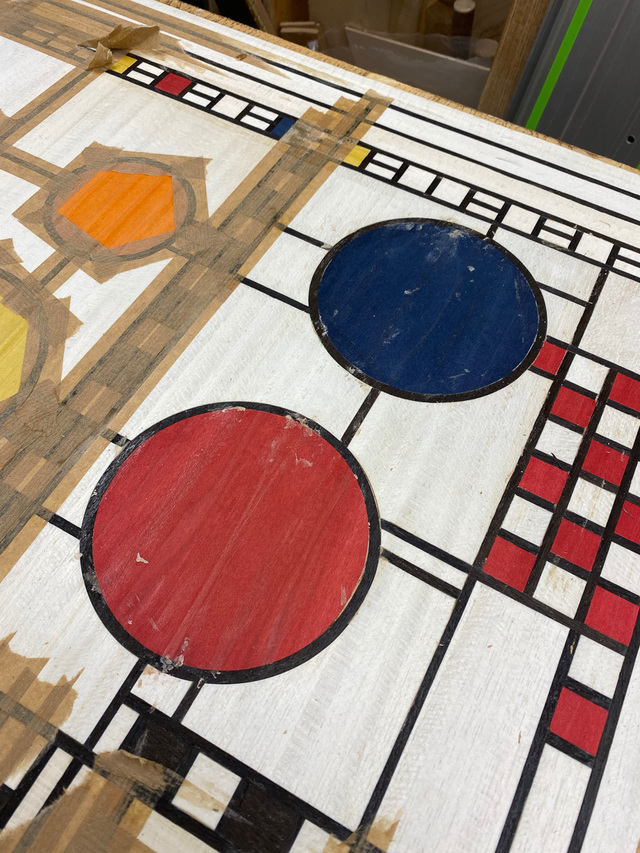
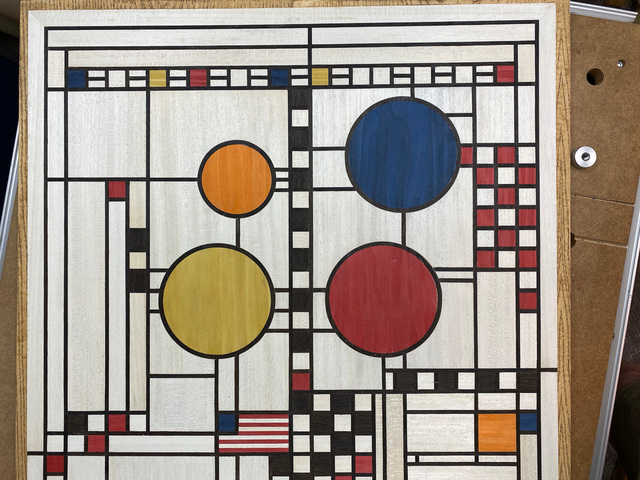
The result after my initial pass. I think I'm in the home stretch.
Yes, poplar moves a ton with moisture changes. Even nicely kiln-dried poplar from out east shrinks noticeably when I store it here in NM for a few months. I tend to avoid poplar for things where it’s going to see big moisture changes, but if you can only get some of the veneers you need in poplar, that’s a tougher nut to crack. Shellac might help, but my guess is that it still wouldn’t solve the problem, since it’ll still let water through, just more slowly.
That said, you got great results. Good job flattening it out with the iron and then moving to a scraper to flatten the surface.
That looks like a million Ross! well done taking it over the finishing line 👍
Time in the bag has always been one of those variables that really can mess things up.
I have been using the "cold press" Titebond stuff and have found that 2 hours works well. Problem is moisture extraction. When too little time, the veneer can roll back. Too much and I'd get the ripples. When I take it out after 2 hours, the surface is damp, but I let it air dry and haven't had any issues. I always thought that by using impermeable cauls that the glue wouldn't set up and that doing like you have (no top caul) would allow more even set-up for the glue.
Several things I've learned that really help out is a layer (or two) of absorbent paper. I use paper towels. What this also does is collect any glue that oozes through the pores on some burls and other "holy" woods. This keeps the glue from collecting on the veneer surface and messing with any finish penetration.
Of course getting just the right amount of glue is another biggie. 🙄