Share your craft projects
Make new craft buddies
Ask craft questions
Blog your craft journey

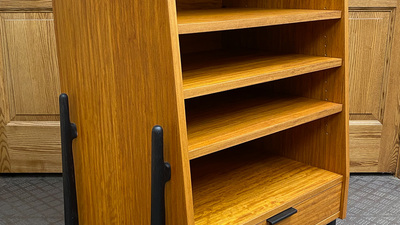
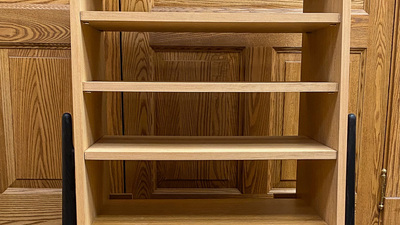
After about 2-1/2 months, the cabinet is finished and ready for use.
Media cabinet project summary:
• Baltic birch plywood with Izombe veneer an...
For the drawer pull, I decided on a simple edge-mounted design. I wanted it to be black to match the legs, and to avoid another round of ebonizing...
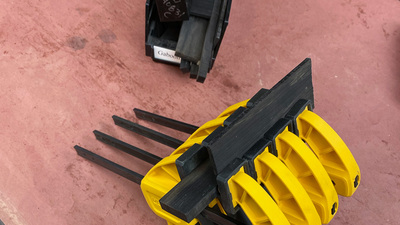
Here are some progress photos on some miscellaneous bits.
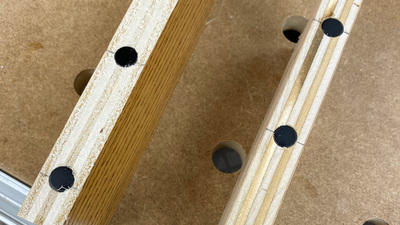
I did do a test with edge-to-edge magnets. They did pretty well self-aligning, and they...
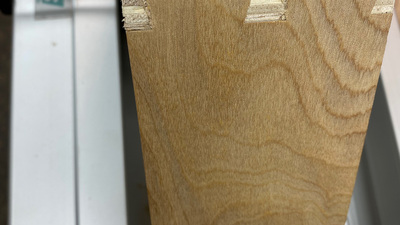
I used this opportunity to get some experience with the Leigh D4R dovetail jig. I bought it used in a package deal with the Leigh mortise and teno...
I waited until the the main part of the cabinet was built to work on the removable rear panel. That way I could take the actual dimensions of the ...
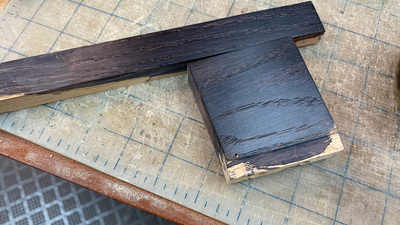
Google will provide you with a lot of information on this process, but briefly, the common practice for ebonizing involves creating iron acetate by...
It's the final push to complete the shaping, sanding, and glue-up for the support frame. On the front/back stretchers, I added a 1/4" roundover on...
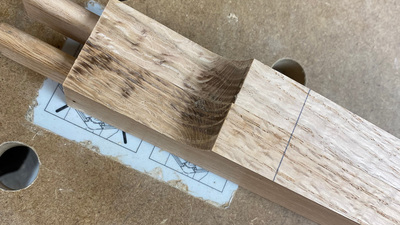
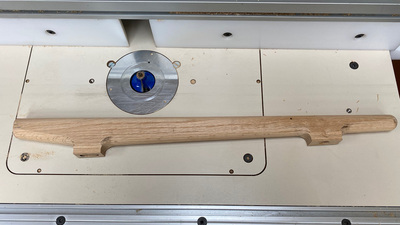
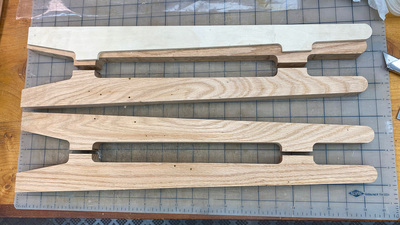
The last bit of joinery remaining are the stretchers between the longer front/back stretchers. Are they really stretchers or do they have a differ...
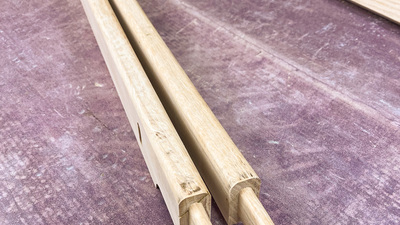
With all the joinery completed on the legs, I could work on rounding over their edges. I went slowly, raising the 1/2" radius bit a little each ti...
I finally got to switch gears and do some work on the legs/support for the cabinet. Some of the rough shaping I had done a while back, but didn't ...
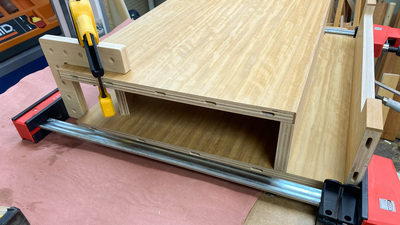
As a final sub-assembly, I glued the bottom and the fixed shelf together. Here, I used some clamping squares to keep the front edges in the same p...
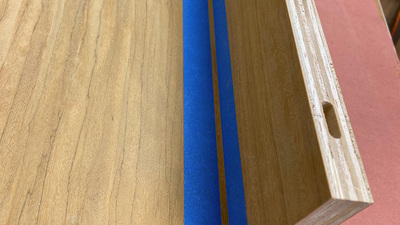
After completing all the boring sanding of the individual panels, I started to glue-up some sub-assemblies. Breaking-up the assembly into multipl...


