Share your craft projects
Make new craft buddies
Ask craft questions
Blog your craft journey
Blog Series
Typical Stuff In The Shop
Part 16: Solid Surface Top
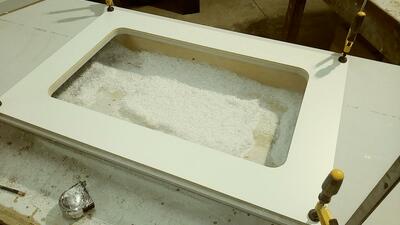
Not a whole lot on this one.
I'm building a small melamine kitchen for my sales rep at the lumber store.
Along with the cabinets I'm going to mak...
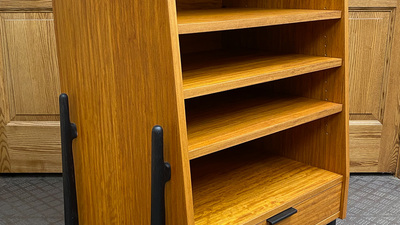
Part 17: Black Wall Unit
This was something I built for one of my buddies.
It was built for, and installed in the offices of a company that races Porsche's. (Hence the r...
A Pair of Side Tables
Part 7: The Fumigator
Ok. Here is the primary reason I'm building these side tables.
Plans were to keep the tables stupid-simple to avoid any drama. I violated my goal ...
Part 8: It takes some steel nuts to do this.
[IMG_9043.jpeg]
Best laid plans.....
Anyhoo, busy weekend with car work so I couldn't get as far as intended (finish applied), but wait, there's m...
Part 9: This is the End.
Apologies to the Doors!
[IMG_0165.jpeg]
Finally the finish has been sprayed.
Base coat is Mohawk vinyl sealer, top coat satin pre-cat lacquer.
Pr...
VW Logo Blank
Part 6: Outer Ring Blanks
The outer ring is made up of 4 blanks. The first one is shown below.
[image.png]
The blank is a rectangle in cross section with a trough cut do...
Part 7: Fitting the Outer Ring Blanks
I had put steps on each side of the outer ring blanks. These steps were to be used to have a reference surface parallel to the trough axis. But af...
Part 8: Final Turning
This last step is pretty straightforward – especially compared to the previous steps. I just need to get a cylinder that looks good.
First I d...
Parquetry in a Stained Glass Pattern
Part 10: Hot off the Press
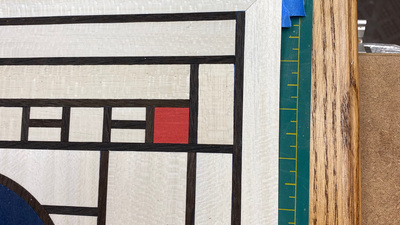
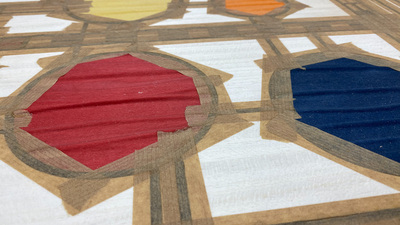
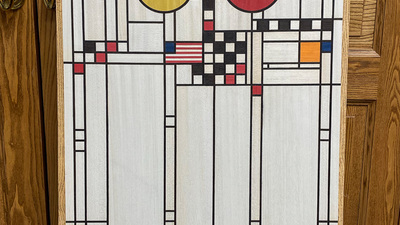
After 4.5 hrs in the press, this is what greeted me when I pulled-out the panel. At first I thought the ripples were the result of too much glue, ...
Sliding Modular Display Shelf
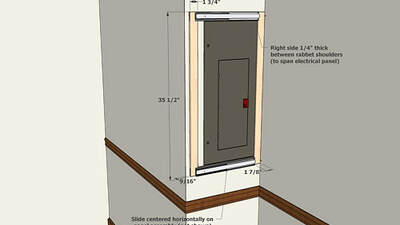
Part 7: Building the Mounting Bracket and Attaching the Drawer Slides
[03.05 Design - Mounting Bracket.jpg]
Theoretically, I could mount the drawer slides directly to the wall above and below the breaker box and attac...
Part 8: Adding a Stiffening Brace
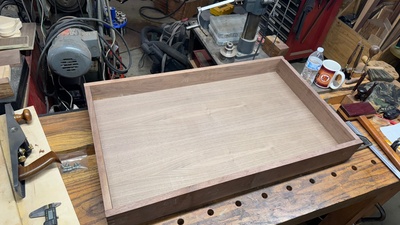
When I “finished” the project two months ago, I noticed that the panel face was very slightly concave. Here, I’ve placed a 36” long straight edge ...
Part 9: Installation
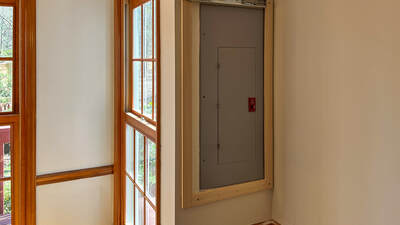
I installed the shelf in my daughter’s house last week. I knew I had measured, and re-measured the wall and electrical panel the last time I was t...
Military Retirement Shadowbox
Part 5: Making Progress
When I left off, I had the case members cut, box joints cut and the case dry fit. Next up was the plywood back. I cut it the first piece to lengt...
Part 6: Running Down to the Wire... As Usual
Seems like no matter when I start a project it never gets done before it has to... Progress has been slow the past couple weeks. One weekend we h...
Part 7: Final Stages
I got the bulk of the work finished up this weekend. I started with a dry fit of the case and then used it to cut the door members to length. The...
Media Cabinet
Part 16: Odds and Ends
Here are some progress photos on some miscellaneous bits.
I did do a test with edge-to-edge magnets. They did pretty well self-aligning, and they...
Part 17: Drawer Pull
For the drawer pull, I decided on a simple edge-mounted design. I wanted it to be black to match the legs, and to avoid another round of ebonizing...
CNNP Sheoak Coasters
Part 3: Polishing my Wood
Now here is some interesting information for you the interesting indented growth rings are commonly referred to as Hazelwood.
This unusual characte...
Part 4: my attempt to be a "shipwright"
Then look I had disillusionary thoughts after seeing some of shipwrights work I could replicate a table.
Its the same table I attempted to "copy" ...
Part 5: CNNP Coaster meet the CBHS Table
OK after making template to use for inserting the She-Oak into the table top I removed the clamps and continued.
[IMG_3153.JPG]
I used a stand off...
Sash Windows - journey into the unknown
Part 9: I knew I should have used oil based paint
Not that it really matters, the hopelessly optimistic completion date of mid October for the windows has been and gone, and there's still a way to ...
Part 10: Glazing Part 1
Back onto the windows at last, got nothing done in December, I am now looking at Easter as a deadline to have them ready to be fitted.
From the ou...
Part 11: Why didn't I think of that before #738 & #739
This weekends first 'why didn't I think of that before moment' came when I was setting up the router to do the beadings and glazing bars.
That was...
Singer Base Desk
Part 2: Mesquite Top
Needing a small desk for guest area (Airbnb) that is vintage decor. Reclaiming a cast singer treadle for the base.[image.jpg]
During our trip to Te...


