


Share your craft projects
Make new craft buddies
Ask craft questions
Blog your craft journey
Blog Series
Building the Art Deco Box
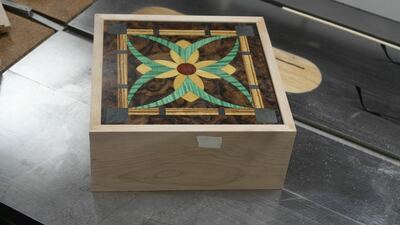
Part 2: Begin With a Simple Box Core
[IMG_8736.jpeg]
Had a section of rough 4/4 cherry that had been kicking around for a while so I could see the color it would take on once the woo...
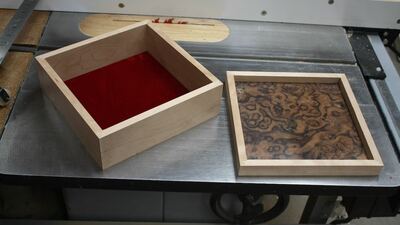
Part 3: Separate the Lid and Give It Some Legs
[IMG_8742.jpeg]
With the box glue-up dry, time to create the lid by sawing open the box.
I installed a thin kerf rip blade and set the cut depth ...
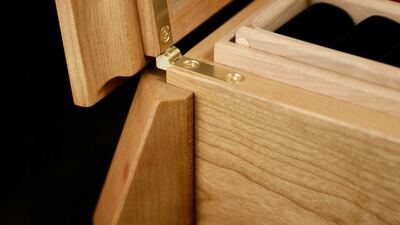
Part 4: Trim & Trays
Almost done, I swear!
With only legs, the box looks bottom heavy.
A few passes on the router table will make some trim to fix this.
[IMG_0033.jp...
Around the shop
Part 2: My Infill builds
Edit: this was originally pointed to the defunked wkfinetools website. I’ve updated to point to my site. Making an infill plane has been on my list...
Part 3: 3 legged walnut table
I’ve been asked to make this piece of walnut a 3 legged side table 24” tall.
I have an idea of how I’d attach the legs but looking for alternativ...

Part 4: Shop Made Router Table and Router Lift Restoration
I made this router lift over ten years ago. It started out in an old Craftsman Table saw.
[Image]
[Image]
[Image]
It then went into the top of th...
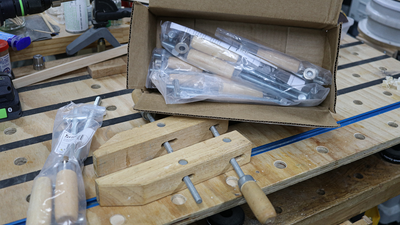
Building a High Vise
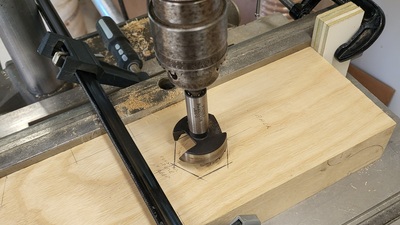
Part 3: Drilling Holes
Received the Acme Threads for this project. I did not want to drill any holes until I had them in hand to measure for the clearance needed.
I set ...
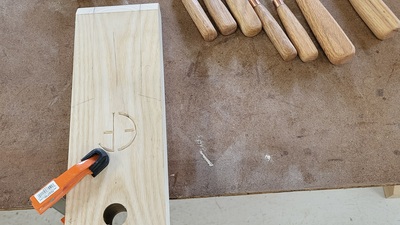
Part 4: Shaping the Jaws
Removed the clamps and everything looked good, had to scrap some glue excess off.
The first thing up was to cut the curves at the top and bottom o...
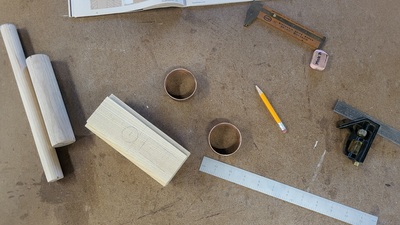
Part 5: Lathe Work, Handle
This is where I made a few adjustments to the plans.
The plans called for a 1-1/2" steel pipe (no luck sourcing anything local) I did have a few ...
Journey into Timber Framing techniques.
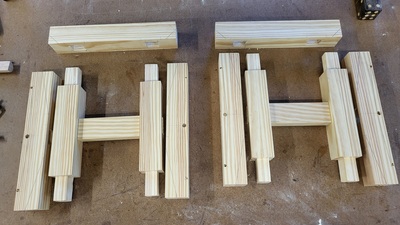
Part 4: Cross Brace Tenons.
tuned up the other mortise and tenons so I didn't have to use a lot of force to fit everything together.
Then I was able to get a good measurement...
Part 5: Shaping Feet and Top
Up next was to cut the waste area from the bottom of the feet, leaving a small pad on each end. When I was drill out the waste for the mortise I dr...

Part 6: Gluing up the Pieces
I had to think the process through, since I wanted to use the drill press, the wrong way would have meant drilling by hand, and I may have drifted....
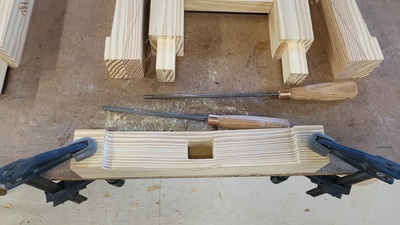
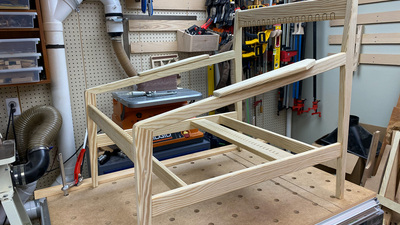
Another Danish Modern Chair
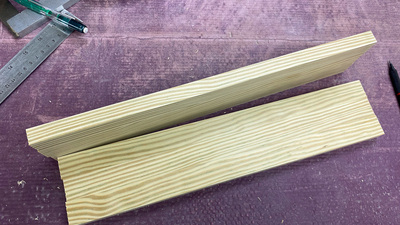
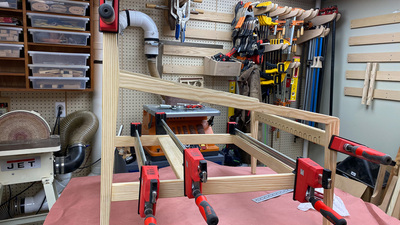
Part 9: Final Glue-Up
With all the last minute shaping and sanding complete, everything was ready for the final glue-up. There's not really a whole lot to show here. I...
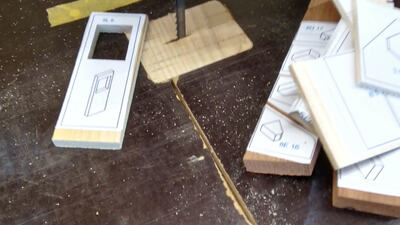
Rat Rod Truck
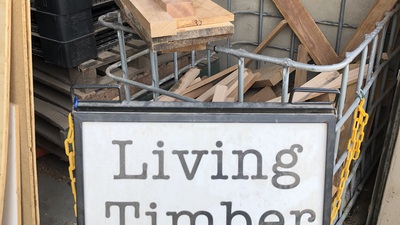
Part 1: Rat Rod Truck for Marcus
I have started the Instagram #offcuts only challenge put up by Mark Dainer, a maker from Townsville.
Thank you to Dean & Francine of Living Timbe...
Excavator tracks
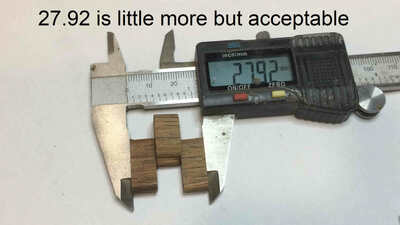
Part 5: Drilling holes
Serie of making the tracks for the excavator.
[01.jpg][02.jpg][03.jpg][04.jpg][05.jpg][06.jpg][07.jpg][08.jpg][09.jpg]

Milling lumber
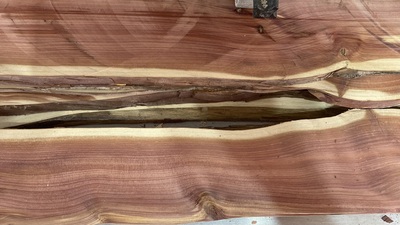
Part 2: Milling juniper
I got some juniper a while back from Sycamoray. Been slowly working through it, milling it into flat boards, mostly between 1/2 and 1/4 inch thick ...
Screw it, by hand...
Part 1: Introduction
Boys and Girls,
If this topic gets your juices flowing, after watching this video,
the title may be on your lips as the included link at Taylor...