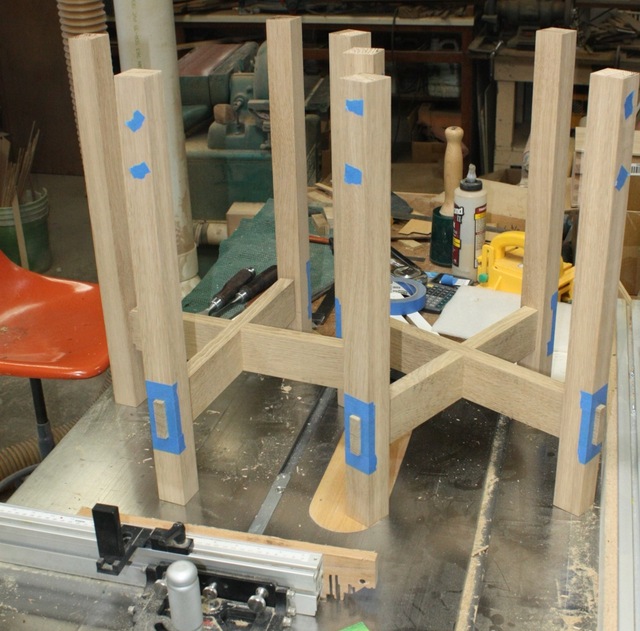
I decided that I wanted to roll the dice and see if I could escape fate.
Through tennons! 😱
Plenty of opportunity to really screw up, me like!
Legs are 1-1/2" square, need a mortise 1/2" x 2". White oak is tough and splintery, what could possibly go wrong?
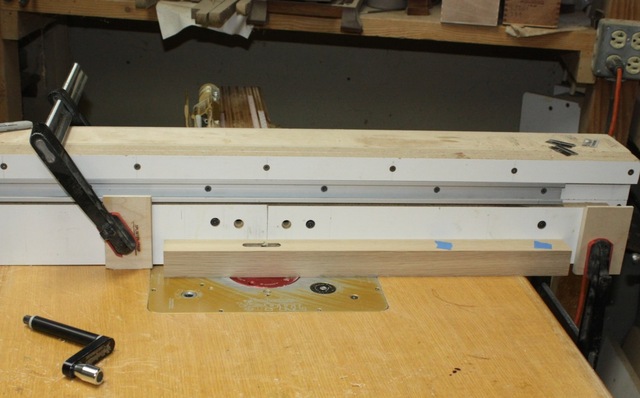
Set up the rout-a-table with a 1/2" carbide up cut. I have a longer one but it needs sharpening, this short one (1-1/4" cut) will be ok since the shaft is the same diameter.
Question is, do I start the cut on the face side or back side? Possible tear out starting the cut where I can't see it or tear out when the bit exits the top.
Show face down it is!
First cut is just a shallow skim, then raise the bit 1/4" and repeat until the cut is all the way through. Eight of these to do.
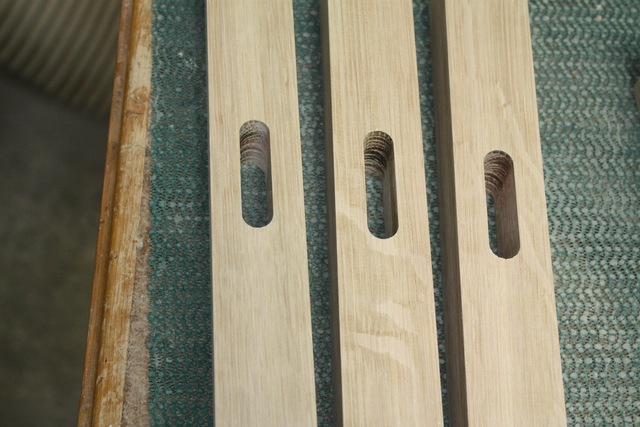
Success! No bit grabs or spasms to ruin everything. Entry and exit are great. At least any exit side damage would be hidden by the cross brace tenon shoulders.
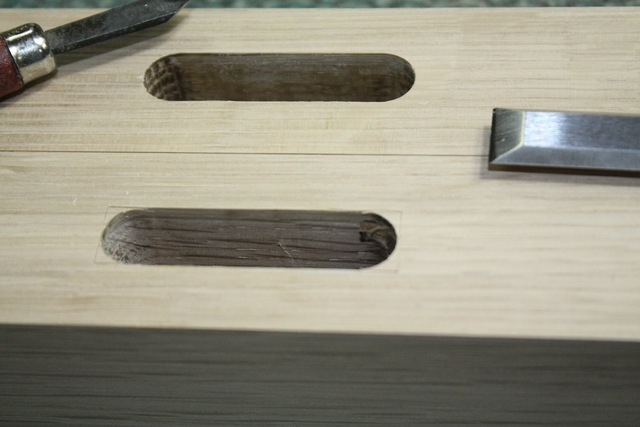
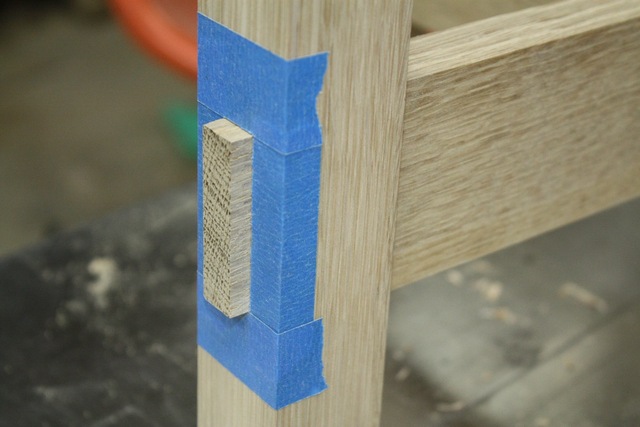
First thing is to get a clean, square outline. Marking knife leaves a cut to prevent flaking and provide a groove to set the chisel into.
Just enough to get through the 1/8" veneer and have a clean outline, the exposed tenon should not show any gaps or other wonkyness.
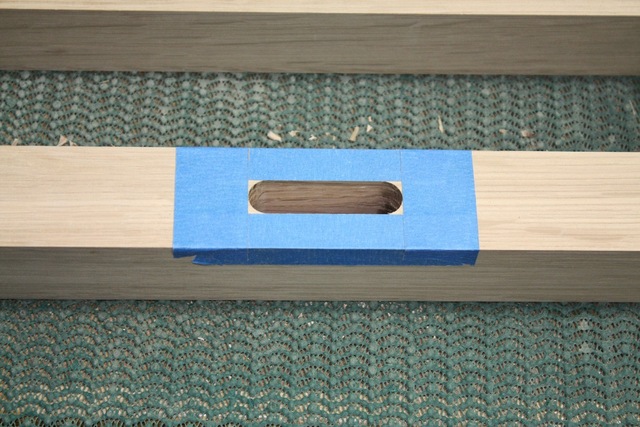
Ok, marking this seven more times would take all day.
Plan B. Use tape, applied with the square handy to keep it all straight. The tape also provides a back stop to align the chisel and keep drool off of the wood.
Flip over and approach from the back side, whacking away.
4 hours later (diddilute, diddilute, diddilute, )
and we have finished. No FU's either!
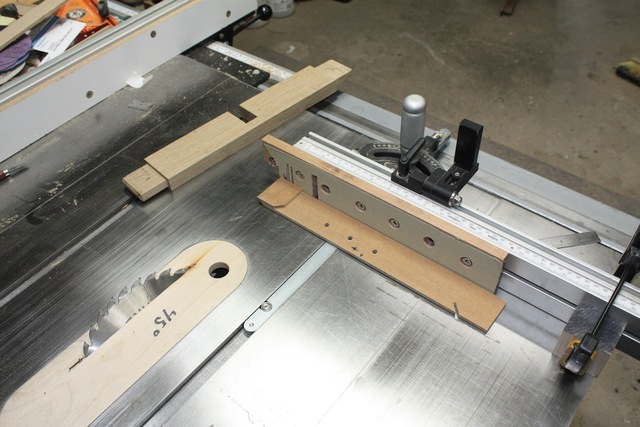
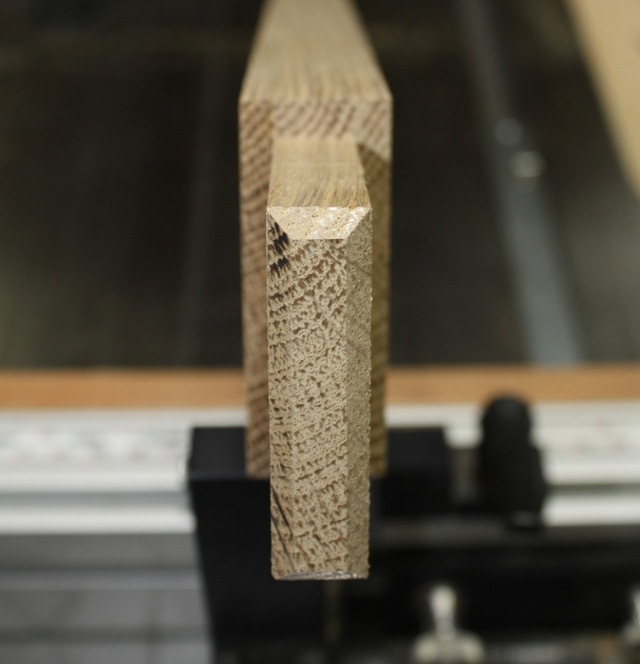
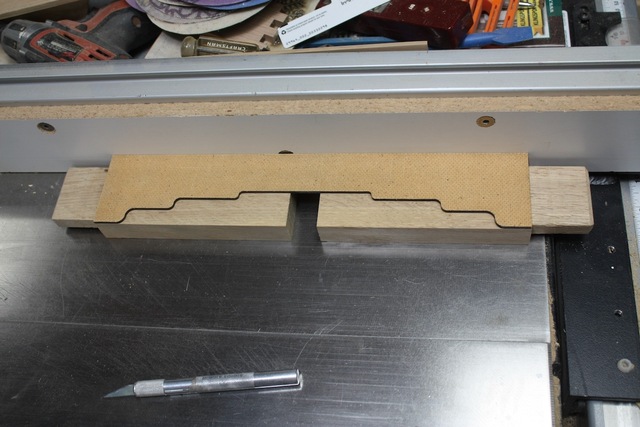
Now to profile the tenon ends.
45 deg. blade, stop block, and a funky stack of masonite to back up the cut and keep all the grainy goodness in place.
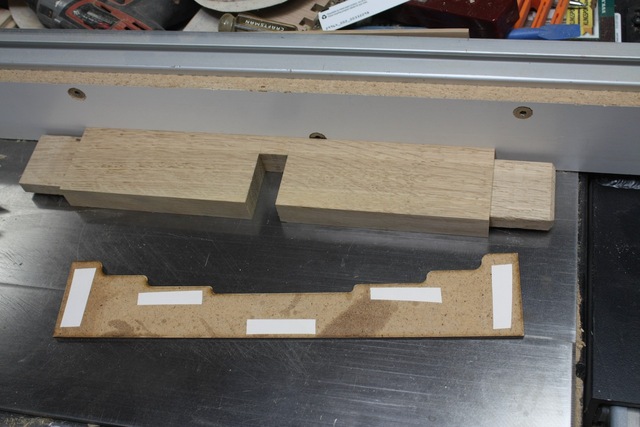
Now I can finally use the laser cut templates from a few weeks back. DS tape to hold in place and triple check to be sure I got it position correctly
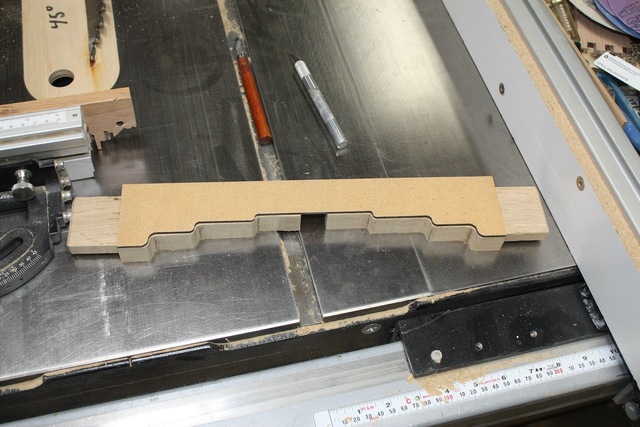
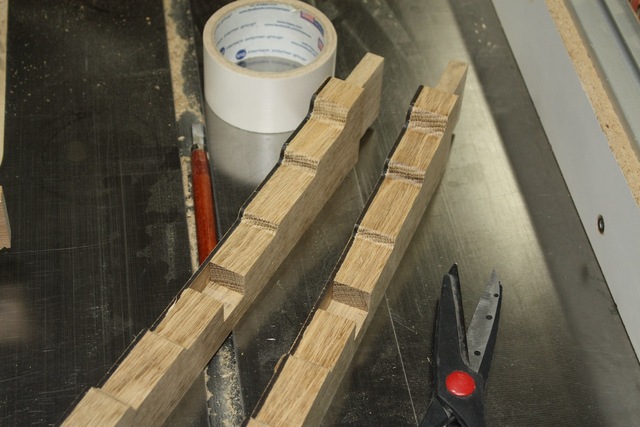
To the bat mobile! (I mean band saw) Cut the excess away... ...and router table with a template bit. Top/bottom bearing lets me always be cutting with the grain "downhill" In my wisdom, I used progressively smaller inside radii (3/8", 5/16", 1/4") This meant I needed to swap bits a lot to get into the corners and worries about burning when cutting "uphill" since my small template bits are top bearing only. Actually came out fine and some light sanding will disappear any burns.
Another error free moment!
Ok, I've had my fill of stress for a few years so I don't plan on doing through tenons again for a while.
One bummer with through tenons is glue up, only way to keep the sticky stuff from being pushed out the mortise and looking like something you'd see on TV is to partially insert the tenon, smear a thin layer of glue on the exposed tenon and hammer home.
But wait! There is a better way that I have used in the past. Takes about 95% less time, lower stress, and looks exactly the same.
Route as before, but only a shallow (1/4") cut. Prep square like I did above. For a tenon that protrudes 1/4", I cut 1/2" off the end of the tenon and just jam that into the cut. Looks exactly like a through tenon! For the cross brace, just a short tenon or better yet, a DOMINO!
Could reduce 8 hours of pain to about 3 minutes of machine tool screaming joy.
That's it for now, next time I need to start thinking about the top.
But yeah if you own one.... DUH, use a Domino. I have a partially competed desk for my Wife, I am creeping along on it, mostly because of all the M&T crap that it represents. I have made several of this same desk since having a Domino, and to tell the truth through tenons are vastly overrated. The non through Domino done ones look very nice. If they are blind, then doing real M&T's in the presence of a Domino is just Masochism.
I hear ya George! A tenon is a tenon, just at piece of wood embedding into another. There are some minor strength differences, but unless the piece is to be furniture in the gorilla cage, most anything will last several lifetimes.


.png)