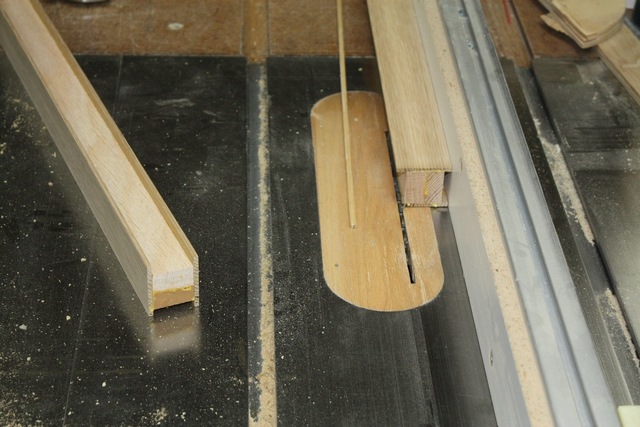
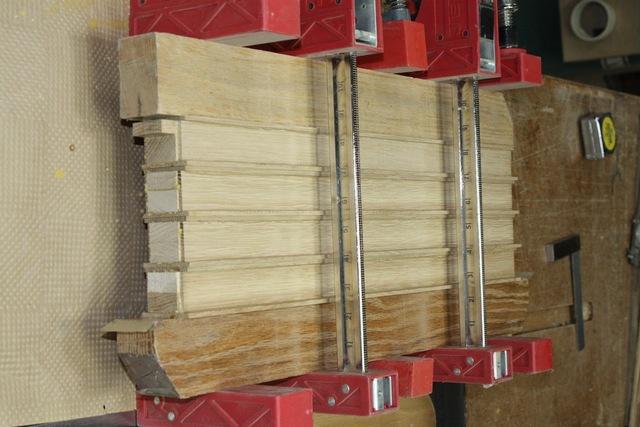
Trim the excess, leaving about 1/16".... ... for the router with a flush trim bit. A few passes through the DS to flatten out and glue up the other faces as before. This time with TB dark since these might expose a glue line and the final finish will be dark(ish) Four at a time is less stress!
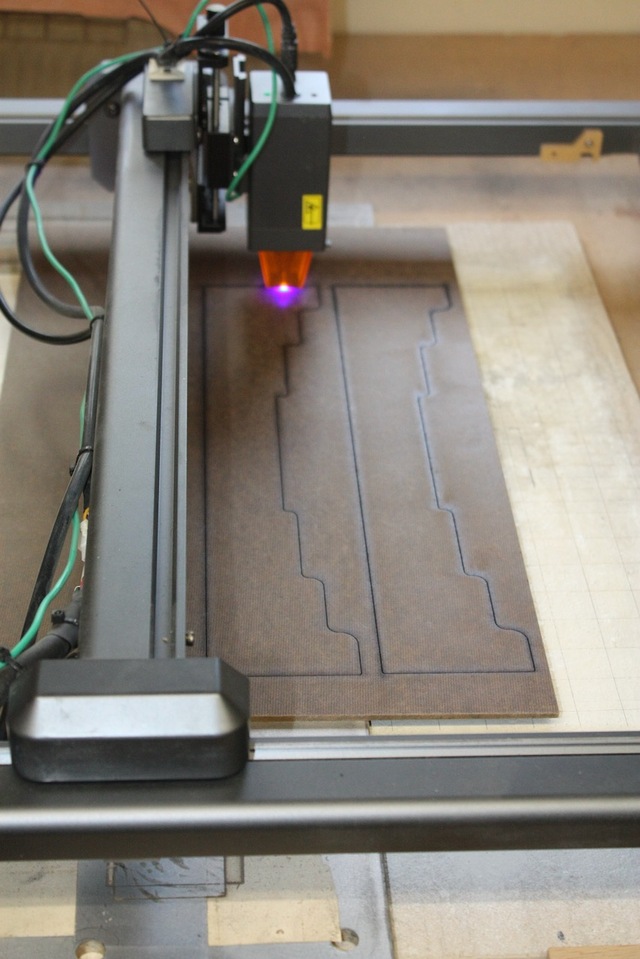
Laser out a pair of router templates for the lower cross braces.
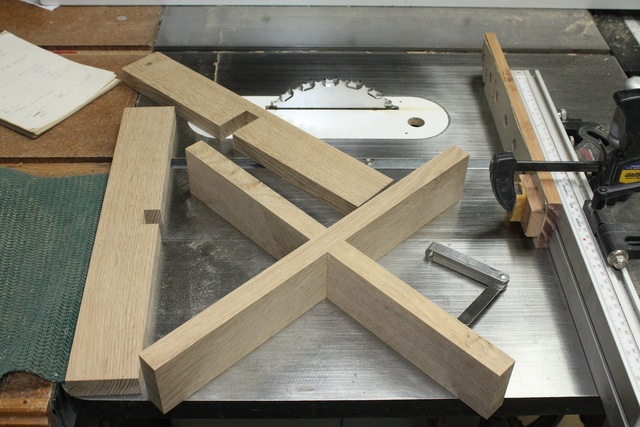
The cross braces cut to final dimensions. They will overlap so I need to cut the laps first while everything is square. Box joint blade set is my go-to for clean cuts. I band saw out most of the waste first. The templates will cover both sides so I can always be routing "down hill". I may also use just one and flip the part if I use a top/bottom bearing bit.
First I need to cut the tenons with the same box joint blade set. Legs are also ready having been trimmed. A lot of fussing just to get a QS face and rift sides!
Splinter - nice work. I'm on my second bowl of popcorn. 😀 What is the reason behind the asymmetric lap notches in the cross braces? The legs look great.