So, just to be clear, there is nothing earth shattering in all this yet. Just posting the process. Kinda like Bandit "over there" telling what he was having to eat and how his hemorrhoids are faring 🤮
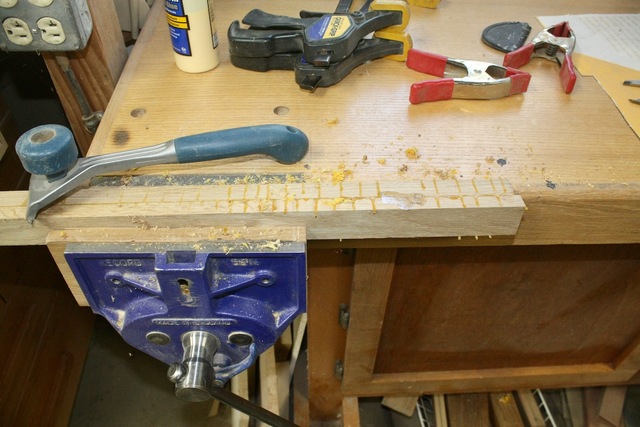
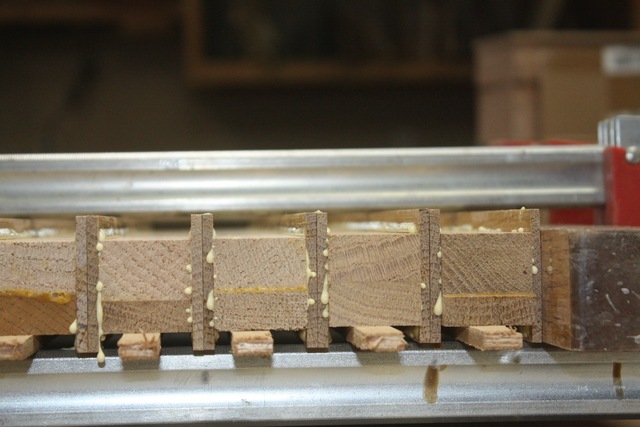
Today I removed the leg cores (8 of them) from the clamps. Step one, scrape off the glue drool.
I kinda like this scraper I got from Rockler as a way to fill an order for the free ship threshold. It's kinda brutal, but does the job.
The DS was used to flatten one of the faces, wedges on my DS sled to stabilize the part.
One side flat, I moved to the belt sander to level a side for the TS fence. At that point I could rip the cores to get a straight side, exactly 90 degrees to the sanded face. Flip and rotate to get the other sides all 90 and parallel.
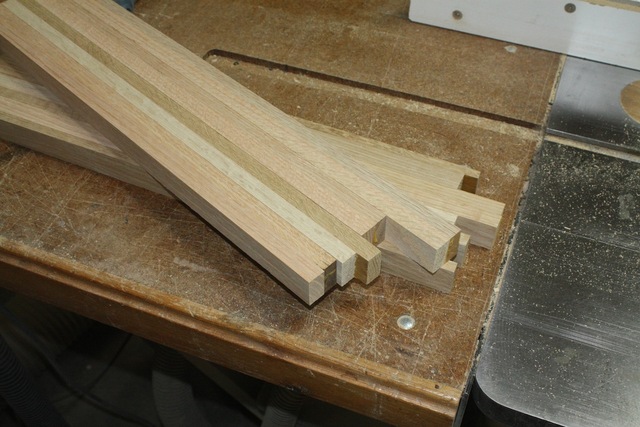
SIzed just right for application of the slices I cut last time to be applied.
FIrst a sort, left is for the back sides of the legs, center piles are for the sides, right will be the outside face. Sorted by the grain appearance. These are about 1/2" wider that the cores and I wanted the overlap so aligning wasn't so critical.
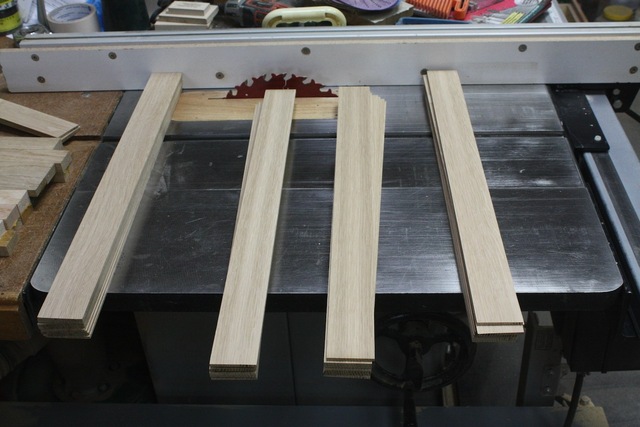
First up is gluing the sides (center two piles). I placed the best sides out and set them in order ready for assembly.
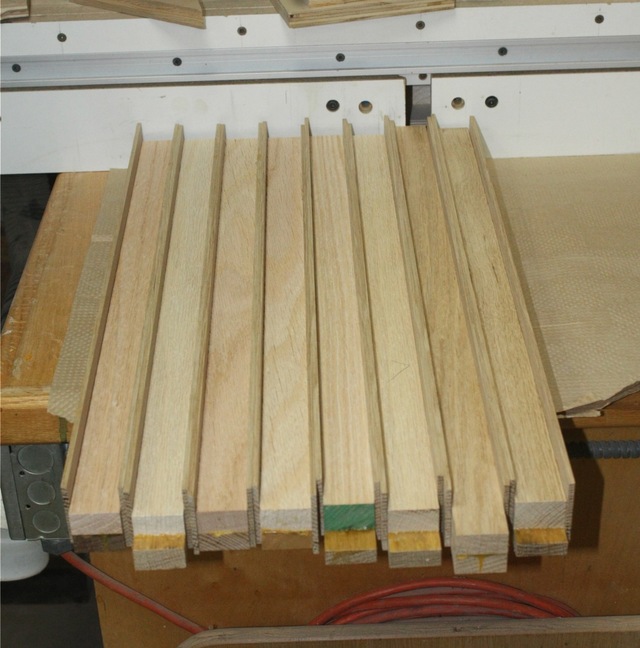
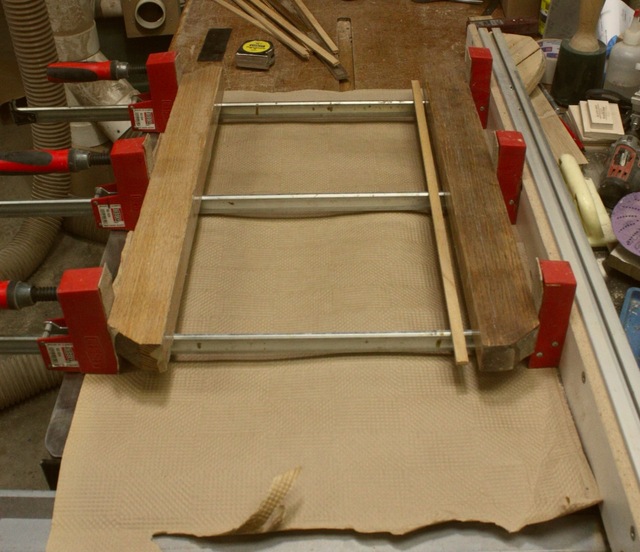
Just like a cutting board glueup, stack them all and squish. I used some strips of 1/4" plywood to space the cores up to about center on the strips. Tape faced and flat cauls set up.
All in place and clamped
End view shows the spacers at work.
Can't do much more to the legs until these dry and the excess (top/bottom) gets trimmed flush.
I'll save that cliff hanger resolution for next weekend!
Spent the remains of the day selecting and rough cutting other parts.
I did begin to stress a bit as it was about 15 minutes start to end when the clamps were secure. The having everything stay aligned and in place was a big relief however. I kinda like the quiet after the sotrm while the glue dries, time to figure out what's next.