Bentlyj
in almost 12 years
Typical Stuff In The Shop #15: Big Cabinets
This is
part 15
in a
18 part
series:
Typical Stuff In The Shop
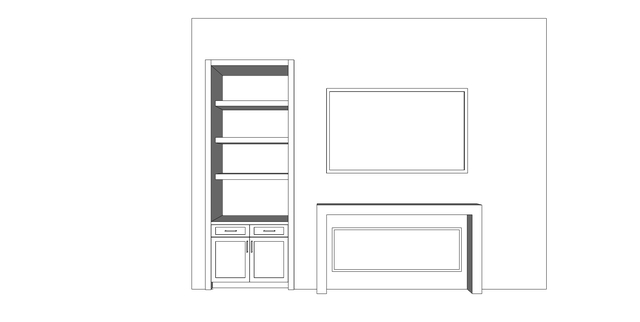
Like the title says, these are 2 big cabinets that are going to be built in 1 piece. Just typical cabinets that are going to be painted white by someone else. One is going next to a fireplace, and one will be in a Bathroom (for linens?) Here is the SU for the First one going next to the fireplace.
It is 121" tall x 47" wide x 25" deep (including the frame and back)
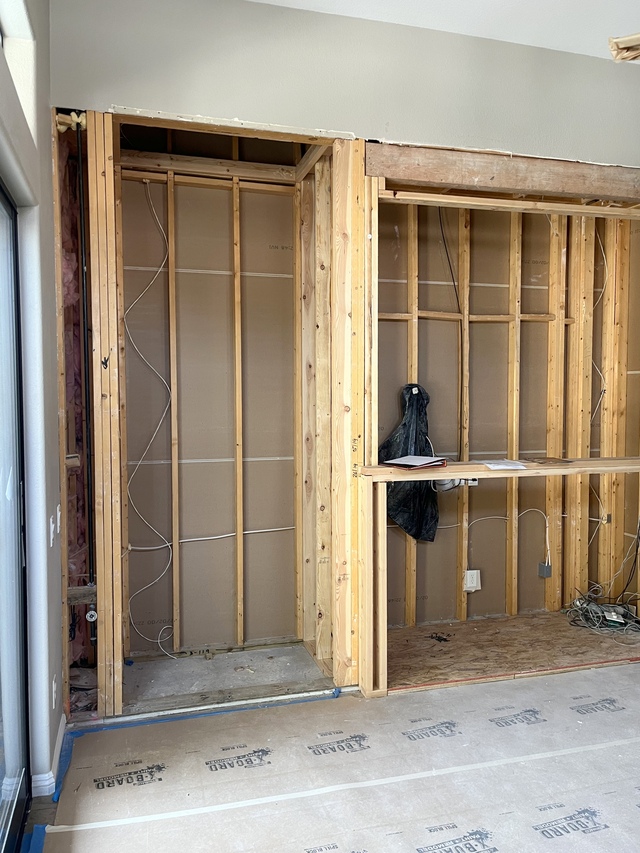
This is the framing for the hole it will be going in.
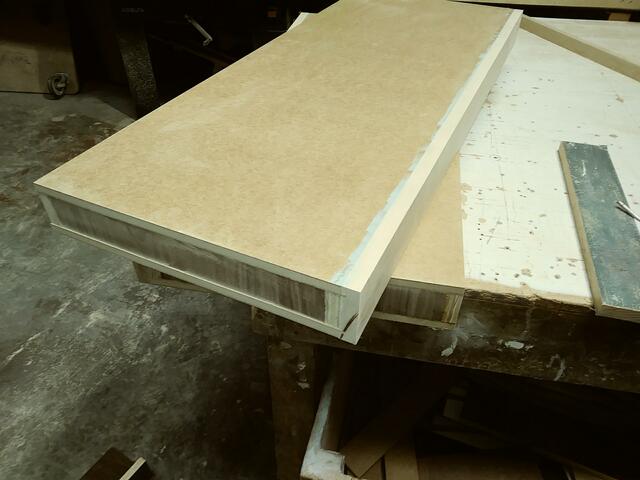
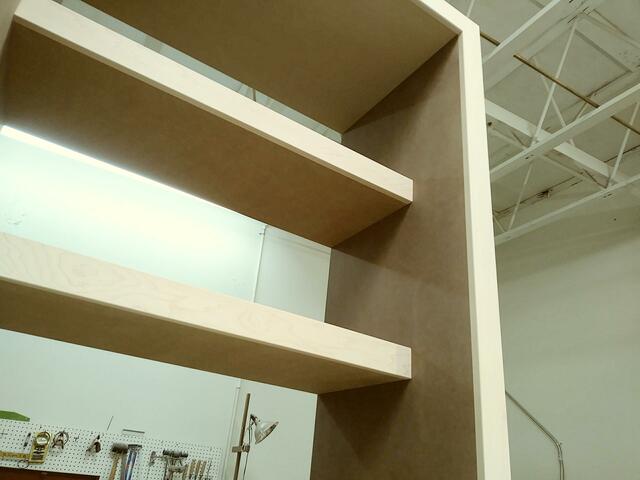
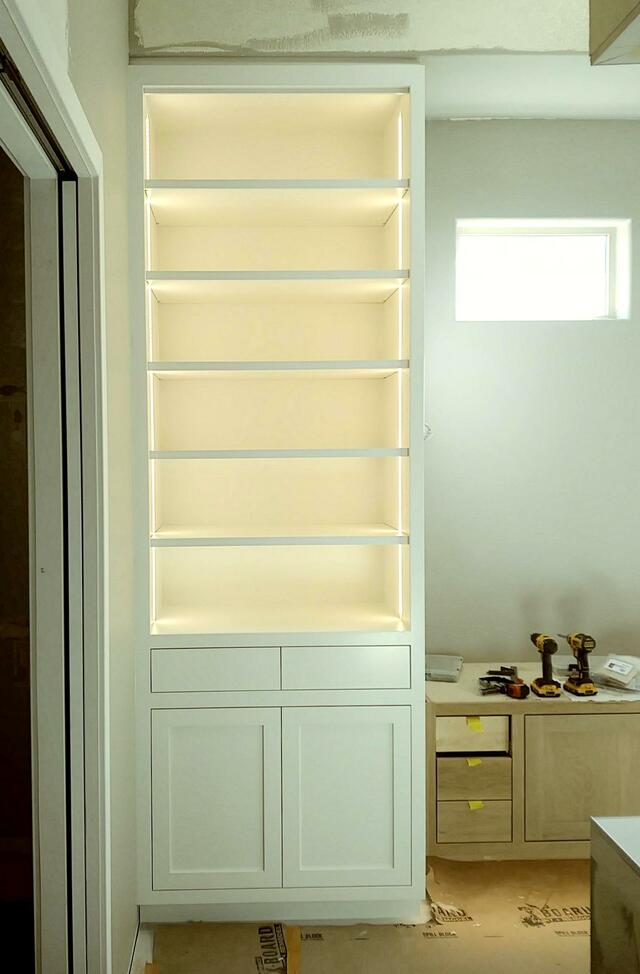
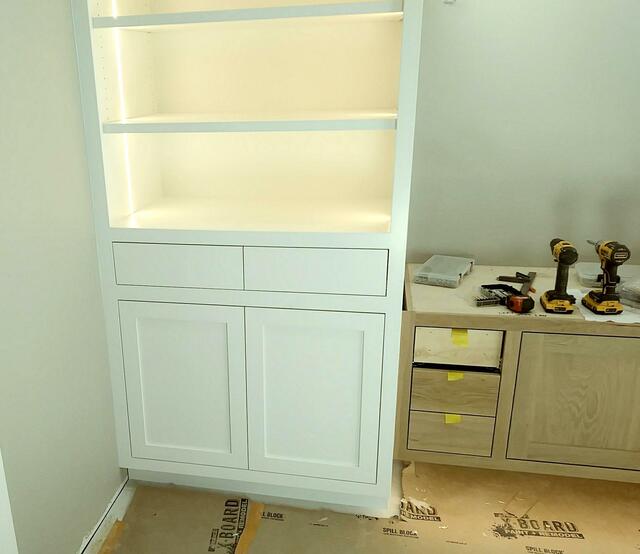
I only have a few pictures of it being built. It will have strip lighting in the shelves. The tracks will be set in a groove. The bottom shelf will have a down light at the front and an up light in the back. The other 2 shelves will just have the up light in the back.
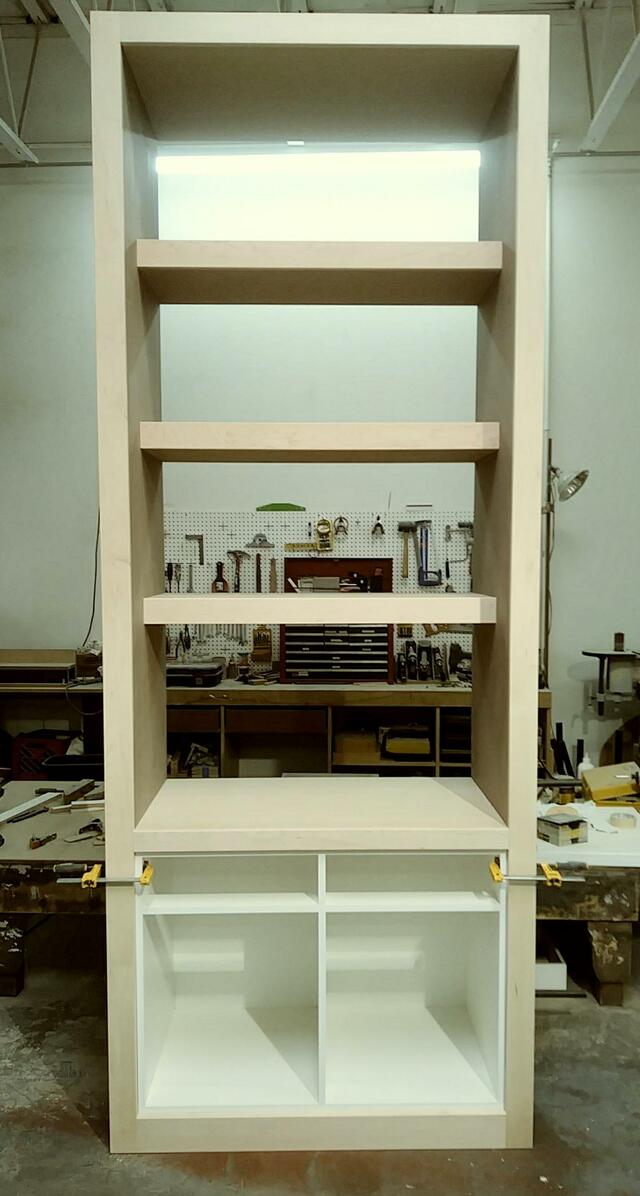
Waiting for it to get back from the painter to install it.
.
.
This is the second one going in the bathroom. It's 121" high x 42" wide x 24" deep
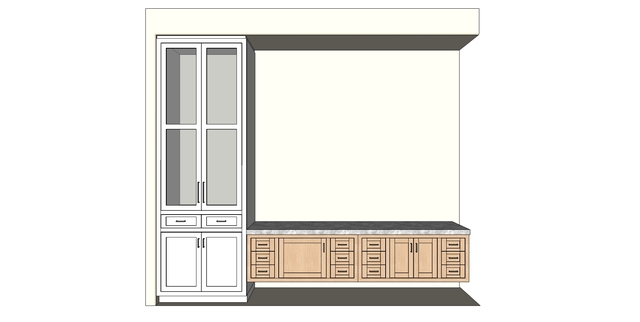
It has led strip lights on the 2 sides going top to bottom.
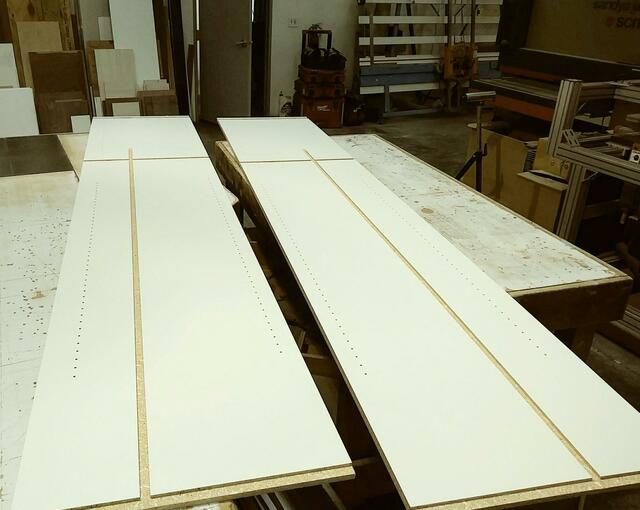
Not many pics of the build. But here are the 2 sides with the grooves cut for the lights and dado's for the shelves.
Everything is melamine on this one except for the face frame which will be painted white. It will have glass panel doors.
(My buddy is building the white oak floating vanities on the side.)
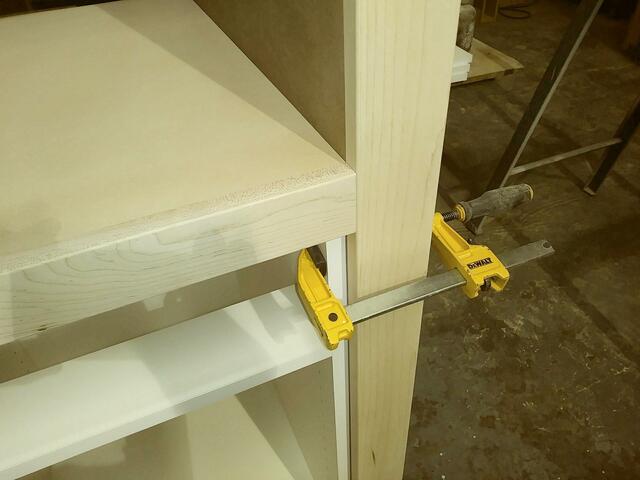
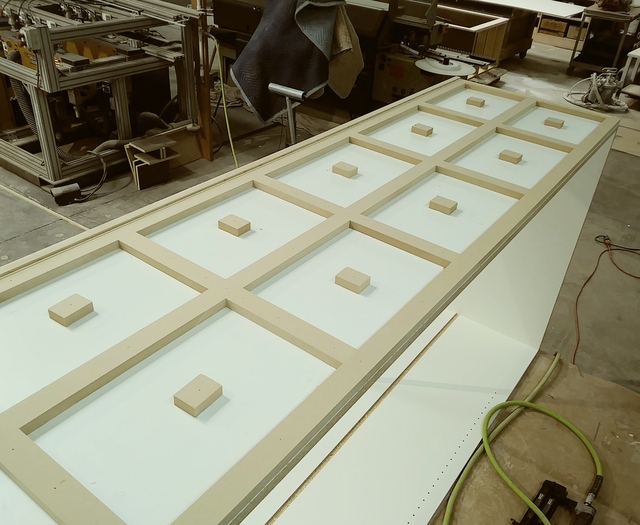
It required a paint grade finished side when put on would be 2" wide for the face. I made some framework to build it out and used a piece of 1/4" mdf for the side.
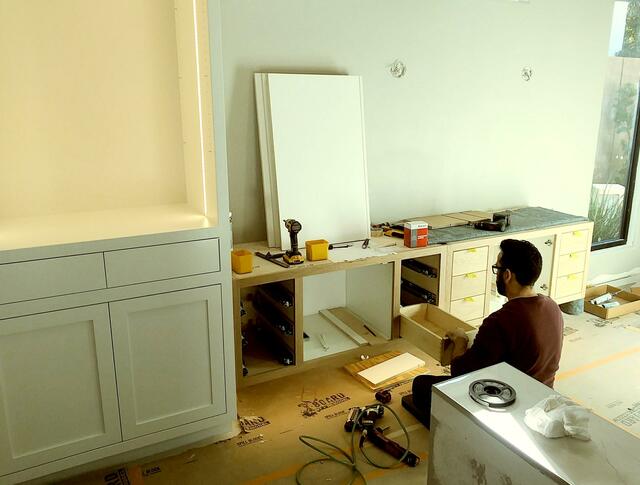
We got it put in and are finishing it up. My partner (below) putting in drawers in his cabinets.
That's it for now. Just typical work to keep the bills paid.
Figuring out how to do something you have never done is what makes a good challenge.
33 Comments

working with my hands is a joy,it gives me a sense of fulfillment,somthing so many seek and so few find.-SAM MALOOF.
Ryan/// ~sigh~ I blew up another bowl. Moke told me "I made the inside bigger than the outside".
It's hard to get excited over standard box work though.
I would rather be building wall units, but it's pretty slow for me right now. Glad I have friends to help me out.
Figuring out how to do something you have never done is what makes a good challenge.

However, I occasionally get down on my hands and knees,

and either admire or cry.
If your first cut is too short... Take the second cut from the longer end... LBD
*TONY ** Denver * ALWAYS REMEMBER TO HAVE FUN
The side lighting is a neat idea, totally different look vs. top but certainly has advantages for being able to see stuff.
Splint, there's a lot of that going on now, I see it more in custom closets, but it's moving into custom builds.
Thank Mark, Nothing more than a good sharp dado blade. Being that the blade is only raised up 3/16", it acts more like a scoring blade.
Just for general talk for cutting melamine. This is my experience with it.
I always score my melamine to get 2 clean sides. I've used a ton of melamine blades, that do ok depending on the job, but those blades usually only handle chip free cuts for about 6-10 sheets worth of cutting. Scoring gets me the best result.
Also when not scoring, there is a sweet spot for your blade height. The lower your blade the better for the bottom but could push up chips on the top. The higher up, the better for the top but more chips on bottom. All depends on your blade but I always play with the height to try to find the best height.
In general, I don't personally follow any rules about how high a blade should be.
Example: 1/4" above wood or just to the bottom of the gullet.
Even though that is good for most cutting. I prefer my blades usually up a little higher giving me more downward pressure. As always, it depends on your blades and what you're cutting. You develop a feel for it after a while.
Of course this is just how I do it, I'm not saying what anybody else should do or what is right or wrong.
Figuring out how to do something you have never done is what makes a good challenge.
I like the contrast between the painted part and the oak.
Those are some huge "boxes." (I had to design my last big cabinet in three pieces because my husband was unable to help me.)
I would worry about putting in the LED strip lights because we haven't had great success with longevity of LEDs. What do you do when they need to be replaced in a couple of years? Did you make it so they will be easy to change out?
L/W
“Those who would give up essential Liberty, to purchase a little temporary Safety, deserve neither Liberty nor Safety.” Benjamin Franklin
You do impressive work.
Trying to wrap my head around a built-in. Walnut Veneer ply. Have not started to plan yet.
Petey
Mike
Thanks Moke
Thanks L/W, Honestly, I've never had to change any. I buy Loox5 brand from Hefele' Everything plugs into a transformer so if there are ever any problems it wouldn't be hard to change out. Yes, access to everything.
Mark, I cheat with the shelf holes.
I have a horizontal boring machine that drills the front and back holes at the same time. 21 holes in each row. It does have it's cons though when you want to customize the hole pattern. You can remove bits as needed, but it's a pain. When I need anything different I drill through a piece of 1/4" scrap material and use it for a template picking the holes I want.
Figuring out how to do something you have never done is what makes a good challenge.
Ryan/// ~sigh~ I blew up another bowl. Moke told me "I made the inside bigger than the outside".
Here is mine. (bottom left)

Figuring out how to do something you have never done is what makes a good challenge.
Ryan/// ~sigh~ I blew up another bowl. Moke told me "I made the inside bigger than the outside".
Pretty sure their name here is also SCM, these are just older machines before they shortened the name.
Figuring out how to do something you have never done is what makes a good challenge.


