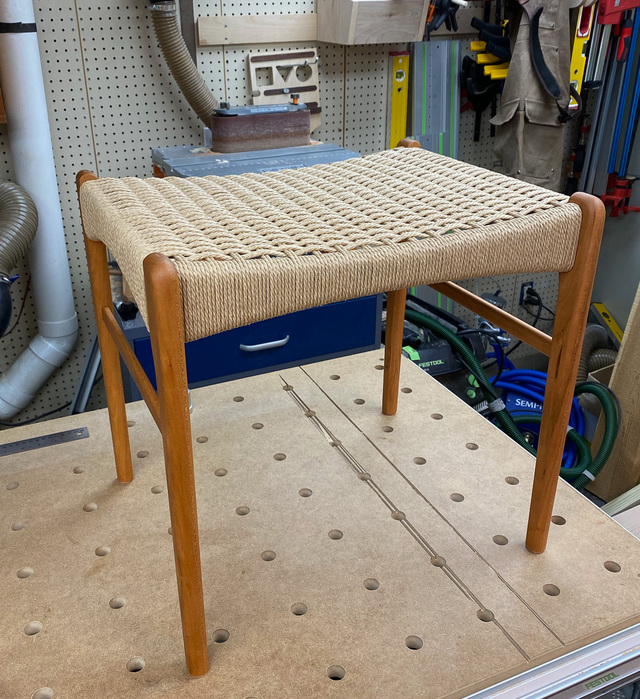
This is a replica of a stool designed by Peder Kristensen in the mid-1900's. I built it as a gift for my mom's birthday, which is coming up. After settling on a stool I liked, it took 9 days to complete, from working out the dimensions to finishing the weaving. While I've done some weaving on other projects, this was the first time using the Danish L-nails. They definitely make certain aspects of the weaving easier, and it's nice to have that skill in my arsenal.
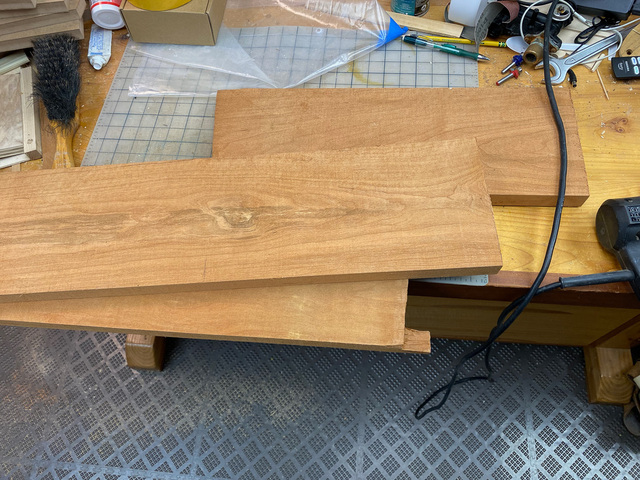
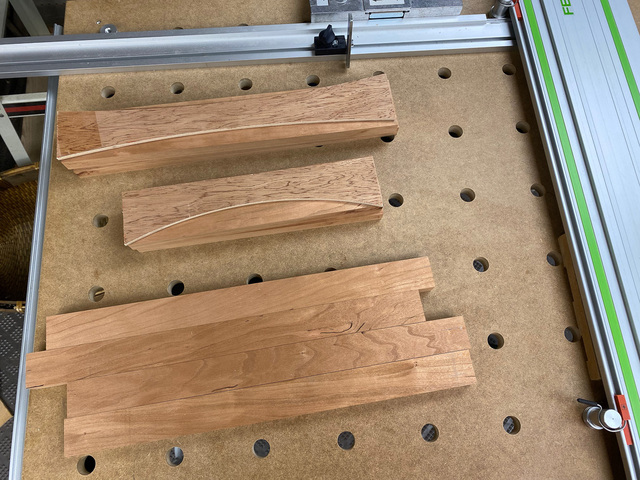
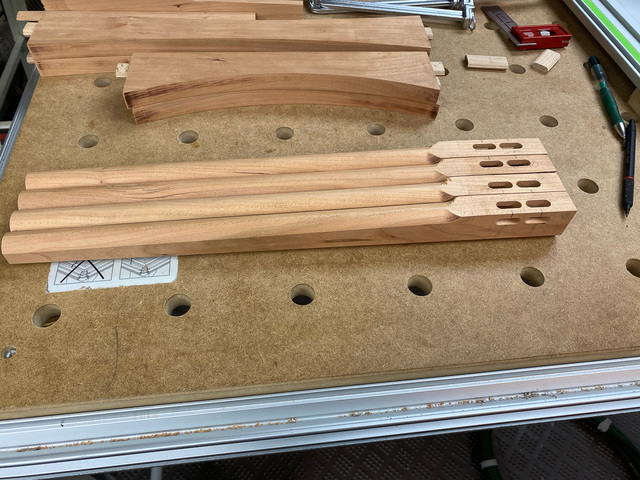
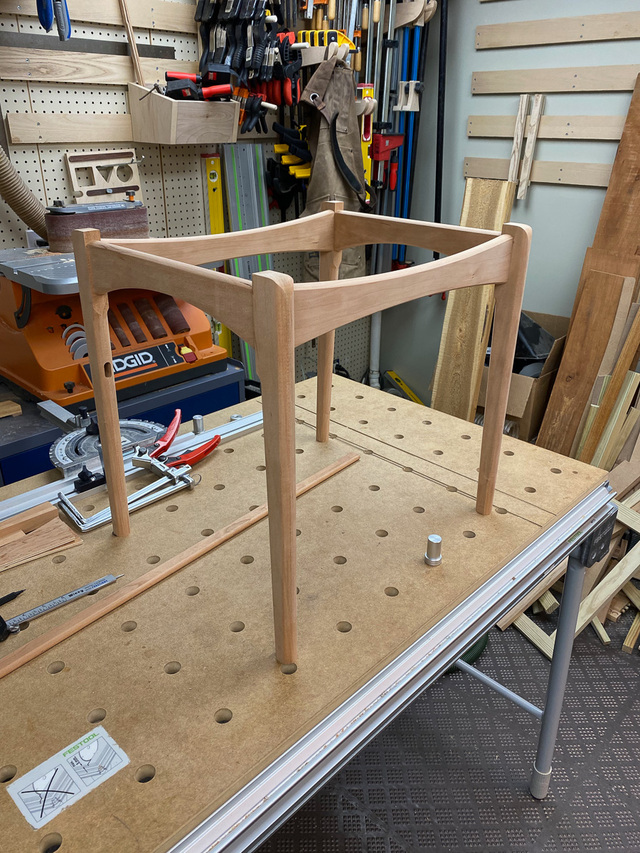
The first full day working on it was a Saturday, and I was able to go from rough lumber to dry-fit stool by the end of the day. I started out with some pieces of 5/4 cherry.
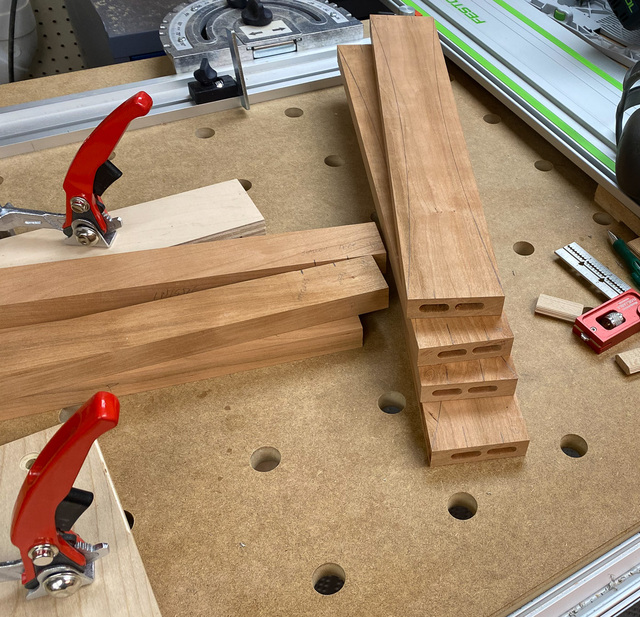
I'm slightly worried about the strength of the joinery on the leg. I essentially created a haunched tenon with two sets of dominos to attach the stretchers to a leg. I probably should have offset the mortises on both the leg and stretchers towards the outside to leave more meat on the leg at that inner corner. I'll make sure my mom knows that there's a lifetime warranty on workmanship if it breaks.
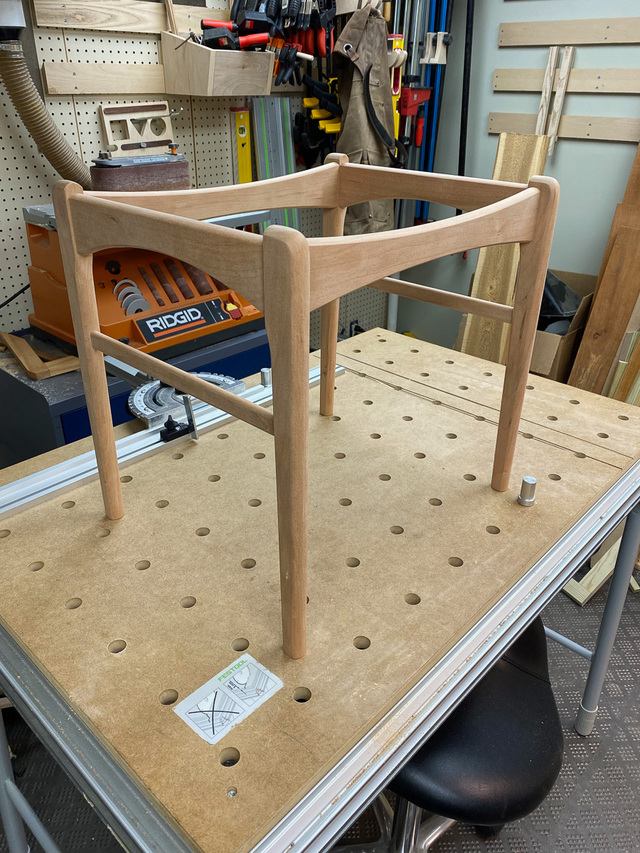
The dry-fit at the end of the day.
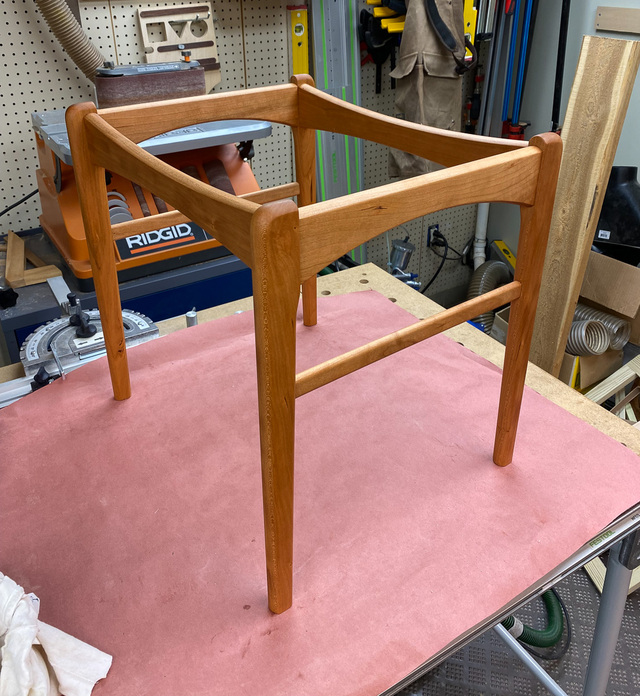
Through the next week things went much slower - sanding, sanding, sanding, then glue-up, final sanding, and finishing. I went with a double coat of Rubio Monocoat. Duocoat?
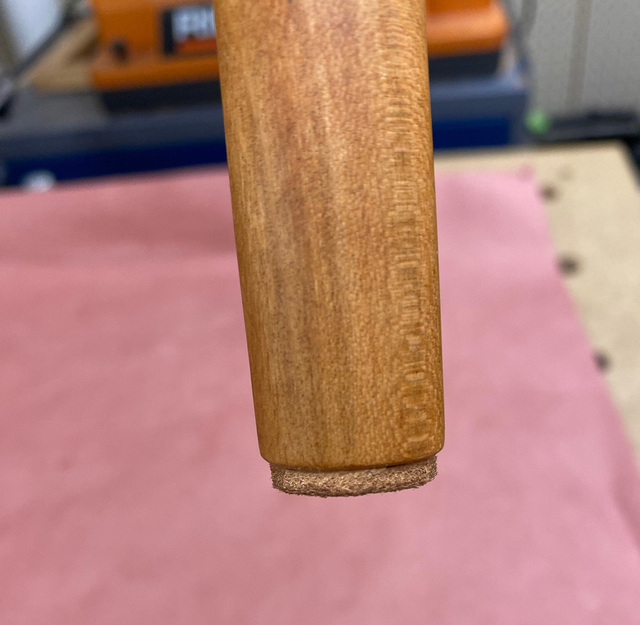
Some old-leather-belt feet, applied with contact cement.
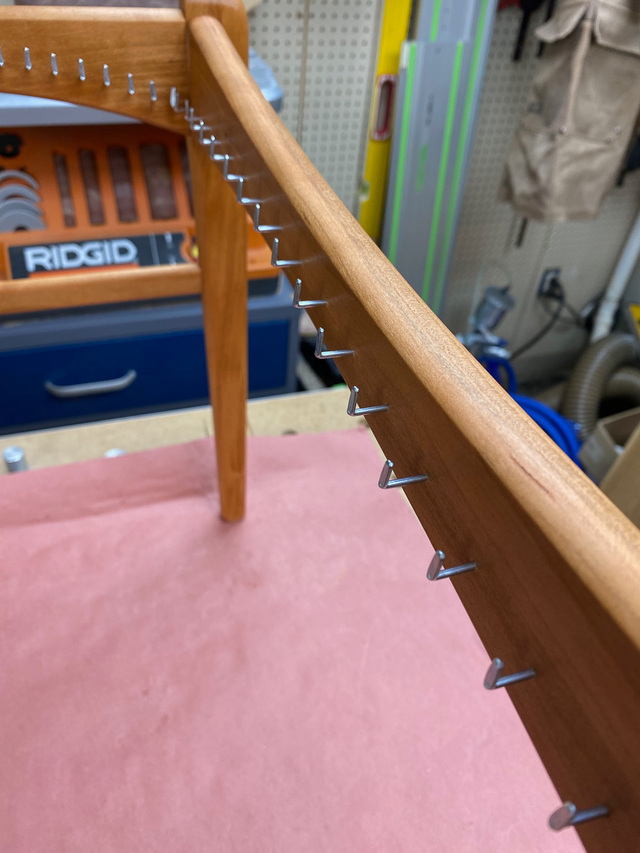
On Friday night, I got all of the nails placed in preparation for a marathon weaving session on Saturday.
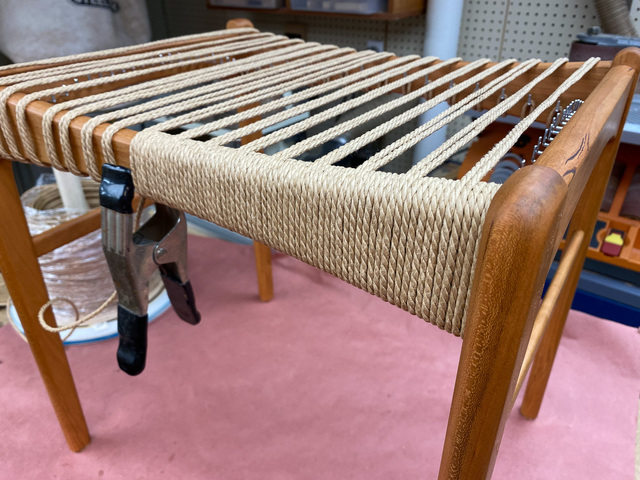
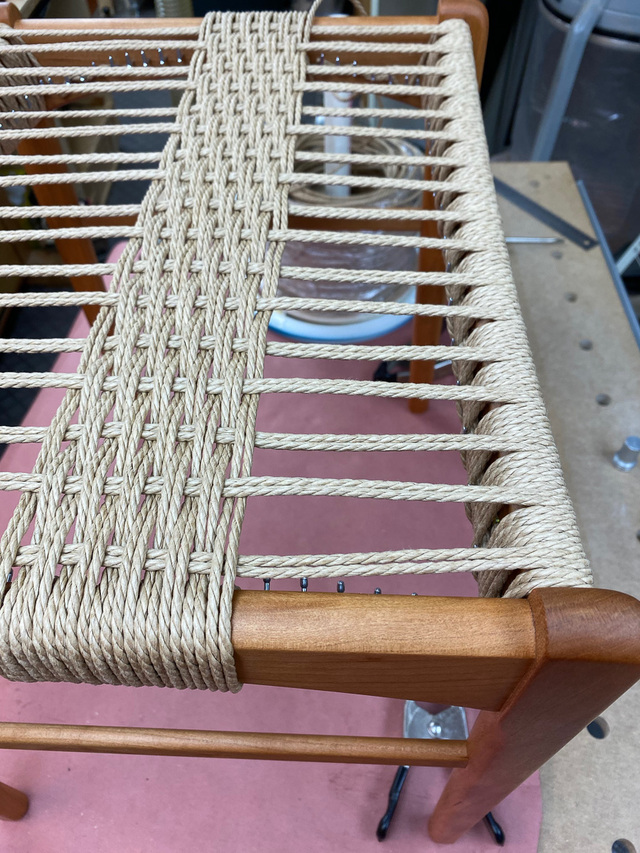
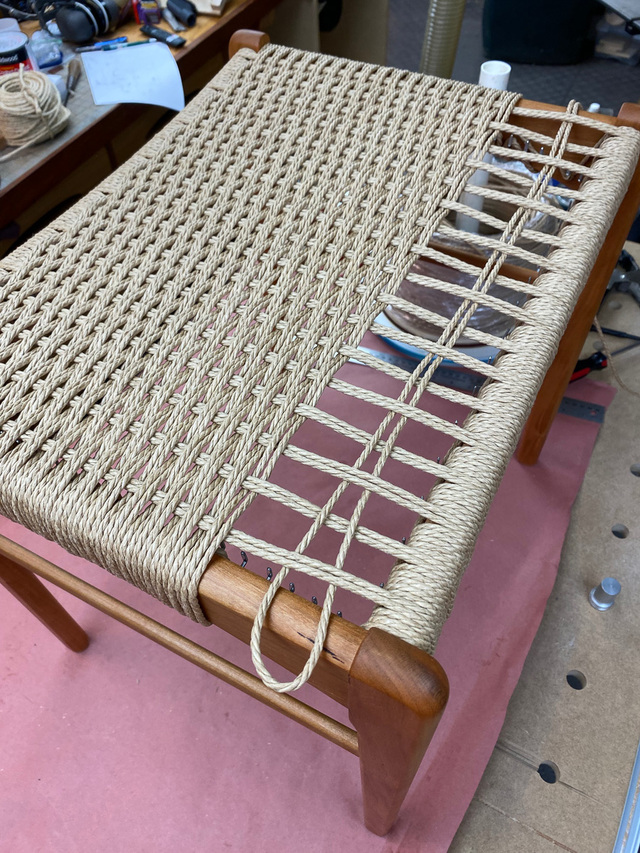
Weaving on Saturday took about 6 hours - 2.5 hours for the warp, 3.5 hours for the weft. One side fully wrapped. Then repeated on the other side.
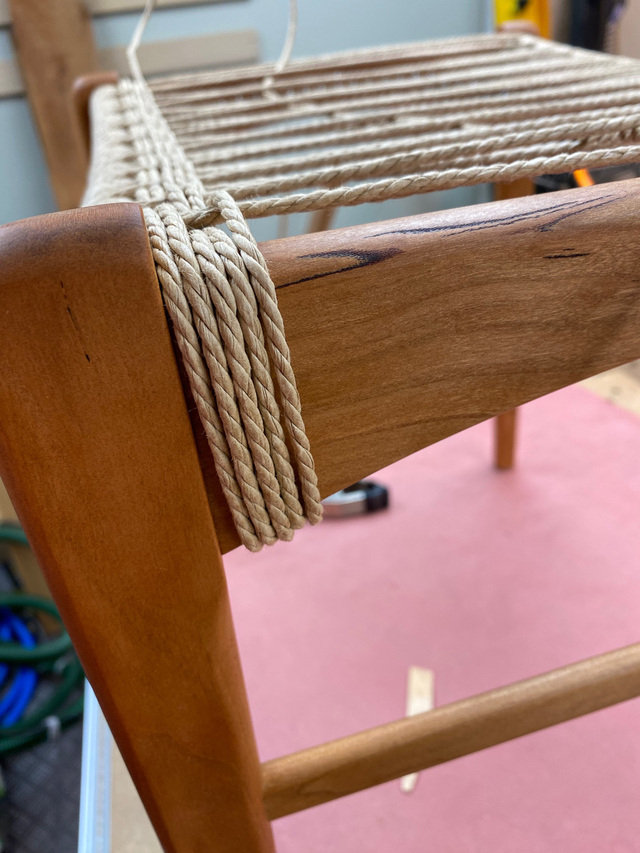
I had a false start on the weft. Normally, this starts on one side and moves across to the opposite side. But I knew that the side stretcher that narrowed towards the center might cause me some grief. Sure enough, I was not able to keep the wraps vertical when starting weaving from the side. The bottom of the wrap kept wanting to creep towards the center. (I've since seen photos of the original where they placed some tacks on the wraps on the underside to close-up the gap at the leg.)
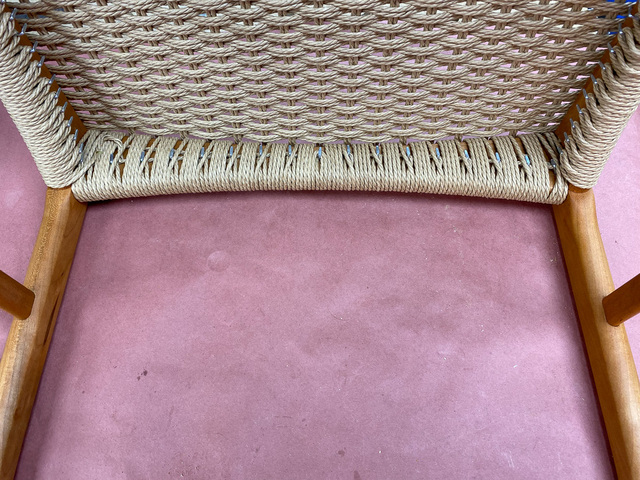
So, I removed what I had started, and began again, this time working from the center out. It would mean closing a tight gap twice as I filled both halves, but the wraps over the sides would be easier to keep running vertical. Once one half was filled, I flipped the stool around and worked from the center out to fill the second half. Some underside photos.
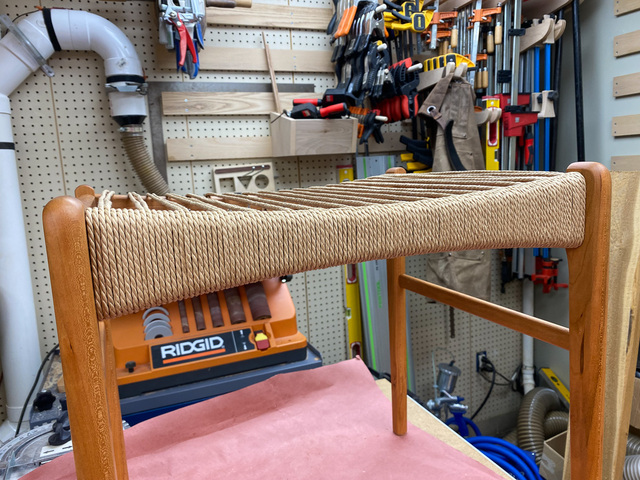
With the nails hammered down, the stool was complete.
Really a beautiful piece. Love the design and execution, a well done is not enough. Do you use any type of aid to pull the weave tight or just by hand. What is the material in the weave? Have done some rattan in the past but this is above that.
Thanks for all the kind words. My mom unwrapped the stool yesterday, and she loved it. So, mission accomplished!
Really a beautiful piece. Love the design and execution, a well done is not enough. Do you use any type of aid to pull the weave tight or just by hand. What is the material in the weave? Have done some rattan in the past but this is above that.
Ron - Danish cord is a paper product, three strands of twisted paper. It’s just hand-tightened as it’s woven.
This looks great, also a fantastic write up, I get your reservations about the lack of material on the inside of the top joint but won't the weave help strengthen it?