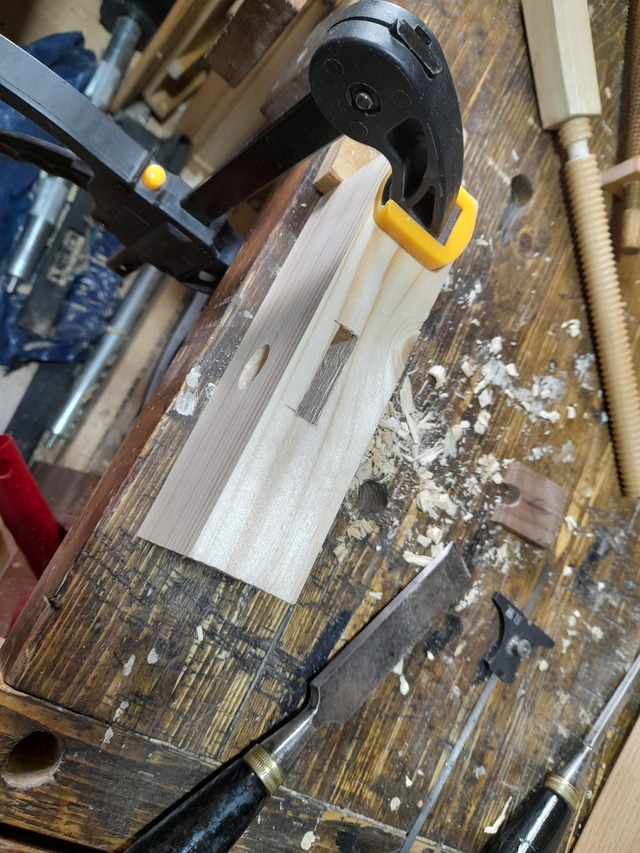
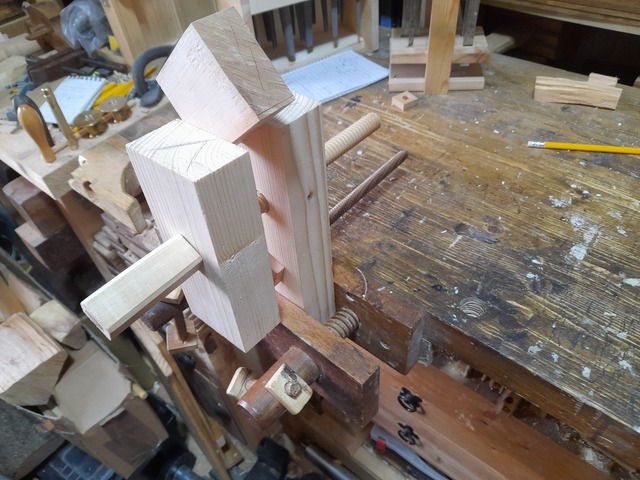
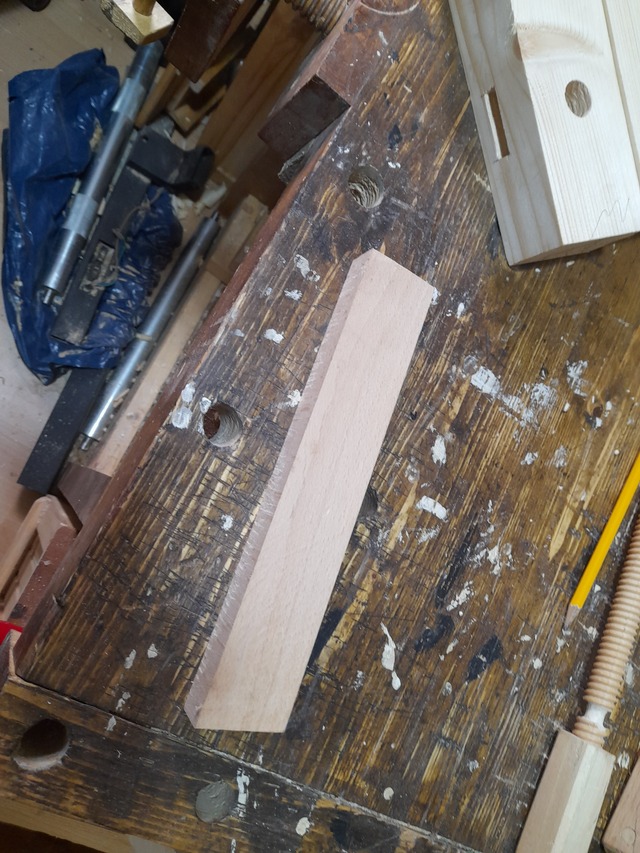
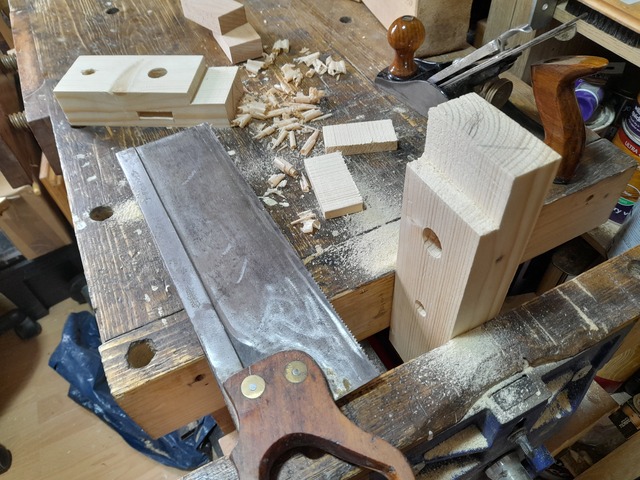
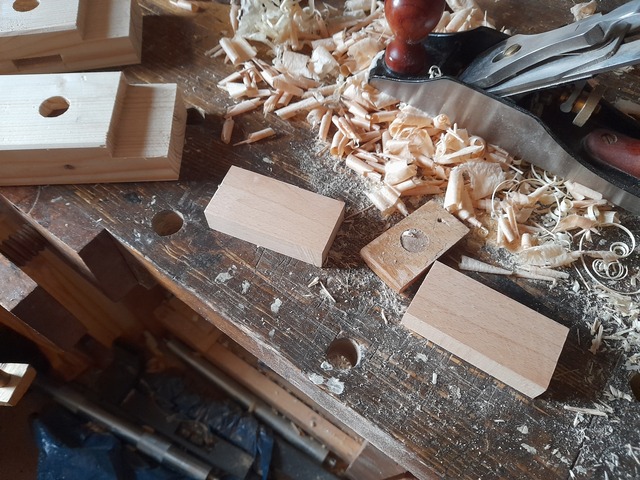
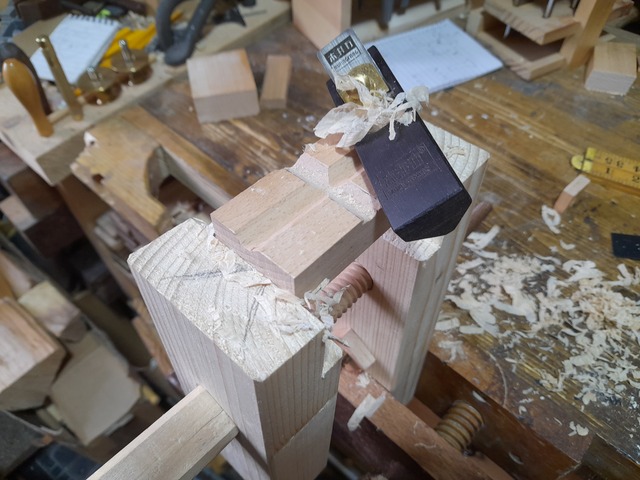
So, first thing to do is chisel the slot in the right chop. And that's about all that's needed for a working vise. Just need to add some jaws to it. Grab a scrap of beech Cut out spaces for the jaws in the chops Square up the jaw blanks Use the vice to hold the jaw while I plane in the slots in the jaw to hold round pieces, I'll leave the other jaw flat and just face it with leather. The vise works well anyway, I wasn't sure if I'd get some twisting but everything is staying square. And glue the jaws in place And that's a working vise - anything after this point is just making it look a little less ugly. I'll do that tomorrow after the glue has fully dried.
Dave Polaschek Nice, Mike! Now do it again, but start from a piece of firewood?
It'd be nicer made from firewood - all the firewood around here is silver birch :)
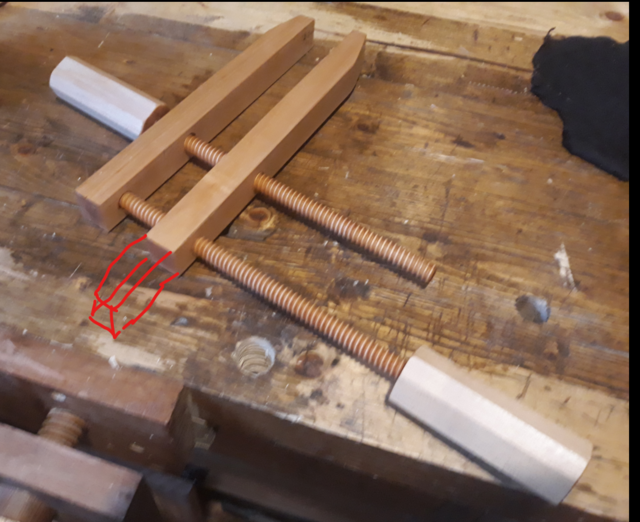
If (well, OK, when) I make another one like this, I'm making the bottom screw the same thread as the top, threading the bottom opposing chop and putting a handle on it so I can spin it like a parallel clamp. It was about half way through the build when I thought Hang on this is just a parallel clamp with 1 long arm and some bling, The garter and jaws are a nice touch, but it's just the extended bottom of the chop that makes this much better to use than a clamp. It's a good prototype for what will work and not work in the full size version, but for this style that clamps in a face vise I've spotted enough things while building it that means I'll be doing a new one in 6 months or so.
RyanGi I do remember the turning saw run..made one myself as a result!! Good stuff…
Eric - I mean make it more like a parallel clamp so it can be spun to clamp width, but extend one of the chops so it can be clamped and add some jaws. This kind of thing.
Same on the one I just made here - definitely the way to go for a full size one.
But for a mini one that mounts in a vise I think twin screw for speed of adjustment might be the way to go, you just spin the entire vise like bike pedals - I thought I'd be able to easily find a video showing it, but apparently not.