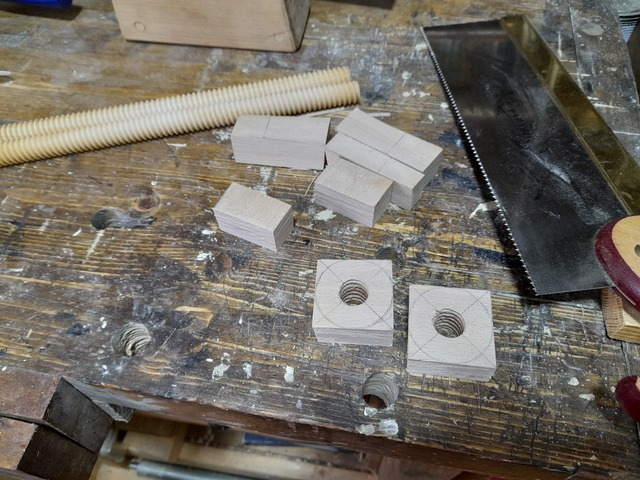
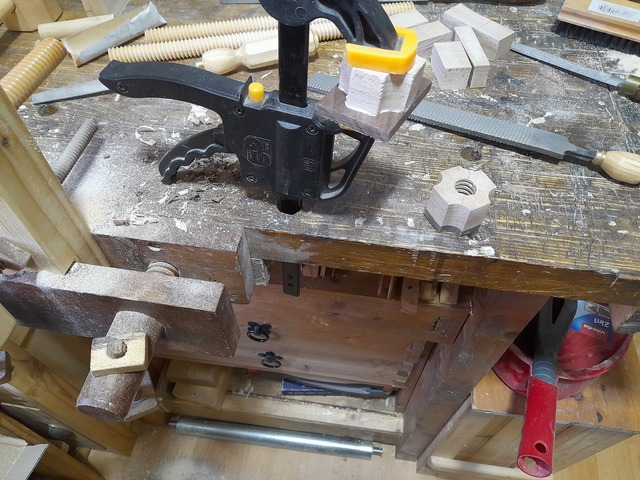
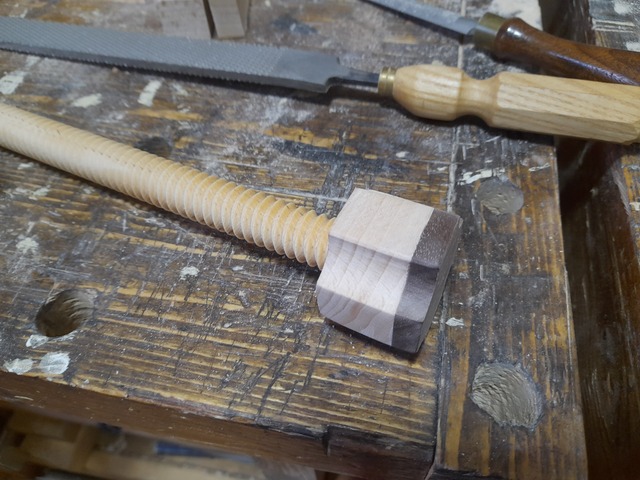
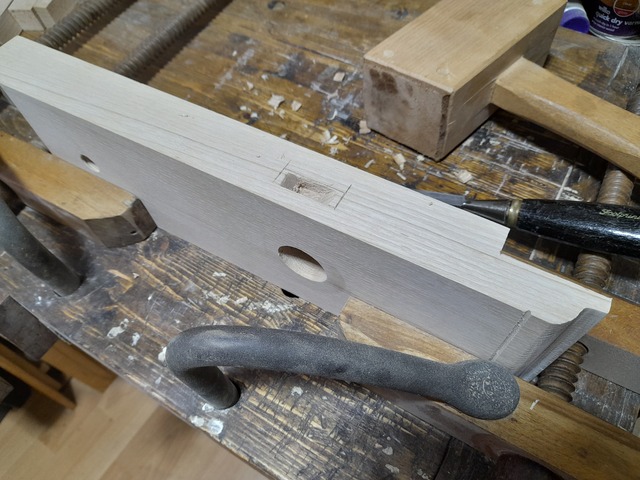
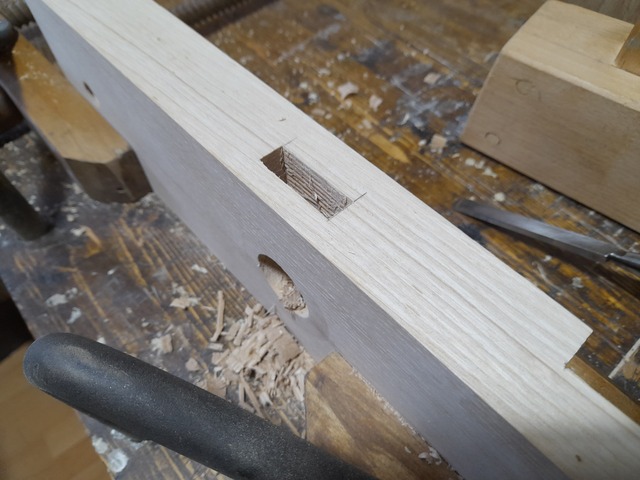
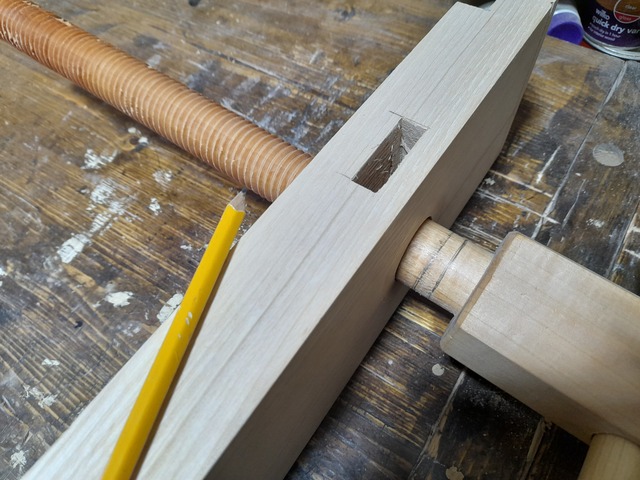
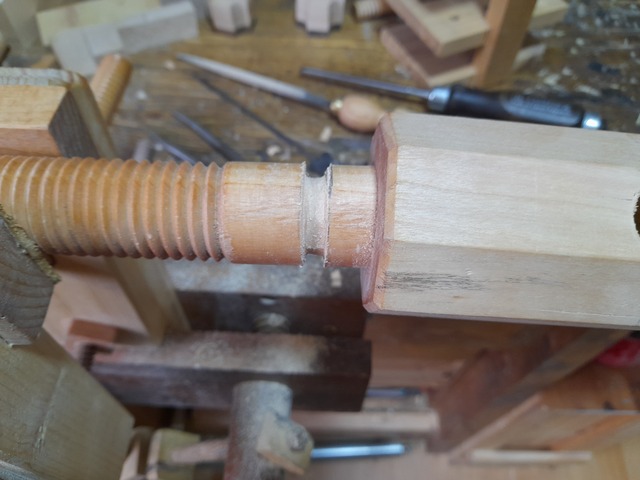
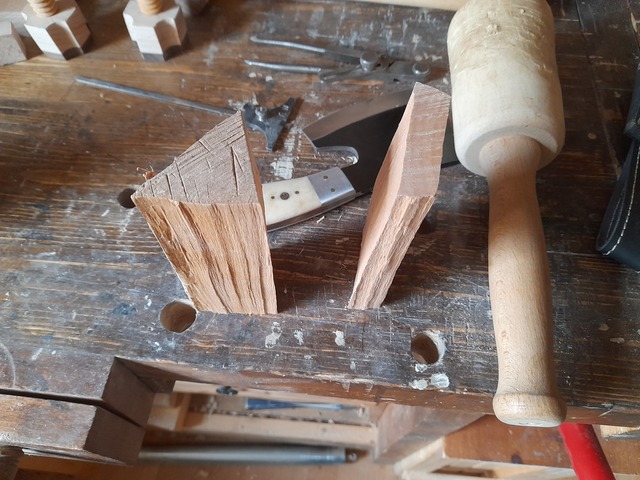
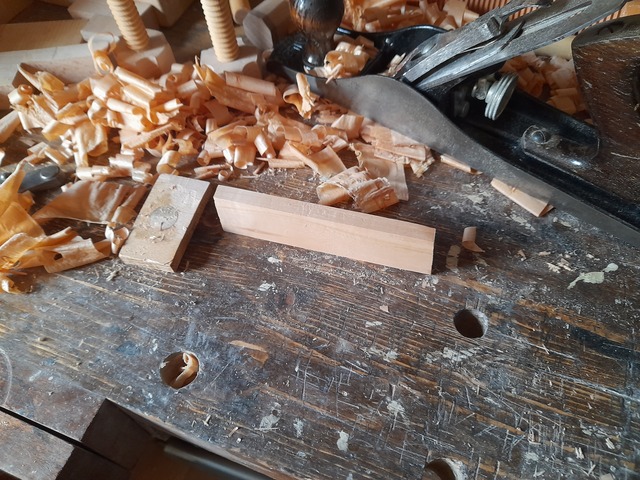
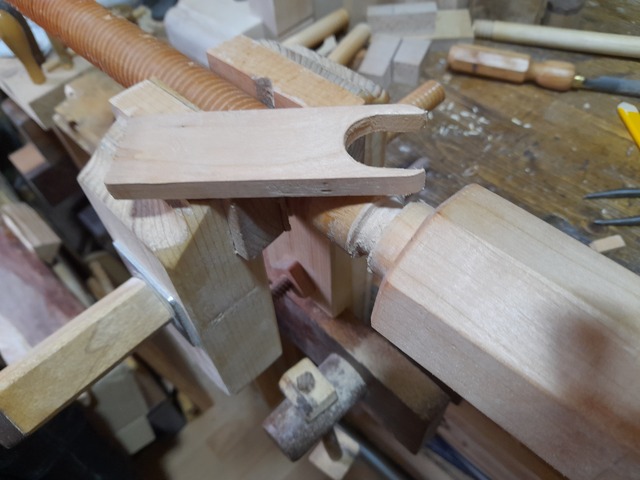
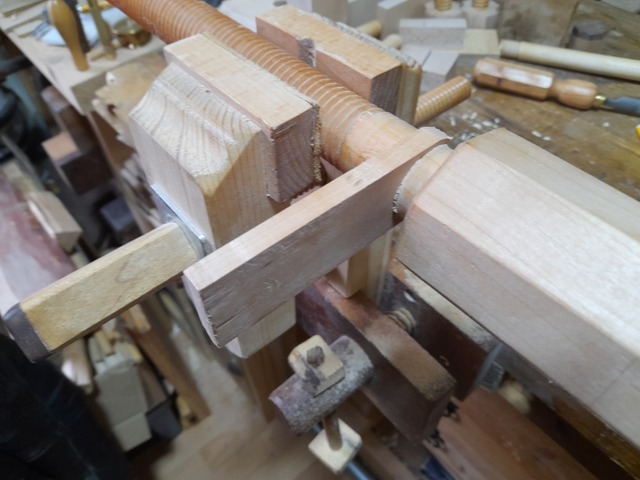
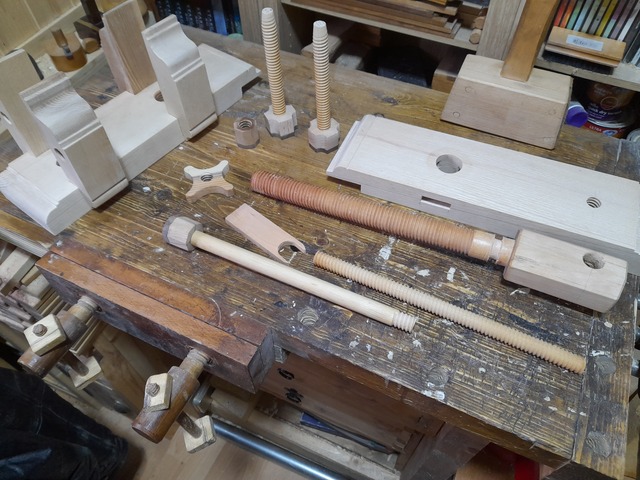
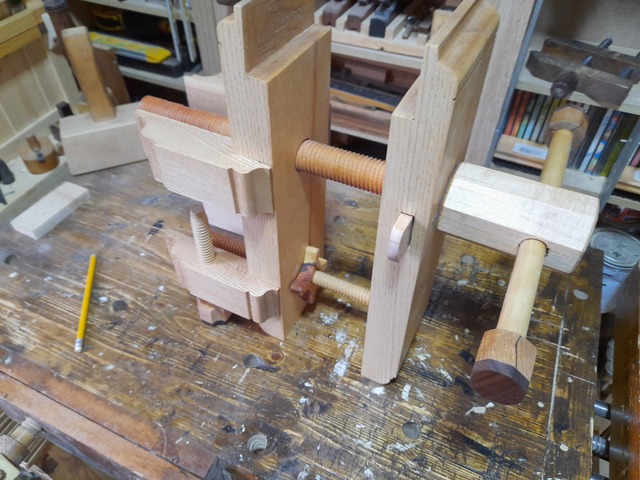
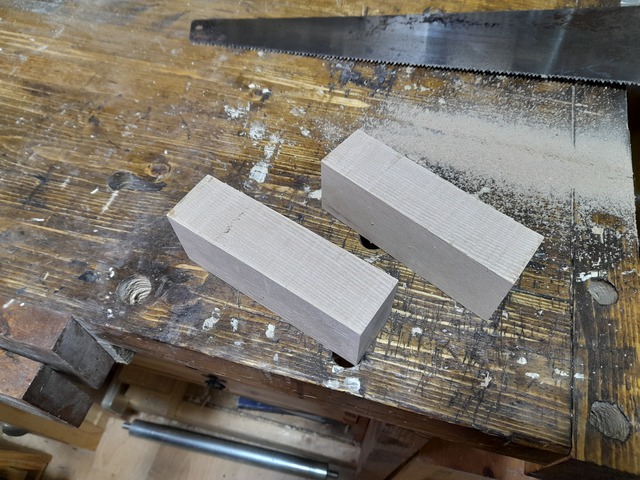
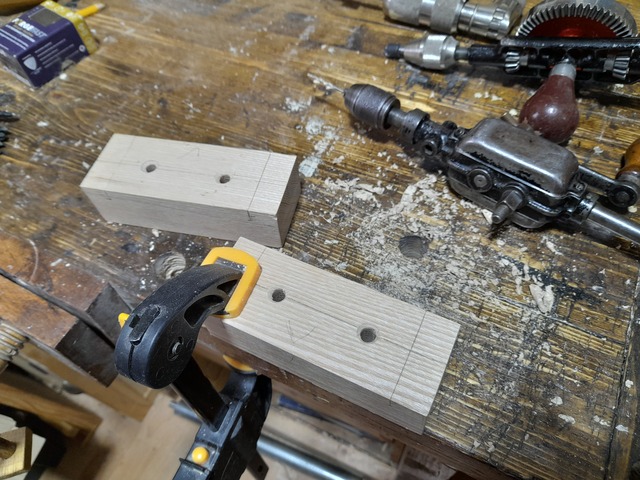
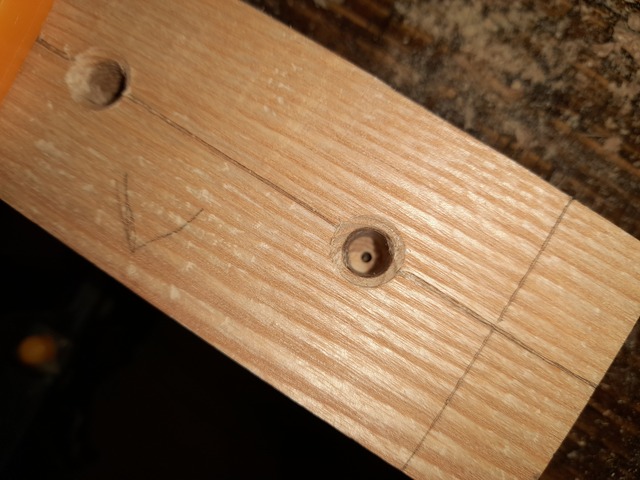
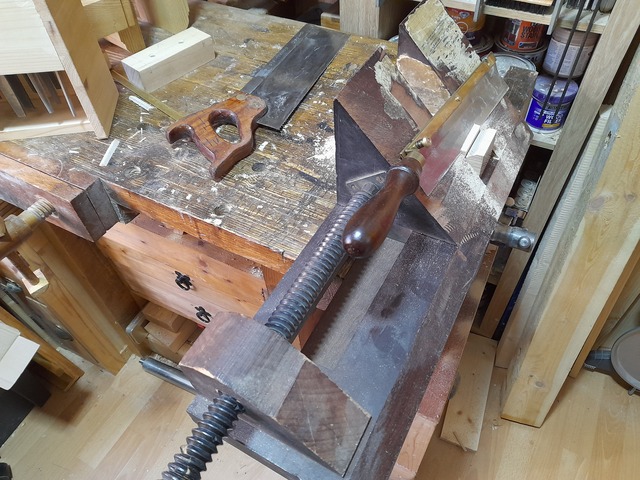
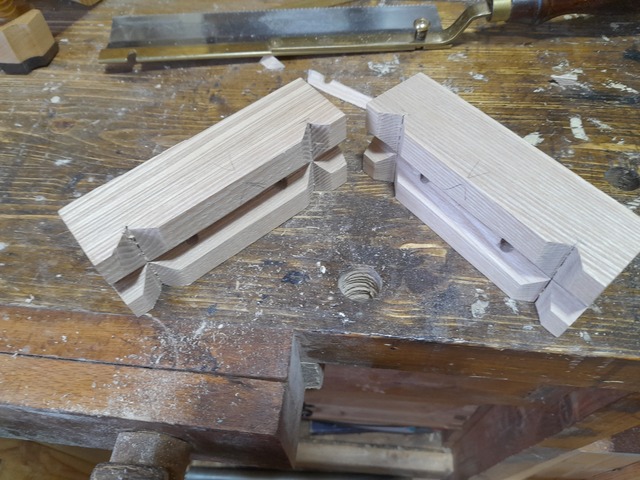
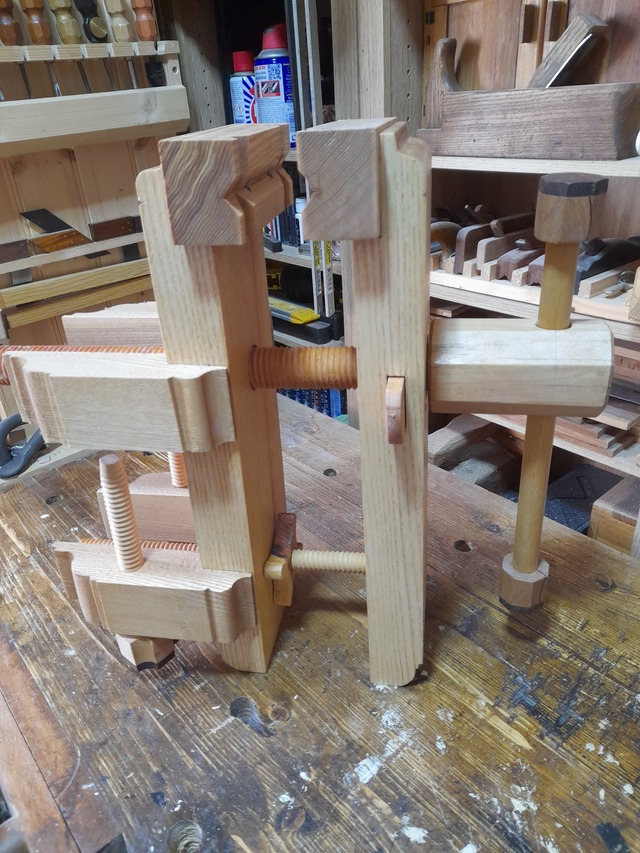
Make the handles for the fixing screws. Just rasp into shape and add a bit of walnut to the end to hide the hole. Mark up and chisel out the garter slot (Making sure to do it in the right chop this time) And mark up the spot on the screw to make the matching cut. Just chisel and file it out. Make the garter. And that's all the bit's (except for the jaws) The jaws are just another chunk of Ash with grooves in them for round stock (shout out to Kenny for the jaw layout). Drill screw holes and deep countersink for attachment. Cut the grooves on a mitre jackwith a flush cut saw. And done
Thanks for the blog series B_UKy... didn't comment on individuals, but the overall would be a sin to pass up.
While I may never build such a vice (I have my monogrammed handscrews for lightweight work... meant as a compliment and not a derision)... I have too many vices... I have picked up many good ideas for other unrelated projects... though I have replaced in my mind, your block screws with my go-to Beall threaders.
It's these type of blogs that help us hackers grow our woodworking knowledge.
Many authors may think what they do is ho-hum, but in reality, many readers may get inspiration... Please don't stop... I appreciate it takes that extra effort, but many will/should appreciate it.... I certainly do.
If your first cut is too short... Take the second cut from the longer end... LBD
I find I'm using the small one in place of the handscrews for small work, this one was mostly to replace my saw vise, although I'll probably find some other uses for it as I go along.