Share your craft projects
Make new craft buddies
Ask craft questions
Blog your craft journey
Woodworking Blogs
view blog series
I was at salvage right when they opened. I saw a new face. A tower of a man with a full head of fluffy white hair. Must have been over 7-feet tall ...
The strong back is built with a top and bottom layer of OSB and a frame between them. This yields a very stiff structure that will maintain flatnes...
Purchased from Urban Ore for $4
[IMG_7634.jpeg]
Here is the before:
[IMG_6750.jpeg]
Here is the after:
I disassembled it, cleaned it, polish...
The neighbor restores furniture and sells it at fairs. She picked up some ratty rattan chairs where the webbing was gone.
I said I could make her ...
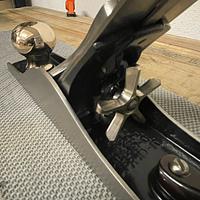
Picked this up for $4. Saw it on scoutcrafter’s channel a few days after it arrived at my local salvage. He’s on the East coast and nowhere near me...
Saw this and knew it was worth the $25 they were asking. Sure enough, these go for $55 new on eBay. Here I snagged it for less than half with zero ...
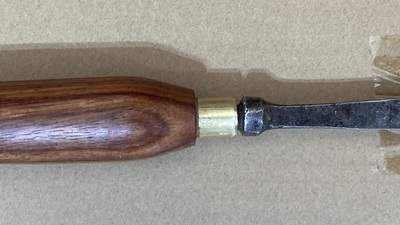
I bought a Lost Art Press engraving tool a while back. The short metal handle works fine for putting it into a compass, but for freehand use, it’s ...
Before testing I took the covers off. Tires were pretty gummed up. So I grabbed my Red Devil scraper and spun the wheels while holding the scraper ...
While working on the Altai Project Logo carving, I discovered I needed a narrow skew in order to get down into some of the corners. I have a handfu...
Found this for $9. You better believe I scoured the place top-to-bottom looking for the Kapex. Nowhere to be found.
This is the first Festool thin...
Also, not a typo. Red Zebrawood. Just came in.
[IMG_7391.jpeg][IMG_7390.jpeg]
No, I don’t work there. I just go in a lot.
This is interesting but...
I use a more error proof method to tile the forms in the CNC. There are 2 reference holes in a temporary spoil board. Two matching holes are cut in...


