Share your craft projects
Make new craft buddies
Ask craft questions
Blog your craft journey
chair
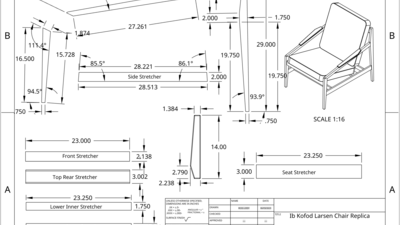
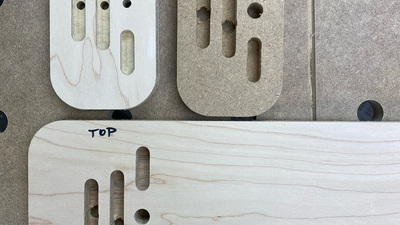
With all the tenons cut on the stretcher blanks, I used a router template to cut them to final shape. I used the test front stretcher as my templa...
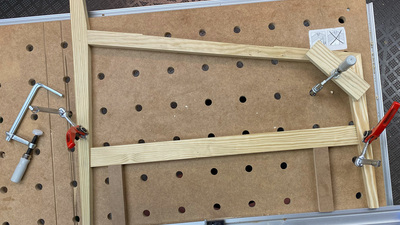
Simultaneously aligning all 4 components of a side assembly gave me fits. Very slight errors in length and/or angles meant that as I sequentially ...
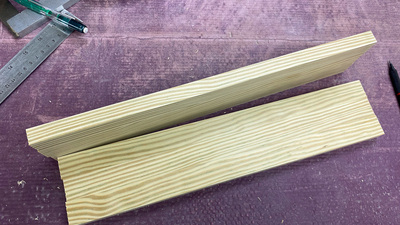
My last pair of blanks are for the armrests. I started by planing them down to 5/8" thick, which is the final thickness for rear of the armrest. ...
I completed the remaining stretcher mortises in the two pair of front legs and trimmed the outline on the test stretcher.
[20241124-IMG_9577.jpg...
As with the other replica chairs I've made, it requires spending quite a bit of time looking at example photos from different angles in order to ma...
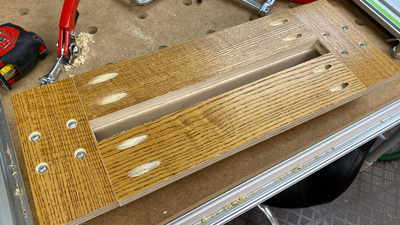
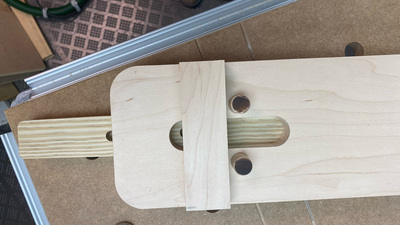
As mentioned earlier, the armrest will fit into a 1/8" deep recess on the top of the arm. I made this router jig (from scraps) to use to cut the r...
With all the major shaping and sanding completed, I had one last task before glue-up, and that was to pre-drill the seat frame for all the L-nails....
While I had been thinking about how to make the arms from the time I had started scheming to build this chair, by the time I got to this point, I s...
There were a couple things I wanted to verify before the final glue-up:
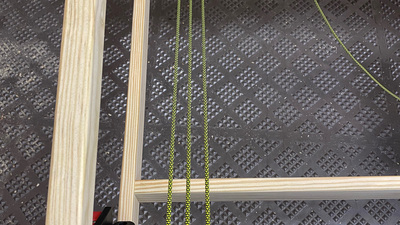
• Could I keep the paracord lacing tight enough so that it would support a ...
I made 3 variations of the jig for drilling the bolt holes in both the ends of the stretchers and into the side assemblies. The first one was just ...
The Wegner chair has a pillow rail that fits into a channel at the top of each of the uprights. The rail slides through a head pillow sleeve, and ...
The visible front edge of the seat frame is a full 1" thick, but tapers to 3/4" thick on the back side. The sides and back of the frame are all 3/4...


