Share your craft projects
Make new craft buddies
Ask craft questions
Blog your craft journey
chair
To me, a chair stretcher doesn't seem like something that ought to require a lot of design work, but I managed to spend 3 days trying to work out s...
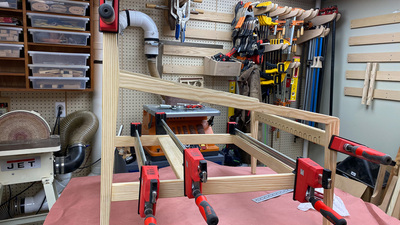
I still need to do some shaping and sanding of the legs and arms before they'll be ready for glue-up, but I took some time to work out how to clamp...
Now that the main chair frame is nearly done, I can move on to the independent backrest frame. I started by creating another template to define th...
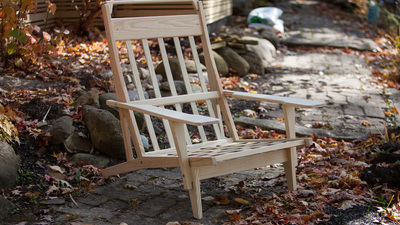
Well, finished without finish, but structurally complete. Here's the completed chair next to the deck skirting from whence it came.
[20221016-1G6X...
I've had a plan to stain these chairs from the start of the project. Red oak looks very 80's-furniture with just a clear finish, which wasn't the...
I'll be using a pair of Dominos at each end of the stretcher to join the stretcher to the leg assemblies. With the stretcher clamped in position, ...
With all the last minute shaping and sanding complete, everything was ready for the final glue-up. There's not really a whole lot to show here. I...
I think that the row of finger joints between the arm and leg is a perfect example of honest design. The joint provides incredible strength to the...
A fresh 10lb spool arrived at the end of last week, and I got started making good use of it. I wrap the spool in stretch wrap and pull the loose...
(Originally posted in October 2022)
In the summer of 2022, I started a project to replace the skirting around the perimeter of my deck using 5/4 p...
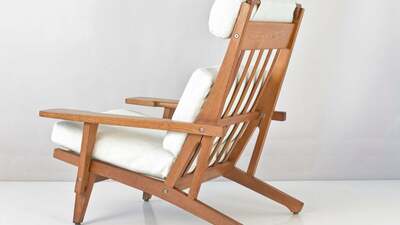
I can't really tell if the ends of the stretchers on the original chair had shoulders around the tenons or not. I decided that I would use shoulde...
Now that all of the main chair components are fitted (minus the free-floating backrest), I can begin shaping the pieces to their final form. I sta...


