


Share your craft projects
Make new craft buddies
Ask craft questions
Blog your craft journey
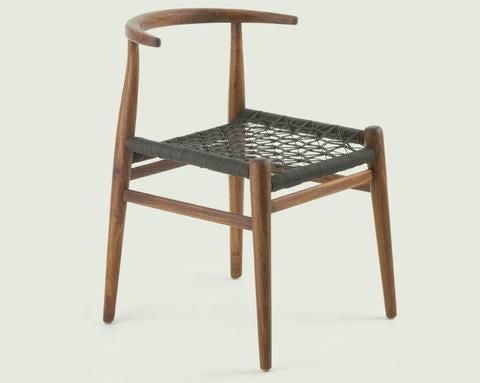
chair


I used a 1/8" radius round-over bit in a palm router to ease the edges of the weaving slots. Nesting the rails together provided a stable platfor...

Before I started weaving the backrest, I made a final check on the cords-per-inch with the actual cord I would be using. It turns out my original...

With one of the salvaged shell sections selected, I worked on a number of overlapping tasks in repetitive iterations - looking at orientation, sea...

I've been kicking around ideas on how to fasten the chair shell to the stretchers, and I think I have the front mounting worked out. The shell do...

I used a 3/8" radius round over bit to shape the stretchers. To avoid tear-out where cutting (nearly) end grain in some areas, I made multiple pas...

[Note: I am in a process of moving from Lumberjocks, this a blog series I started in 2014]
This blog describes the long process of designing and ma...
With the mortises complete, I put a 1/8" edge round-over on most of the parts and sanded them all smooth. It's easier to get this done prior to as...

The secondary stretchers separate the main front and back stretchers and complete the seat frame. The next step in the project is to get those sec...

For final fitting of the chair shell to the back stretcher, I spent some time sanding-down the rough fiberglass in that area. Eventually, the enti...
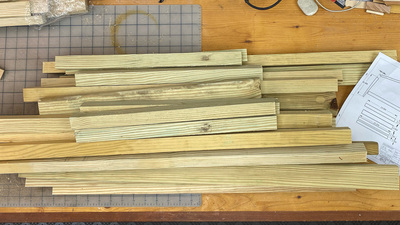
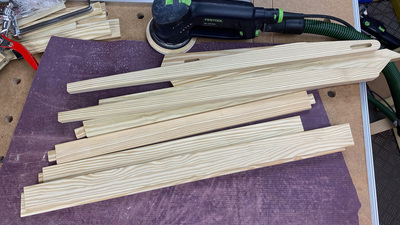
Most of the pressure-treated scraps from my deck skirting project were pretty narrow - around 1-1/8" wide. Most of the blanks needed for the chair...

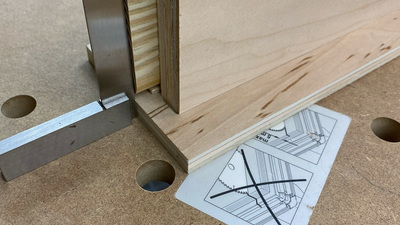
While the edges of the backrest parts were still square, I cut the mortises for the dominos. Ganging the rails together made a self-supporting str...
This step is out of order compared to the actual sequence of the build, but it seemed to make sense to present it now. The back receives a set of ...