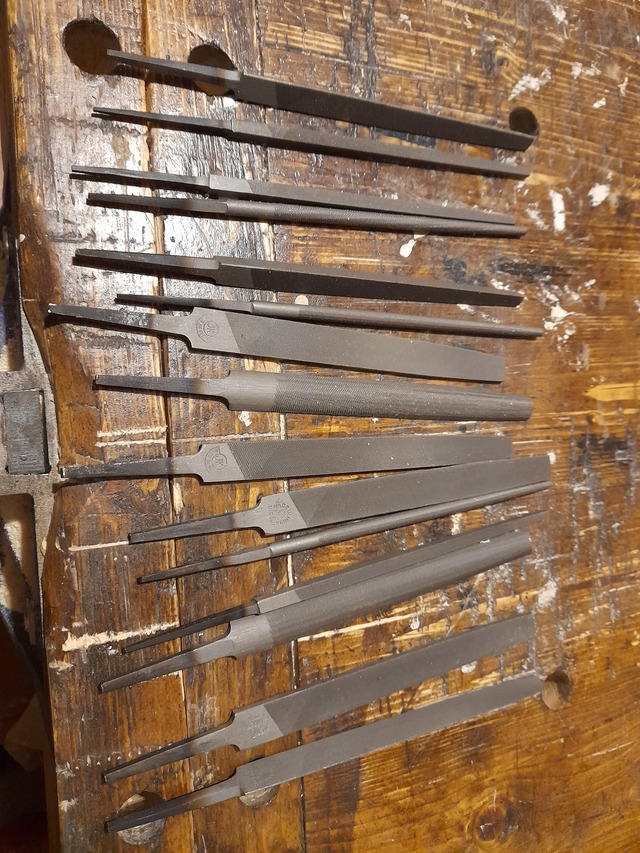
3 each of Triangular, Square, Rat Tail, Half Round & flat in Bastard, Double Cut & Smooth.
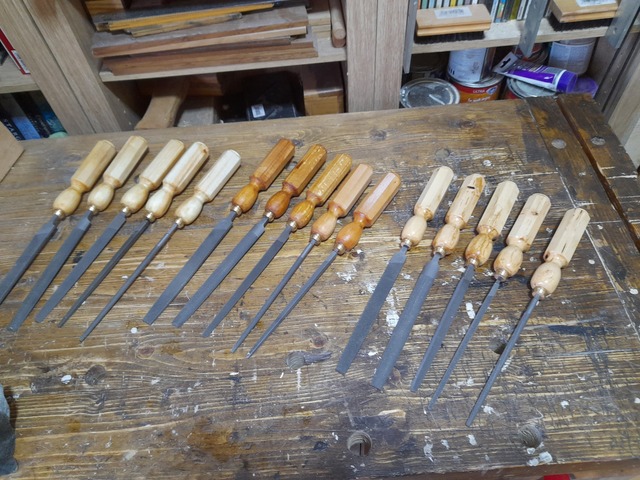
So, I Figure I’ll use different wood for each cut type. This should mean I can find the right file easier.
Looking around at what I’ve got lying around I’ll go with Birch, Willow & Hawthorn as they will all settle in to colours that are distinct enough to tell apart (after they’ve got a bit of a suntan at least).
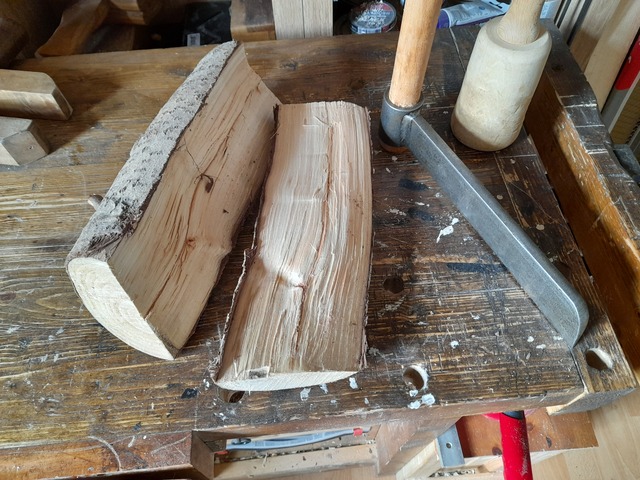
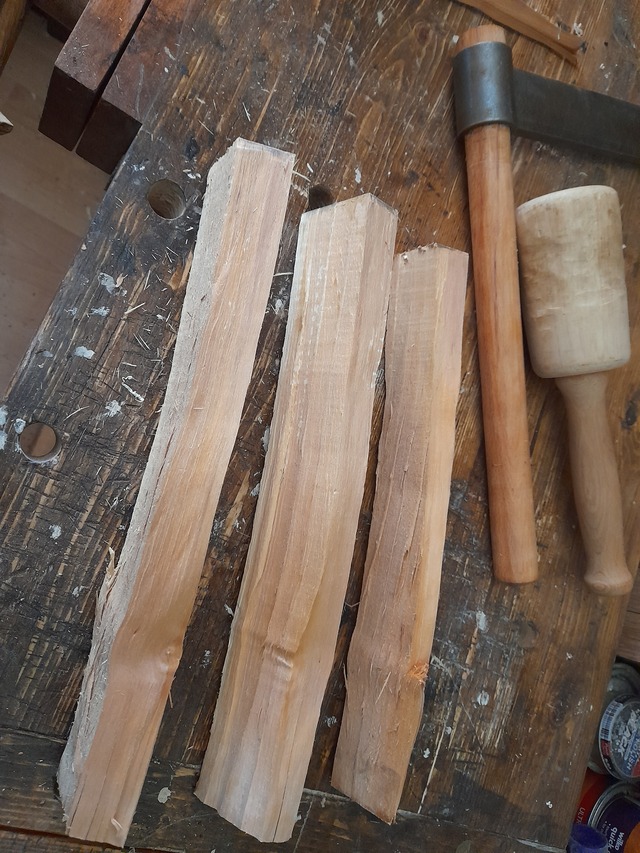
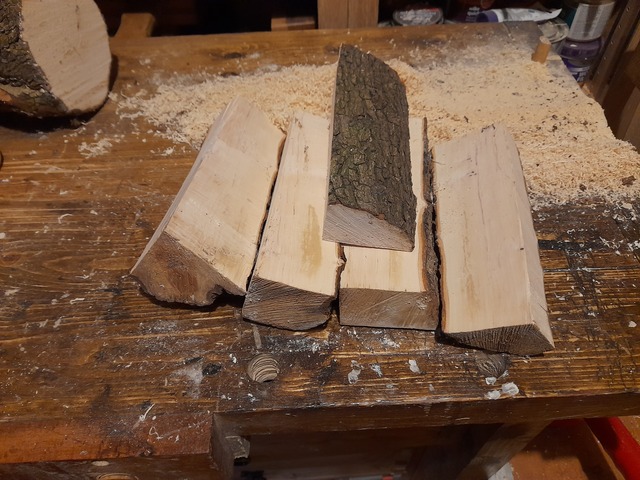
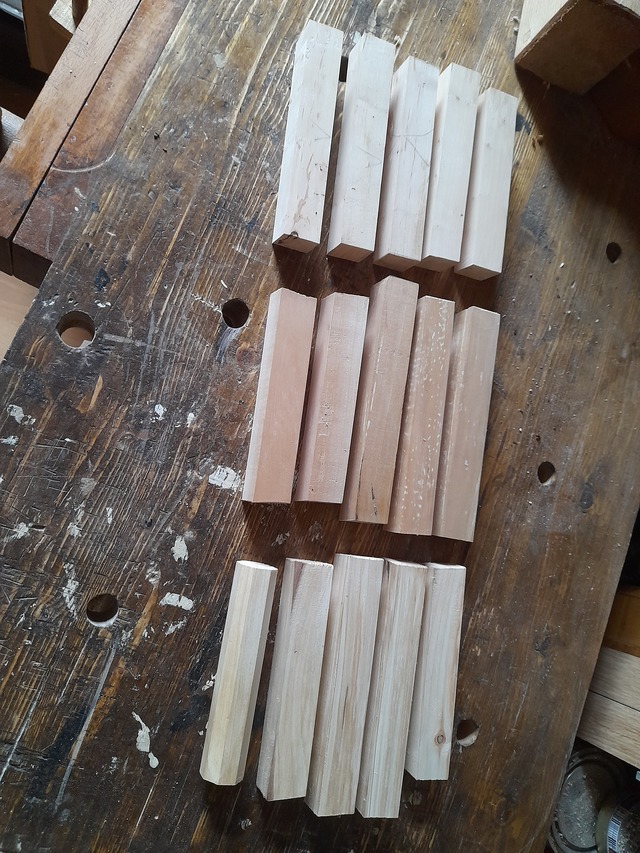
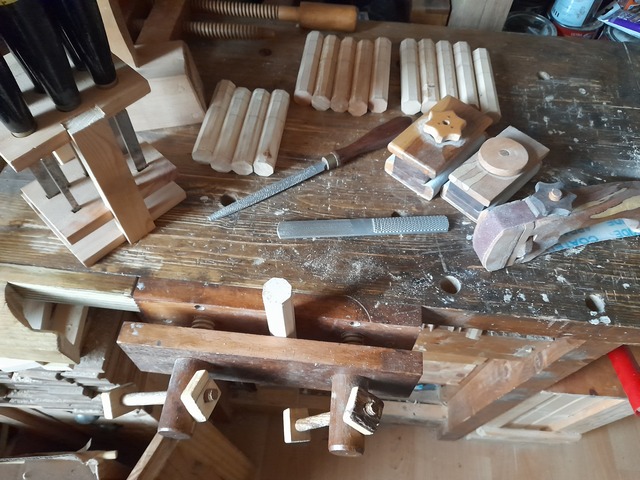
So, stock prep
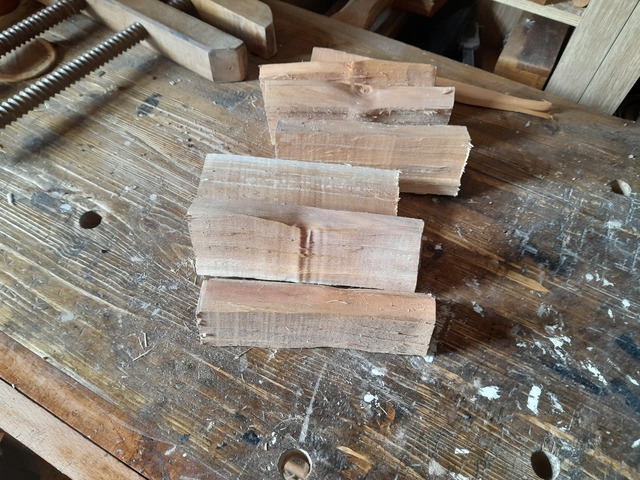
Rough dimension some Birch
And some willow
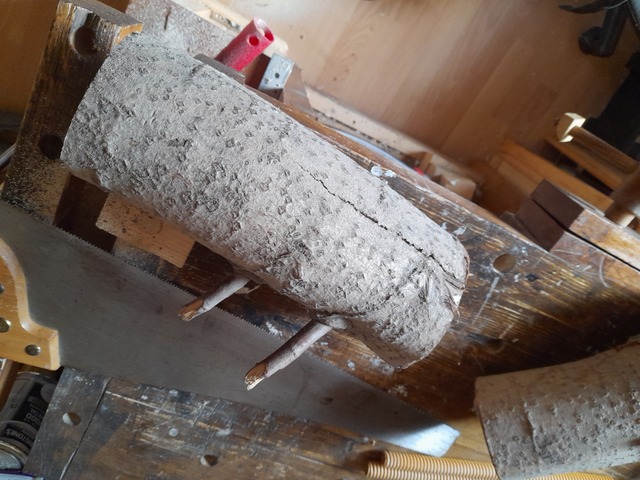
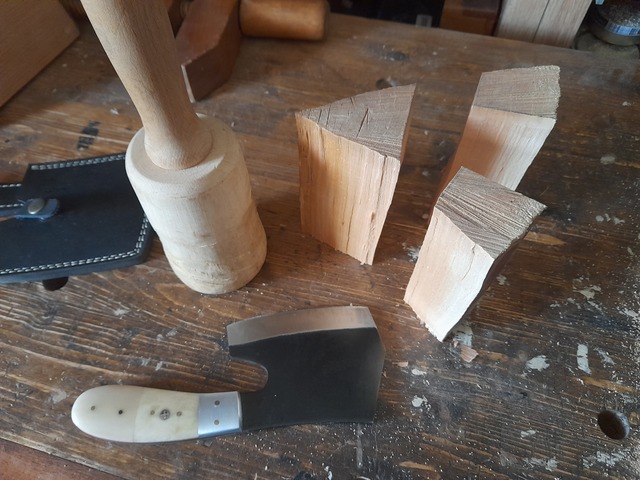
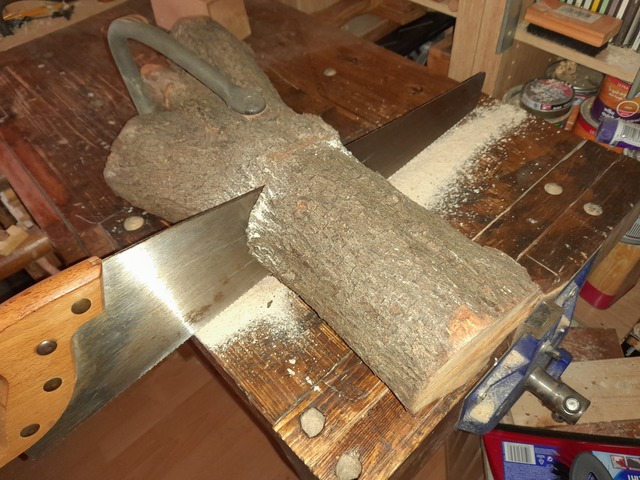
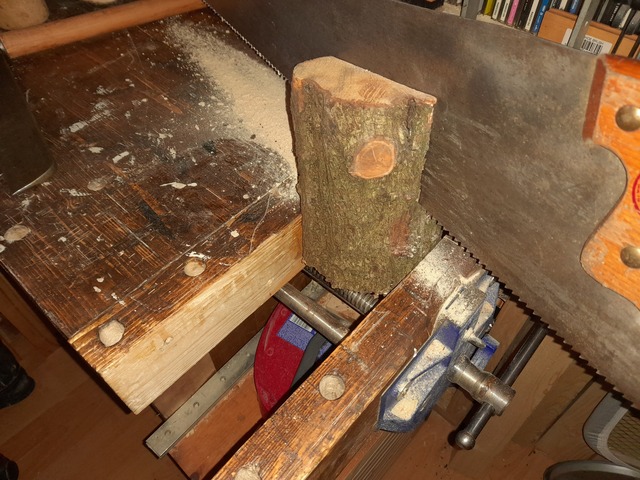
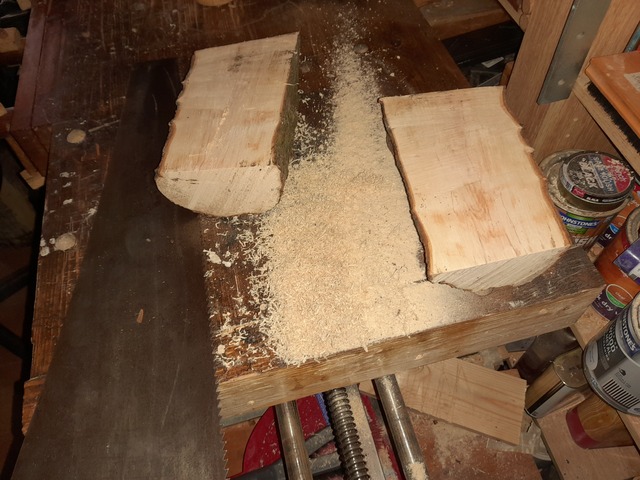
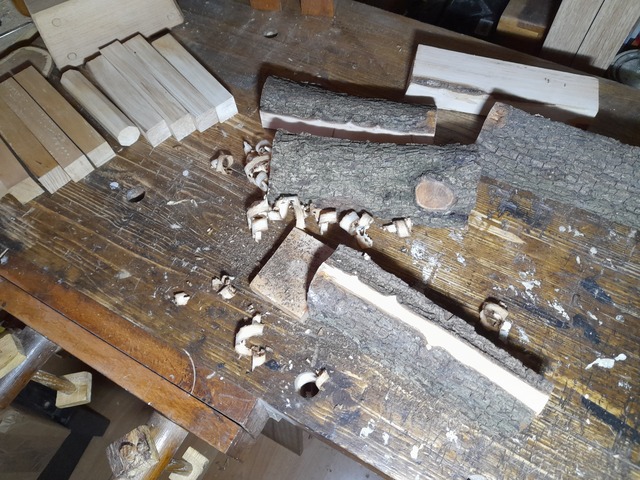
And the hawthorn, this isn’t 100% dry yet, so there is no chance of splitting it and I’ll have to use a saw.
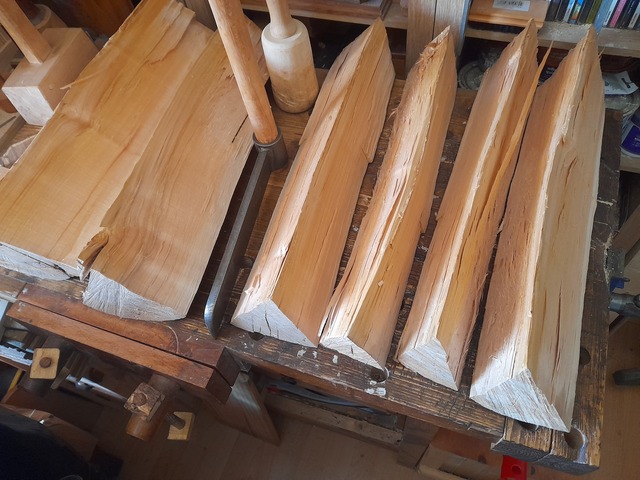
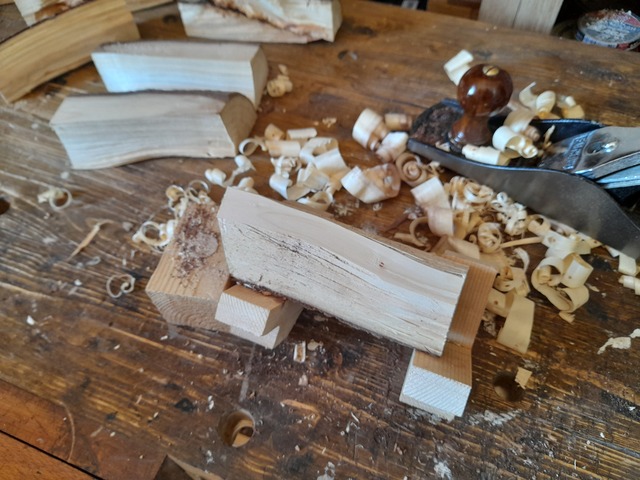
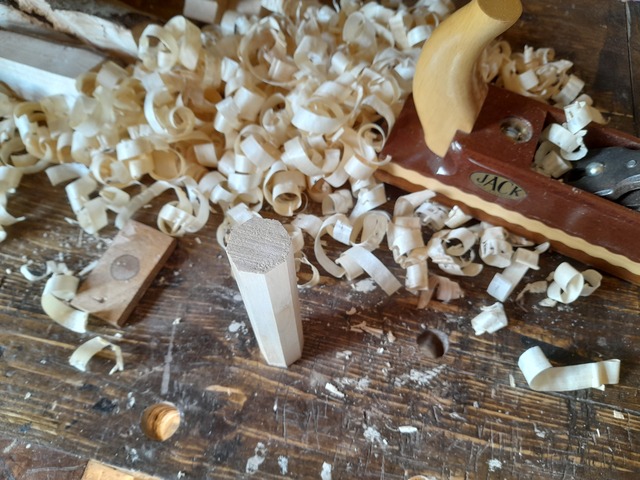
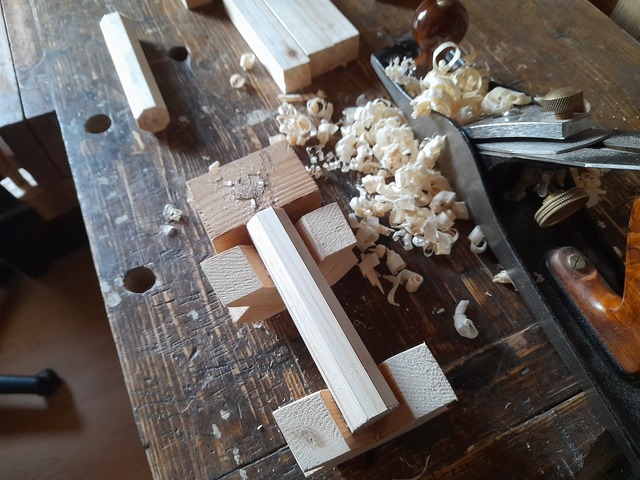
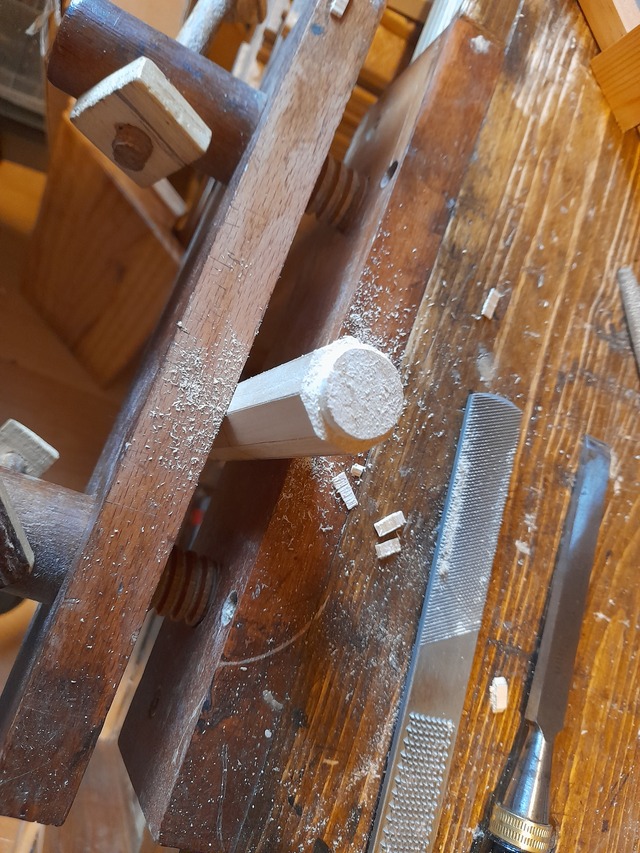
OK, to work out the size I want to end up with I’m going to just freehand one of the Birch blanks into an octogen.
Which gives me the size I need for the square blanks, so I can make those
In Birch
And willow
And hawthorn
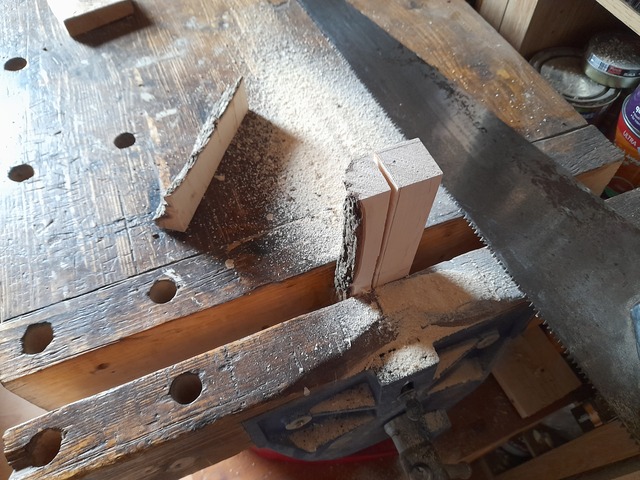
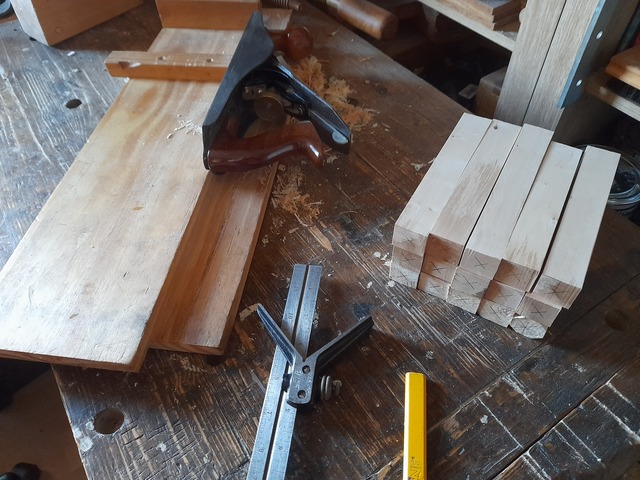
Went back and resawed some of the hawthorn close to final size because I was bored with planning by this point.
And squared up – I ending up at about an inch, so I’ve, essentially, just made a bunch of pen blanks.
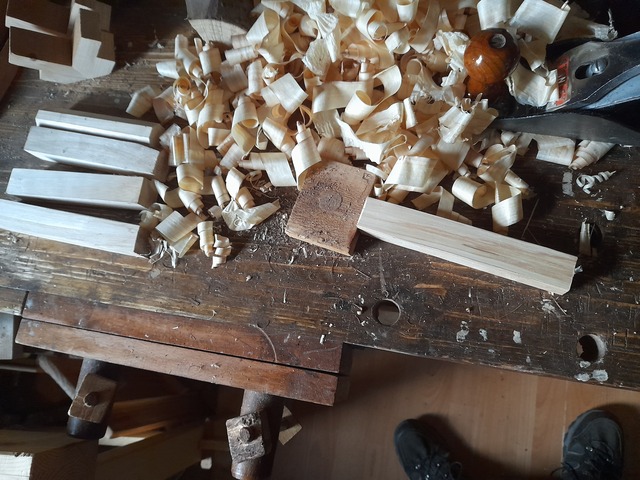
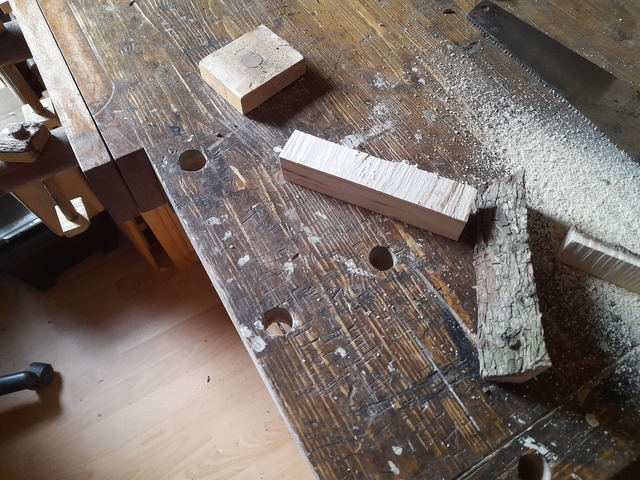
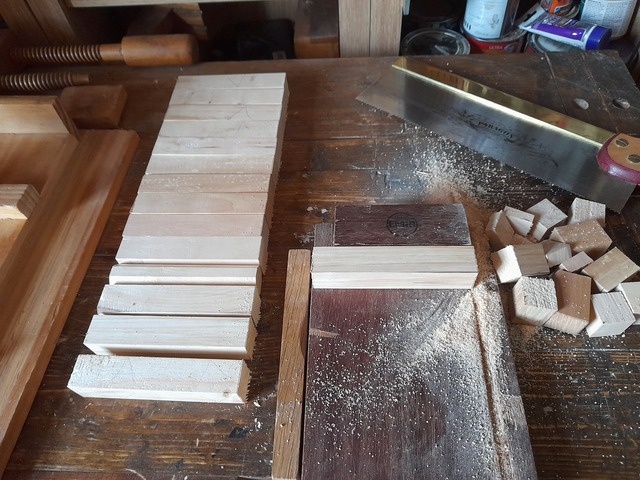
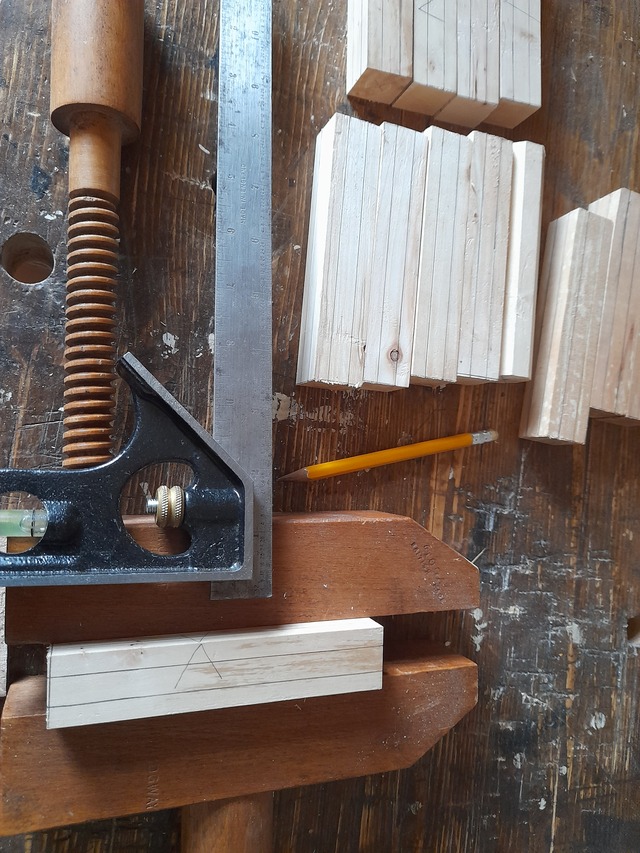
Cut to length
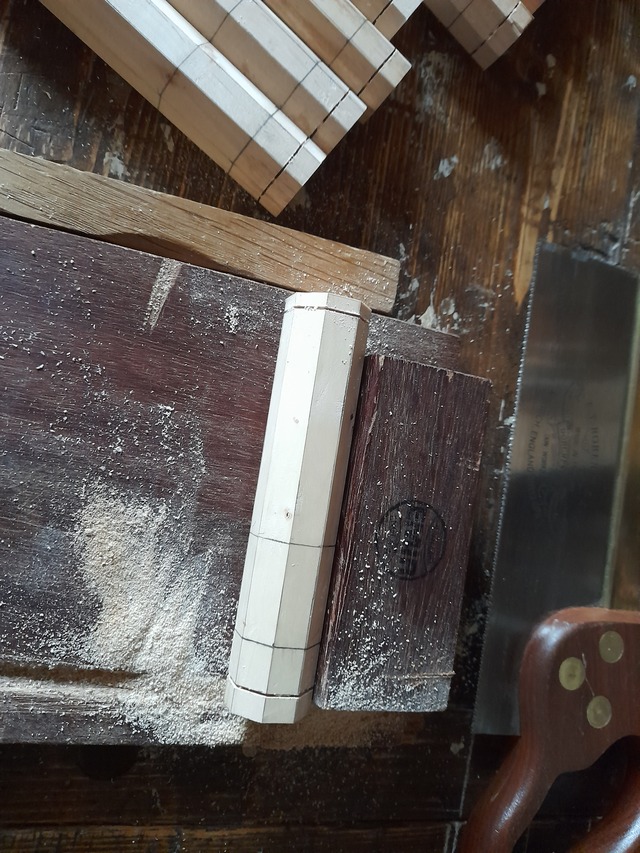
And mark where the ferule will go.
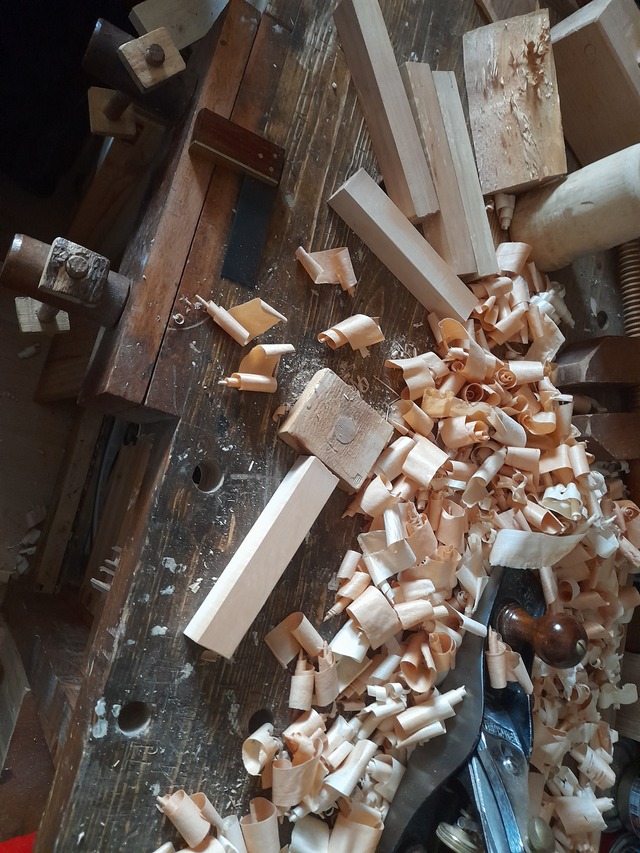
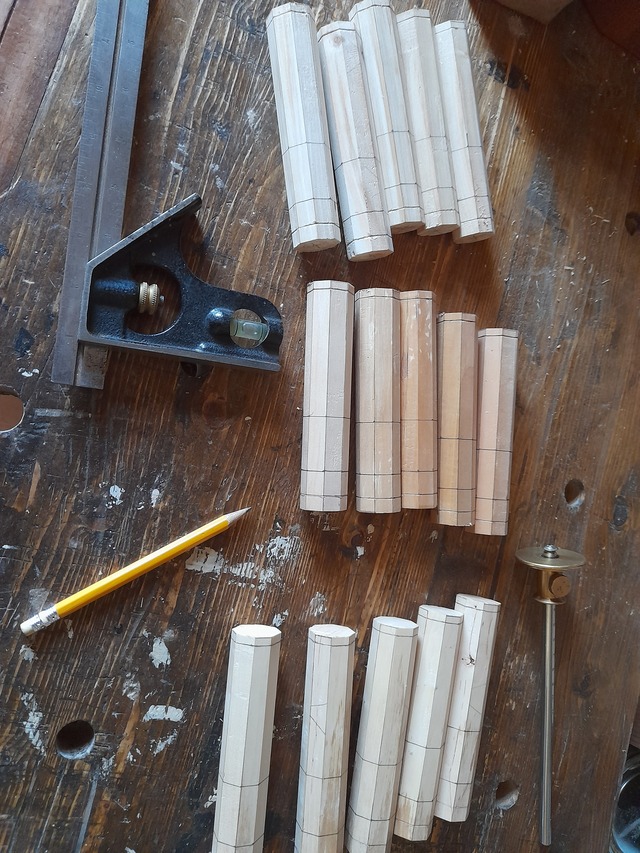
Use the first hexagon to get the lines for the rest and mark them all up
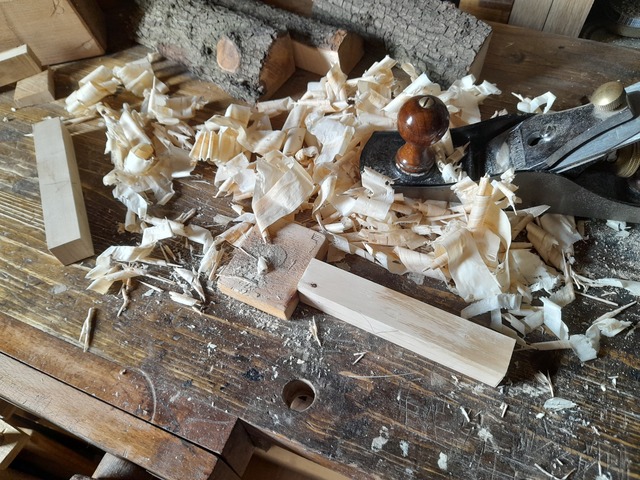
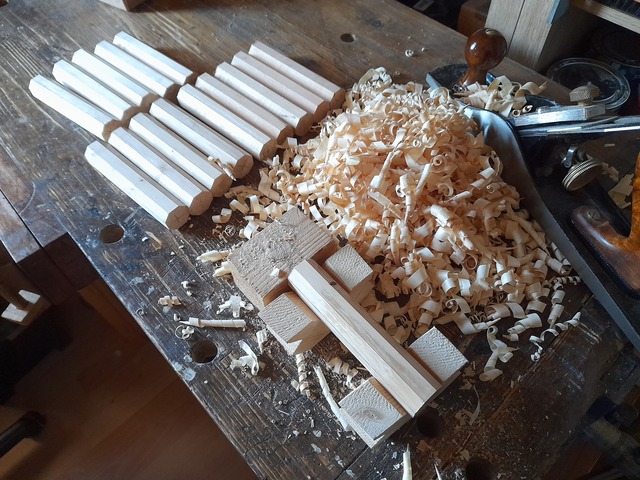
Then just plane to the lines
Lots and lots of lines.
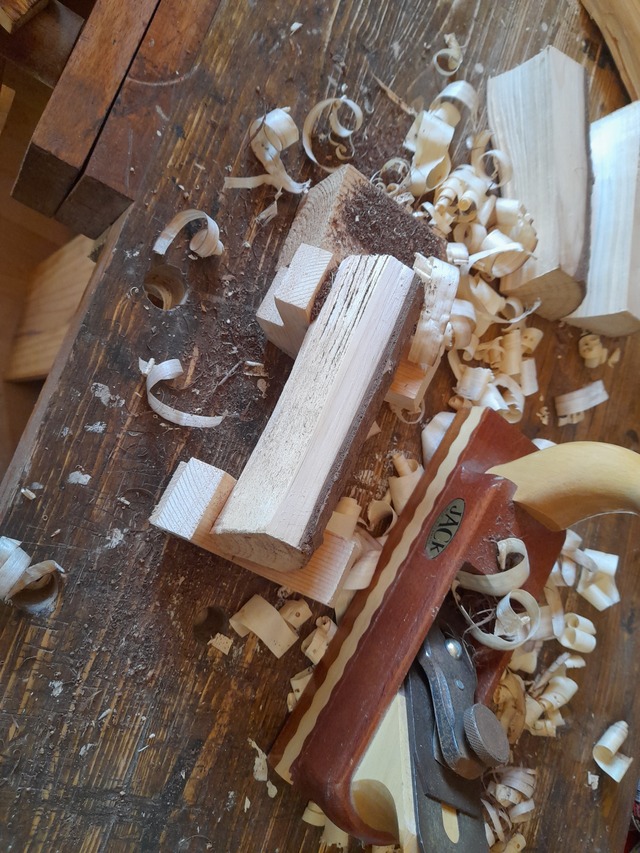
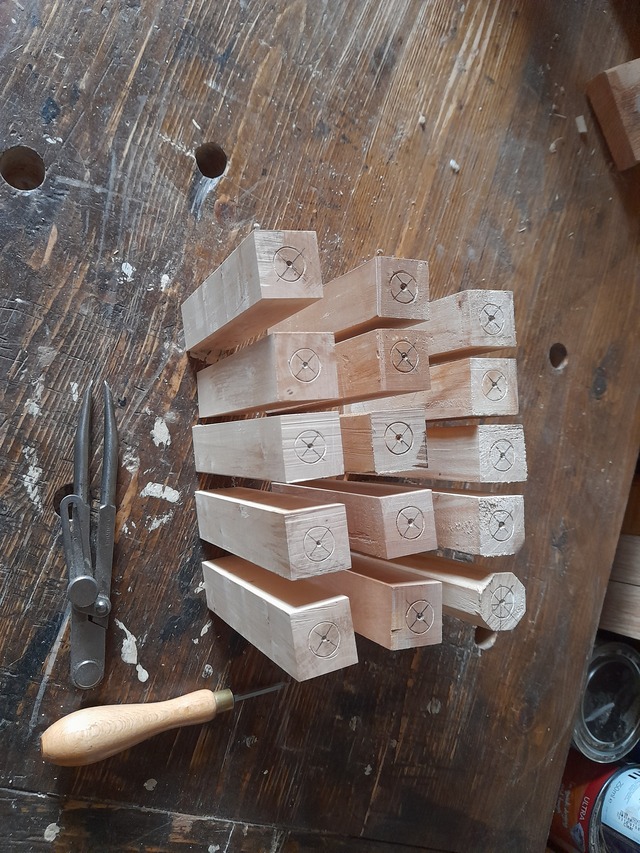
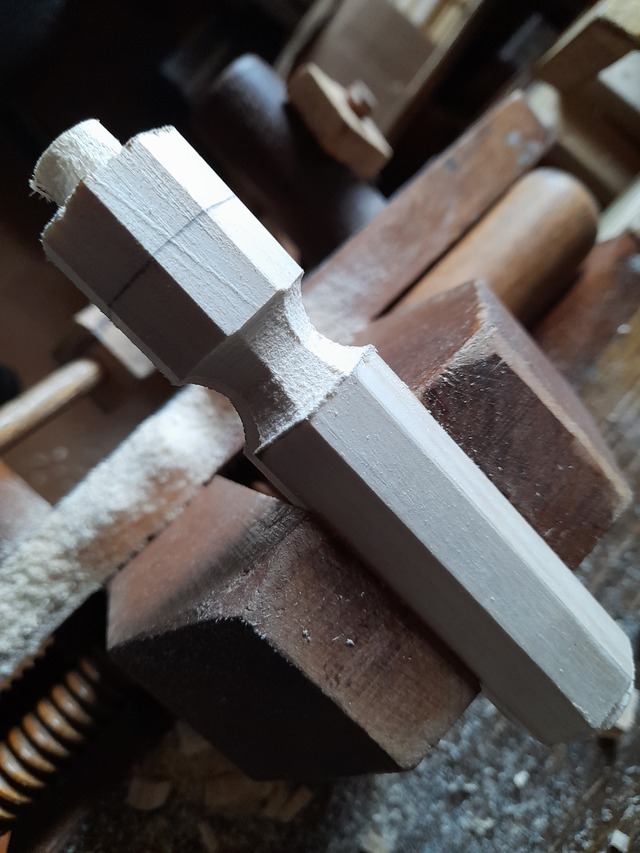
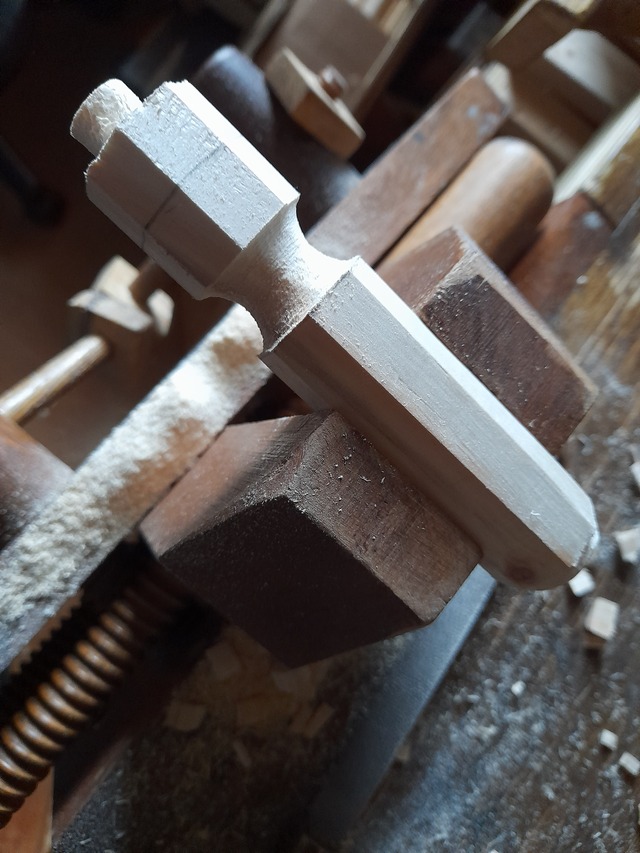
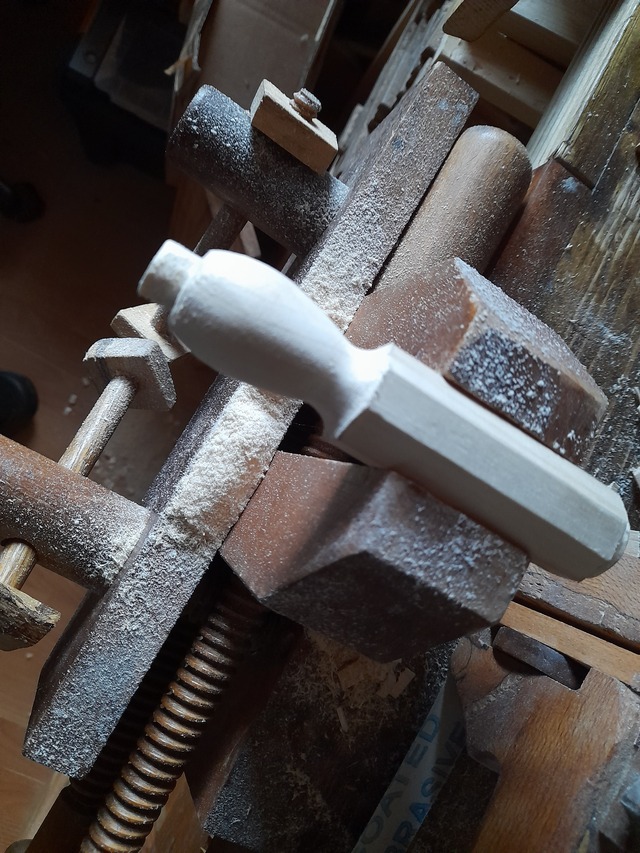
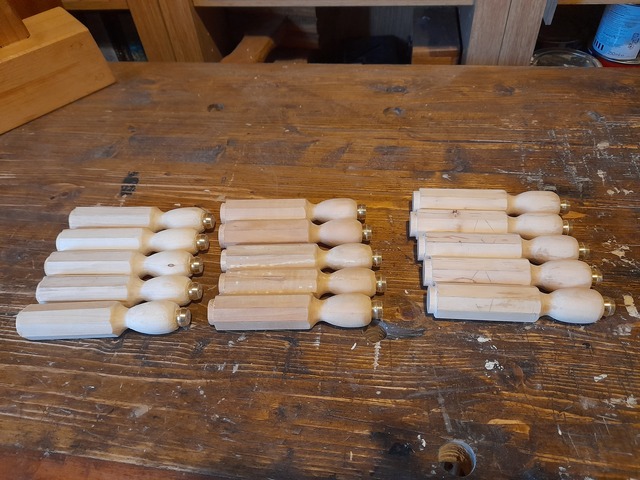
Mark out the rough shape. Make a few stopcuts. Chisel out the endcap, then smooth round with the 4 in 1 file Same for the ferrule end. Then just rasp out the shape.
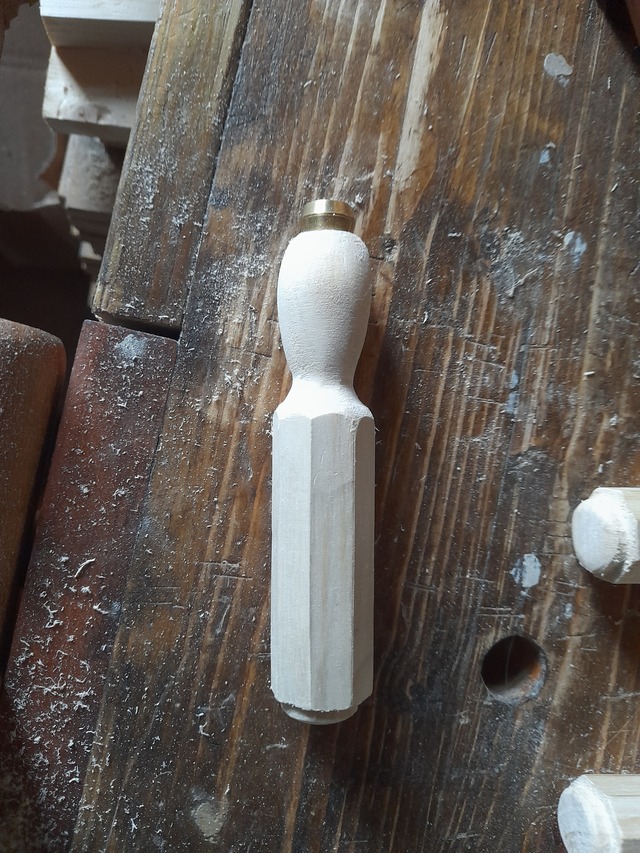
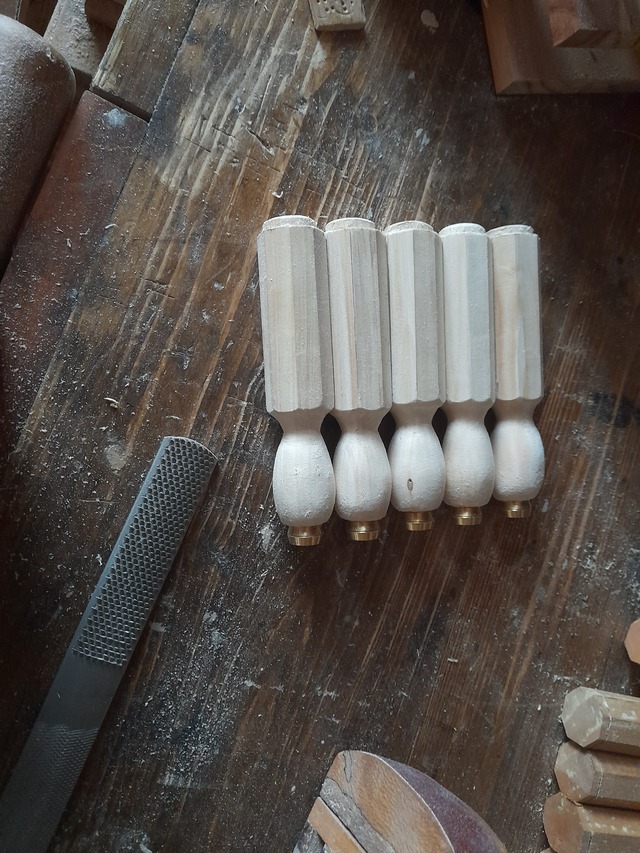
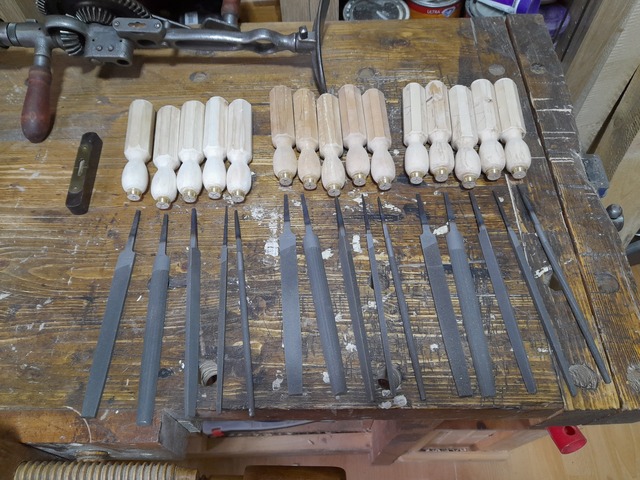
And blend it in. Fit the ferrule, no glue needed, just make it a tight fit and hammer it on. And that's about it Repeat A lot Drill the holes in the end, the files have different size tangs, so a few different bits will be needed, but basically pick a bit about the thickness of the tang halfway down and it's good.
Didn't take a picture of drilling, but the spirit level goes on the file so it's level and the drill has a spirit level built in, so keeping the hole level is simple. Put the handles on the files and add a coat of Danish oil, they'll probably get a little more sanding as I use them and another coat of oil, but that's everything done.
Fair amount of work Mos, but it goes fairly quickly, took as long (or longer) to make the blanks than turn them into handles, so I could have shortened that by using 1 inch boards to start instead of riving everything down. Riven handles don't split easily though - although, saying that, it's a file, not like it's going to get hit.
At first glance they looked very good but looking through this “how you did them” blog; WOW! All done with patience precision using hand tools, awesome craftsmanship sir.
Thanks Crowie The patient bit is to come, I now need to store then on the window sill so the wood can soak up enough UV to change colour so I can actually tell them apart, before I make something to keep them in. On the plus side, that means I can take my time working out the design of the storage box :)
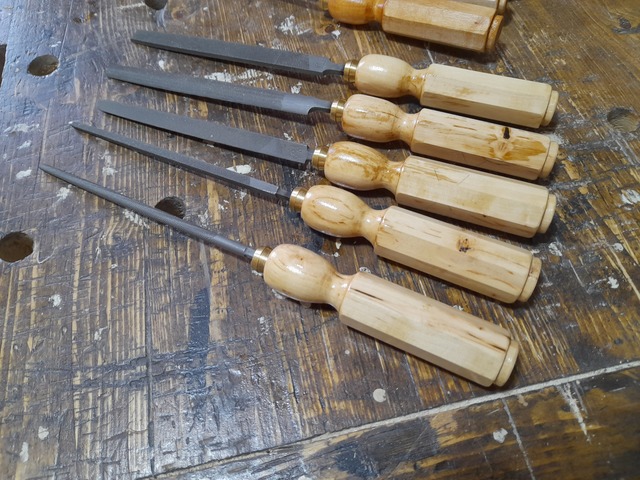
Thanks Eric, yes, compression olives - I like them for ferrules, only downside is they need to be a tight fit as they are a fair bit harder to punch a dent in to tighten then a pipe cut off.