


Share your craft projects
Make new craft buddies
Ask craft questions
Blog your craft journey

This is a repost from LJ. So I can continue the series.
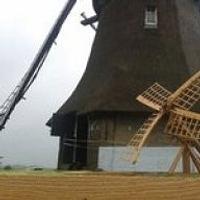
After building a new woodworking workshop last year I was searching for a new project to ...

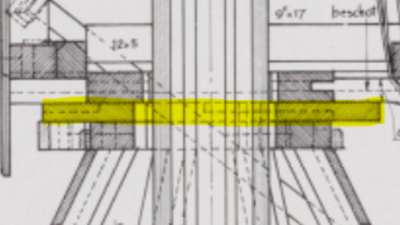
This part of the mill is called "koker" and can be translated as tube. It is part of the bottom part of the windmill and allows the main drive shaf...

In the previous blog a made the "onder tafelment", now I am going to make the "boven tafelment" (onder is under and boven is upper). It is located ...

The first thing to build is the base of the underpart of the windmill. It is made up of 8 pieces with lapjoints to make a octagon. It is called the...

[Image]
Just some pictures of putting all the parts together
[Image]
Lower end of the post fitting the "onder tafelment"
[Image]
Top end of the ...
At the top of the lower house of this windmill there is a round flat part where the top of the windmill rests on and that makes it able to smoothly...

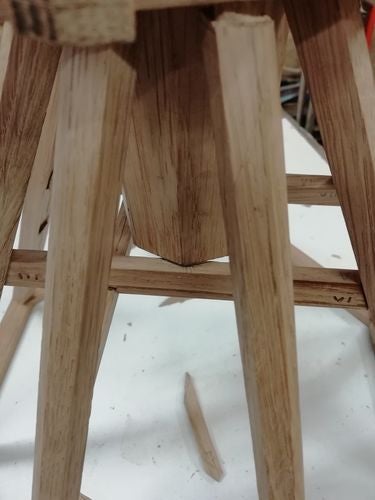
Having finished the "onder tafelment" and the "boven tafelment", now I will make the posts, and because the shape of the underside of this windmill...
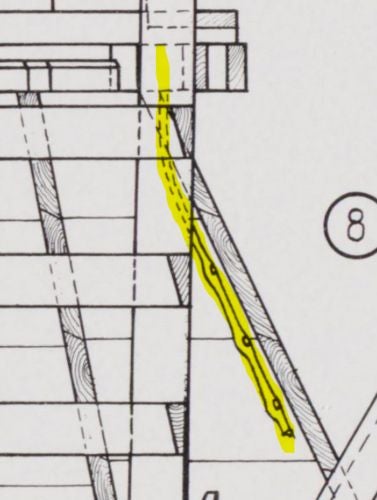
After finishing the kokerbalken en korbelen the tube can be fitted
[Image]
Measuring the placement of the tube
[Image]
Cutting the recess
[Image]...
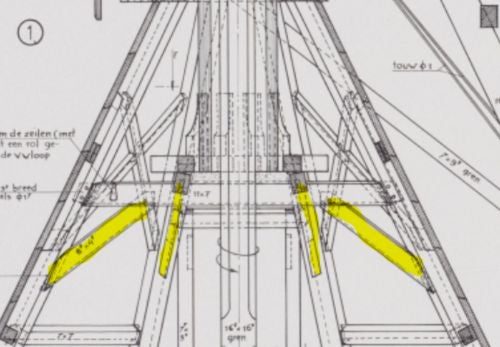
With the posts and the girders made, its time to make the "korbelen". These knee braces help strengthen the construction of the lower part of the w...

To support the tube (koker) and to give strength to the lower part of the windmill there are "kokerbalken" (girders?). They form a bent together wi...
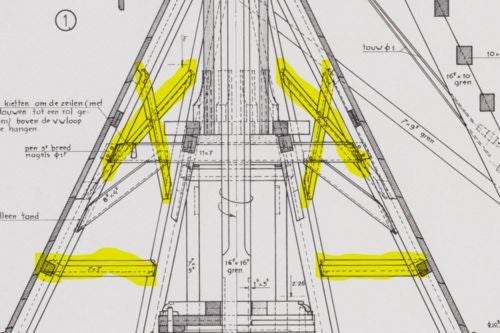
To add more stiffness to the construction of the housing of the windmill there is additional bracing. These crosses are not in the fields where the...
The "boventafelment" is also anchored on the beams with 4 metal anchors. On the drawing these are placed on the outside. But I want to be able to t...