Bentlyj
in almost 12 years
Greek Key Design Table Back
This is no original design by any means, but it is done with all my own measurements. The designer gave me a rough drawing and I redrew it in SU to scale.(The designer did give me the Length and Height, I laid out the key)
Sketchup Pic:
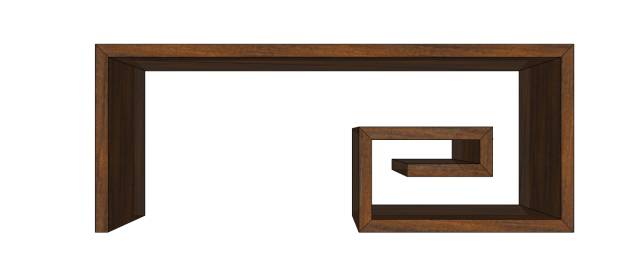
I figured the easiest way to make this would be to do it in 3 layers. I used Walnut ply for the first layer, which would be the inside layer, then I used shop maple ply for the 2nd layer. (I cut out the center sections of all these pcs to reduce weight. Then I used Walnut ply again for the outside layer. (Except for the 2 top surfaces which I used Maple ply again and plan on covering them with wow(wood on wood) 2 ply veneer.)
Here are some pics of the build.
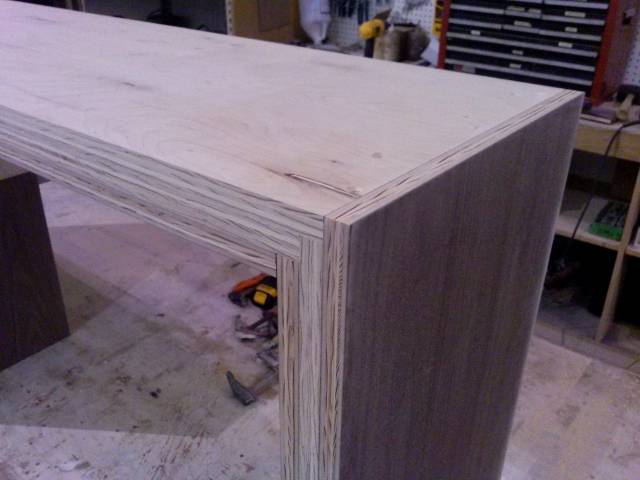
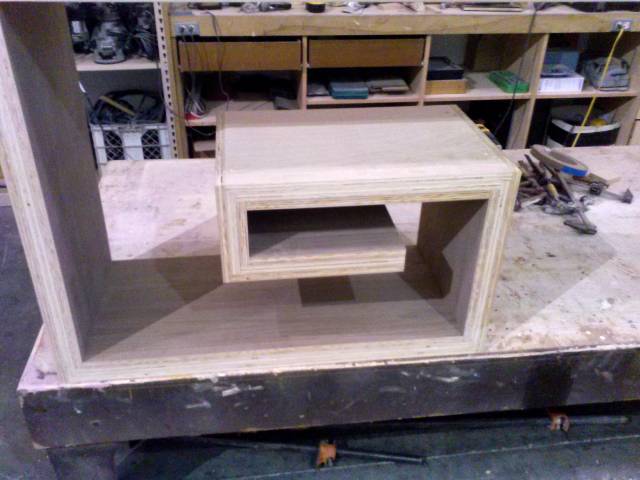
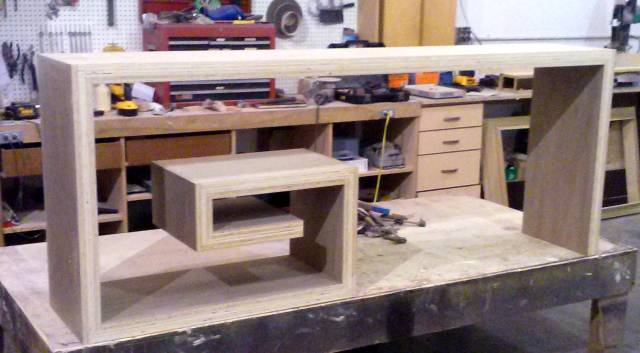
Everything went as expected, I glued and screwed all the joints, I glued on and clamped the outside layer of Walnut ply so that there would be no nail holes. Everything was good, stood the unit up to look at, left for the day, tomorrow would be veneer the faces and the 2 top portions.
When I got in the next morning I noticed that the key section had dropped down 1/4" out of level. OMG, I shouldn’t have left the unit standing up as all the glue had not set up, but now it has. Now I have to figure how to fix it.
I went and got some metal braces and routed them into the corners to reinforce All of the joints..
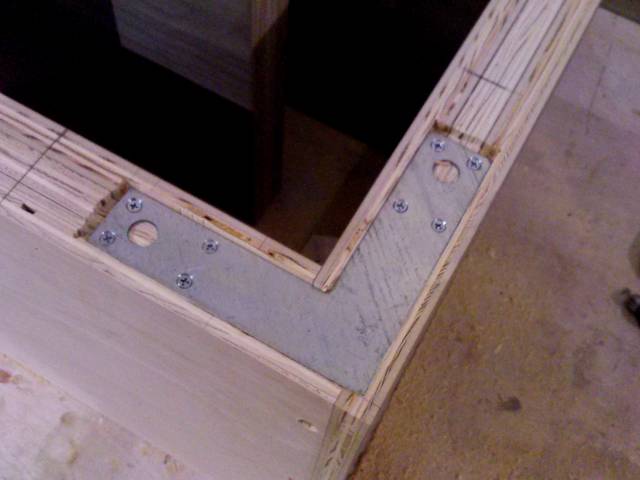
Covered the braces with wood pcs to flush the face back up.
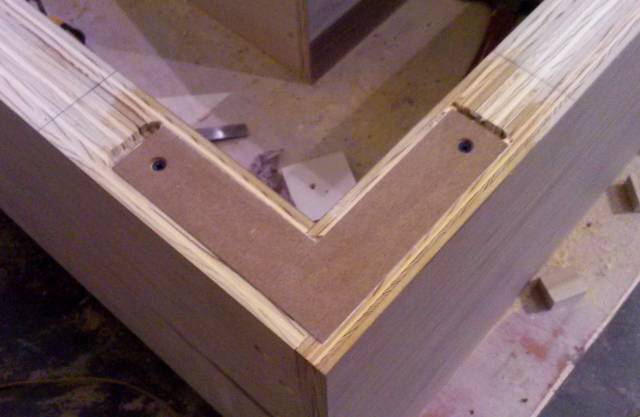
Then used bondo to fill the remaining gaps.
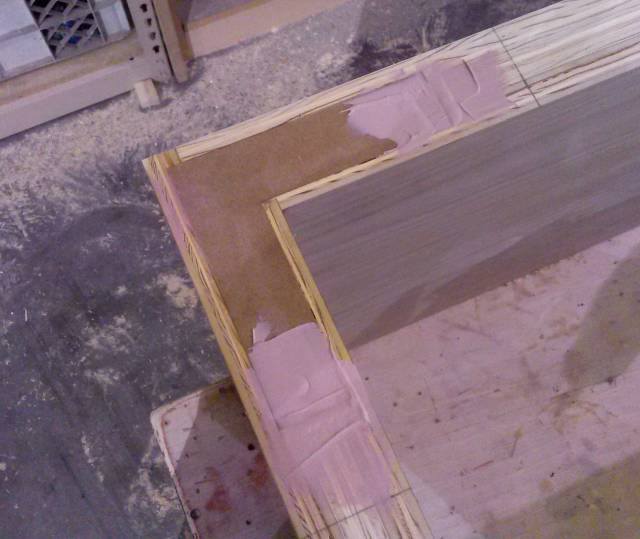
Sanded everything flush, presto the fix was in.
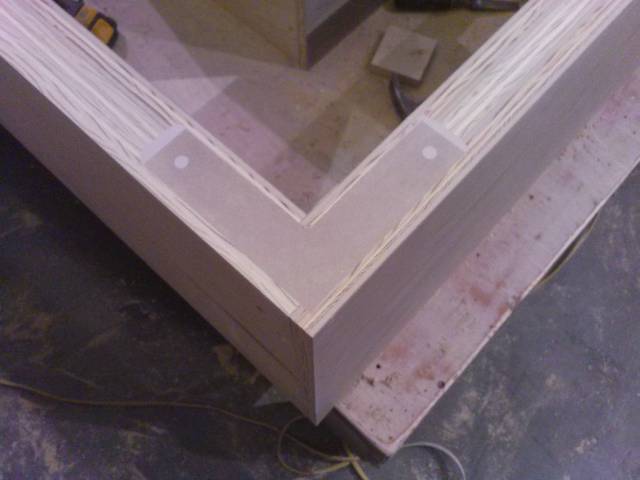
So I thought, The key portion was still sagging about an 1/8". I could live with that I guess,
Well maybe not, I decided there was 1 more thing I could do before totally tearing things apart. I went and bought some 5" lag bolts. I spread the key apart so that it was 1/8" over the sag.(figured I would give it some room to relax).
I pre-drilled the holes and used my impact to drive them in. I did this to all the outside corners.
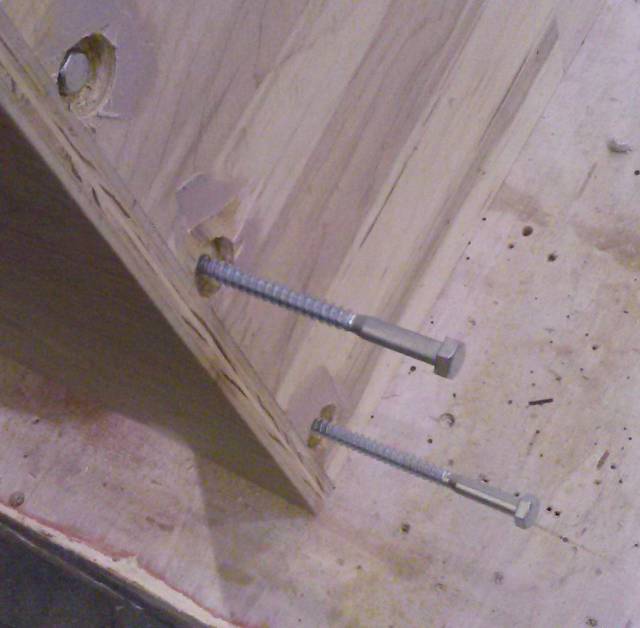
This did the trick and the whole unit is much stronger. After thinking about it, If I did it again I would just have a square tube frame welded up and cover that with panels.
On to the veneering. I had to cover the faces of both sides. I have been using the butch method of contact cement, but in my defense I have stuck many many miles of it without having any trouble. It’s hard to teach an old dog new tricks as they say… Here are some pics mitering the corners and gluing the pcs on.
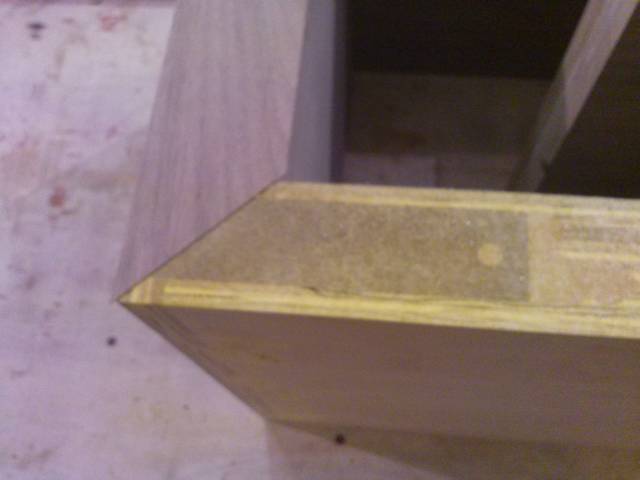
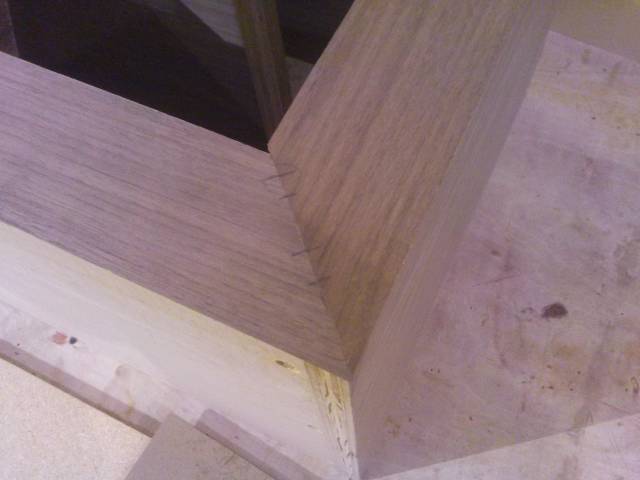
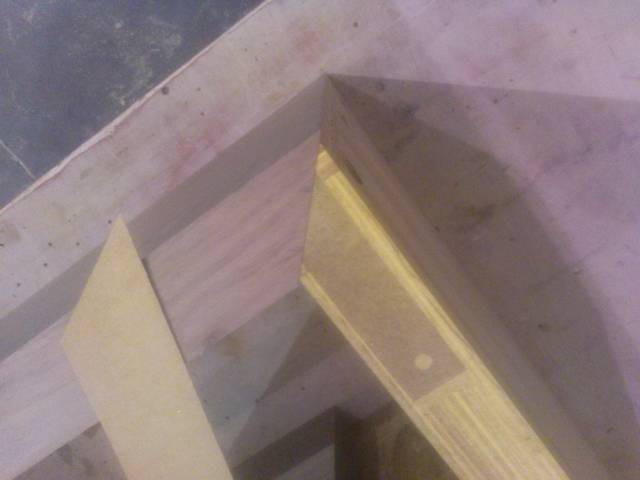
And here it is ready for stain. I’m also making a serving tray for them.
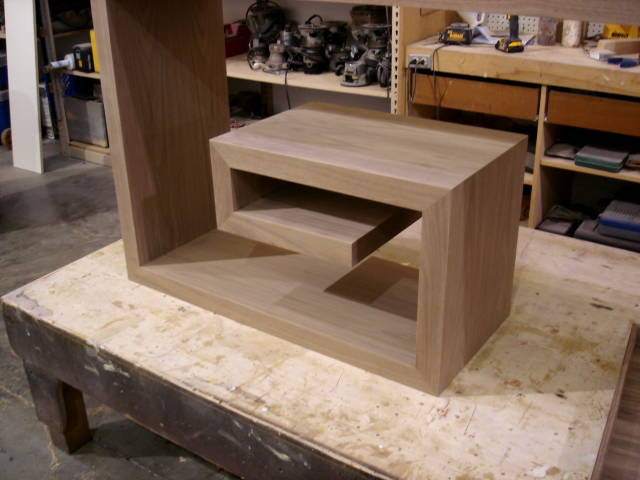
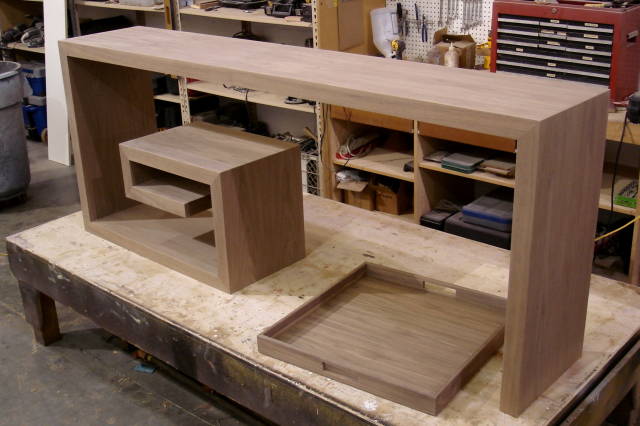
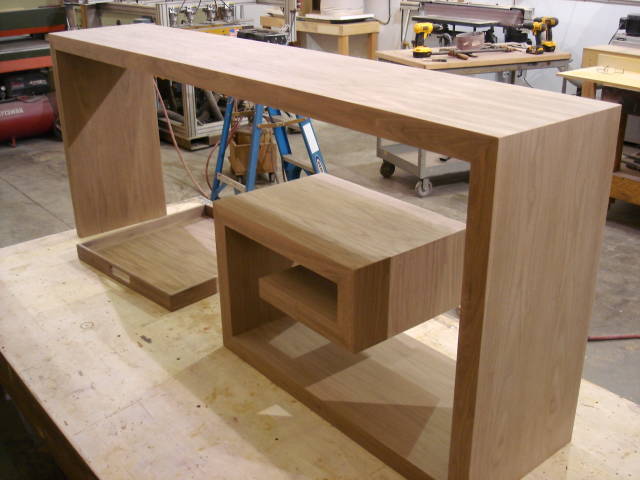
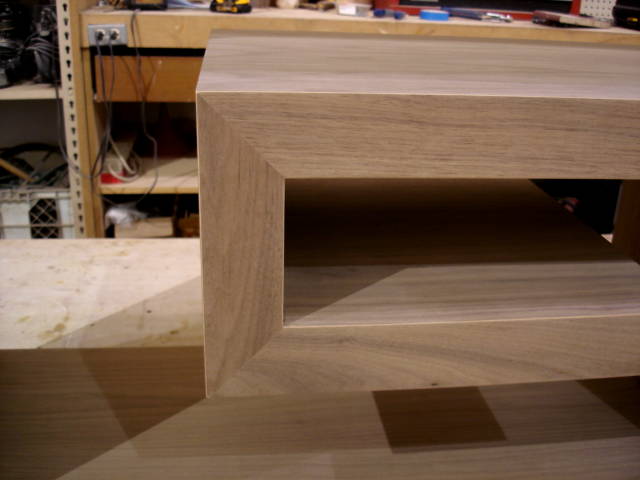
I’ve got it stained and am putting on lacquer today. I will post it as a project when it’s finished.
Thanks for reading.
Figuring out how to do something you have never done is what makes a good challenge.
14 Comments
Hey Bently, did you make that for the Lazy G Ranch?
…… sorry that was bad
Very clean job and it won’t be falling apart any time soon. Nice work.
The early bird gets the worm but its the second mouse that gets the cheese.
I failed to see the sag Bently.
Now it will take a jack hammer to take that joint apart.
You need to figure how to deliver that puppy, it’s heavy for sure.
That’s a great design and you built it just like the first pic.
Abbas, Castro Valley, CA
Thanks Paul,
Hopefully the people at the Lazy G will call my people and maybe I can make one for them. lol
Thanks Abbas,
Standing in front of it you would have been able to tell. I have that sorta built in square eye when I look at something, and it was killing me. Besides that, I took a lot of effort blocking the first layer in place so that everything would be nice and square. No way I was going to be defeated by my own stupidity. At least the top stayed nice and flat.
When I deliver it I will just throw it over my shoulder and carry it in. ;)
Figuring out how to do something you have never done is what makes a good challenge.
Bentley,
The mark of a really good craftsman is being able to fix your mistakes without anyone being able to even know there was a mistake! You pass the test with flying colors. I’m pretty good at the first half of the equation . . . making the mistakes!!
L/W
“Those who would give up essential Liberty, to purchase a little temporary Safety, deserve neither Liberty nor Safety.” Benjamin Franklin
Thanks L/W,
The only way you learn to fix mistakes is by making them. I guess I have made an awful lot of them…lol
Learning by experience is the best way to learn IMO. I chalk it up to just another school lesson.
Just wish I could remember the lessons so I don’t make the same mistakes again. (Old Age Sucks)
L/W, I am impressed with your advancing woodworking skills. :)
Figuring out how to do something you have never done is what makes a good challenge.
Very clean and neat using that excellent design. It’s a beautiful piece, well done on the fix too.
CHRIS, Charlottetown PEI Canada. Anytime you can repurpose, reuse, or recycle, everyone wins!
Thank You Thorreain
Figuring out how to do something you have never done is what makes a good challenge.
I’m definitely stealing that and building the “fixes” right into it. It’s beautiful.
Losing fingers since 1969
Thanks Brian,
If you need any measurements, just let me know.
Figuring out how to do something you have never done is what makes a good challenge.
Here are some pics of the finished table (in the shop). I delivered it, but I couldn’t get pictures at that time. I’ll try to get pics of it in the house with furnishings, where it usually looks better in place, and then post it as a project…
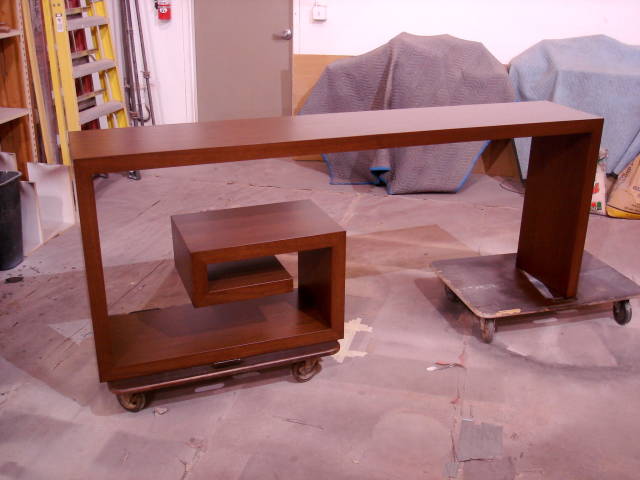
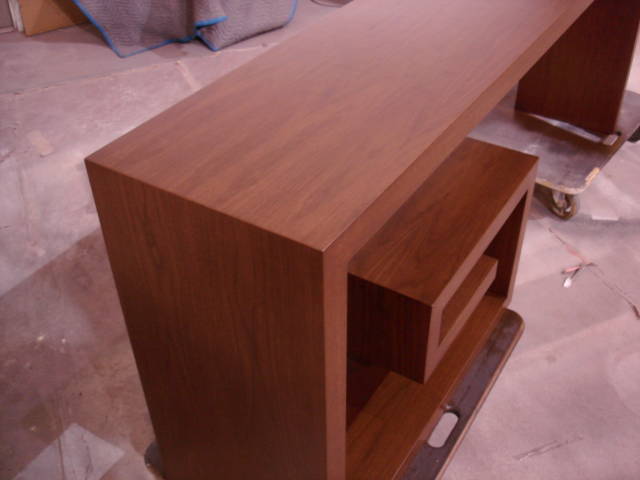
Figuring out how to do something you have never done is what makes a good challenge.
Looks nice Bently!
Now I see how you are going to move it :)
Abbas, Castro Valley, CA
Martin Sojka, Maker of Craftisian
(I have a lot more projects coming though)
Figuring out how to do something you have never done is what makes a good challenge.


