Eric - the "Loft"
in over 3 years
The Journey of a Kayak Build #3: The Lofting Process
This is
part 3
in a
3 part
series:
The Journey of a Kayak Build
-
A Little Prep Work
-
The Lofting Process
- A Little Prep Work
- The Lofting Process
I started the lofting process by establishing a base line with all of the perpendiculars which happens to be at each form in the craft. The form are spaced every 12" and the 2 end forms are spaced 6" from the next. I also drew in the waterline, allowing some room for notes as needed. Then it was off to transfer the numbers, this took a bit for me, trying to remember the steps. So, I have 4 books on the bench, 1 with the plans I am using and 3 others for reference. Once I got it, I was golden.
I plotted the points for each Form at the locations both above and below the waterline, also plotted the position of the sheer line, top of deck and keel. Once all the dots were in place it was time to connect them using a few battens and a french curve. I only drew half of each Form for now, so I don't get all of those lines confused. That is easy to do. Also drew in keel and deck lines to see the side profile.
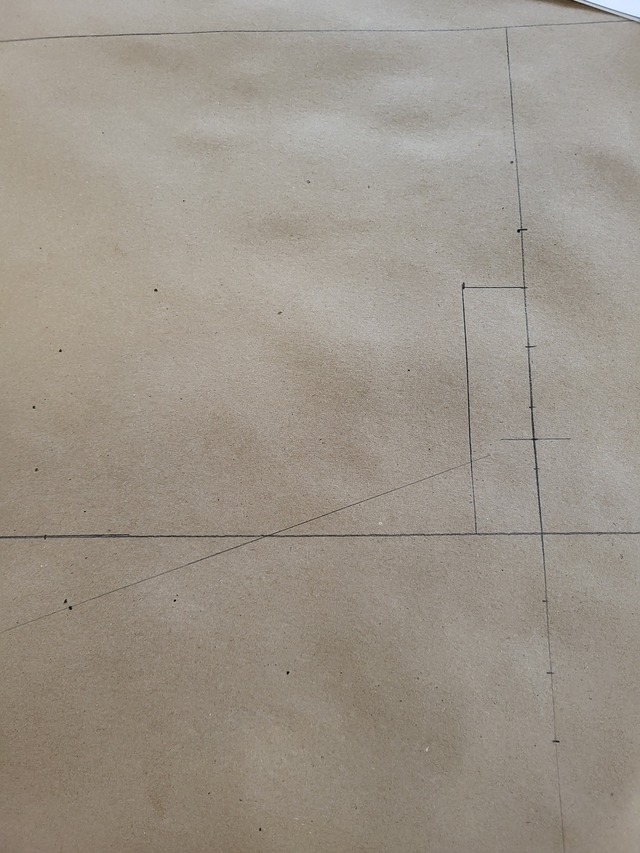
Probably can't see the little pencil dots. And I marked out for the cutout which will slide over the beam.
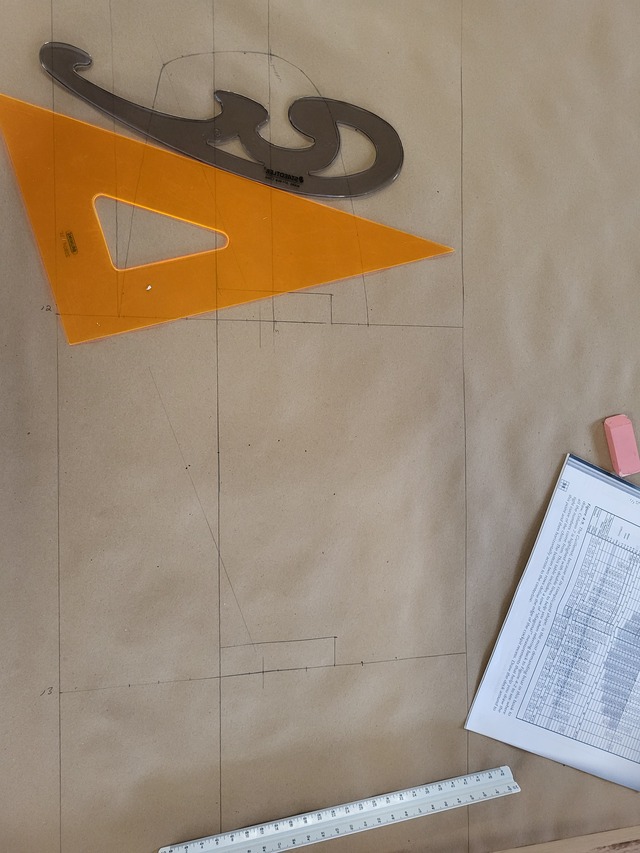
A few of the tools and a copy of the Table of Offsets, easier to use a copy and check off each point.
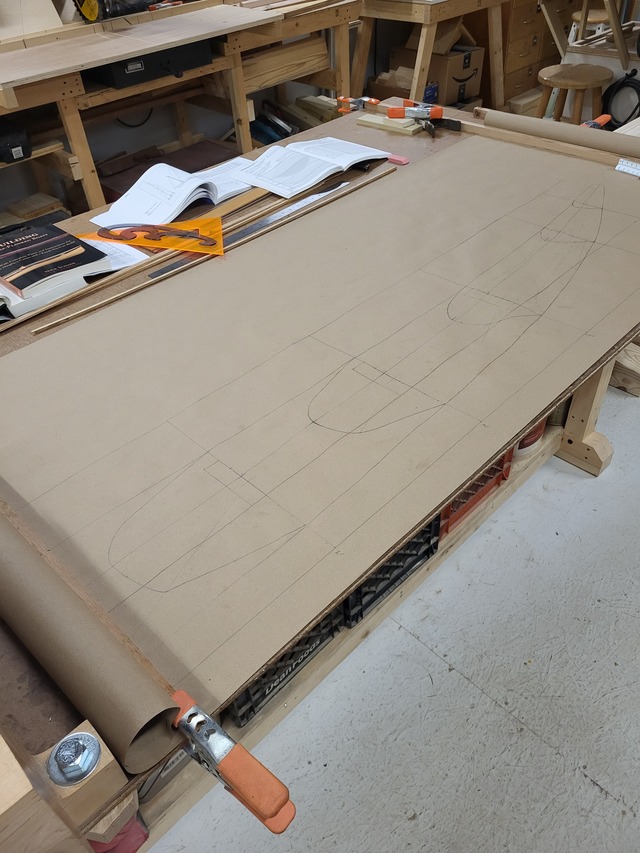
Might not be able to see many lines, but the stern is in there, more tools and books. I did this on top of the assembly table, unrolling the paper as I went along. Outside the floor, that is the largest surface I have in the shop. The length of the Kayak is 17'. So, I faired in a line for the keel and deck surface every 4 forms or so. I'll roll this out in the house and sight down the lines to ensure they are fair.
I do need to go back and draw a separate form pattern for each Form, I will plot this again on a sheet folded in half and then I can cut that out and paste it to the plywood stock that will be used for the forms.
Thanks for reading and following, comments are always welcome and appreciated.
Up Next: Additional Lofting.
Main Street to the Mountains
27 Comments
Lofting is a fascinating process that has layers of complexity. I doubt you will be required to do some of them for a kayak but the process will still help you greatly in understanding the build.
Let me run on for a minute…. 😁
The purpose of lofting, for more complex shapes at least is to find discrepancies in the offsets and to “proof” them full size before proceeding to cut pieces.
With computer design some of the need for lofting may be lost but originally it was needed because the margin of error was significant when a designer took the offsets from a scale drawing and then the builder laid them out many times larger.
For that reason “building stations” were not in the table of offsets. To get building stations the builder first had to fully loft the lines in three views, make changes in each line to make them perfectly fair, reconcile each change in the other two views, and continue until all three views were perfect and no offset was different in one view from any other.
With this all done, he could mark in the building stations and take his own offsets from his full size, fair drawing for drawing them in section and finally cutting them.
That’s the simple version, there’s a lot more in lofting. « Presentation ends »
Sorry about that Eric, I’ve been lofting boats since I was 21 and rarely get to talk about it to anyone who has even heard of it. 🙄😁🤣
The early bird gets the worm but its the second mouse that gets the cheese.
-- There is nothing like the sound of a well tuned hand plane. - https://timetestedtools.net
In todays world, yes the companies that sell the plans for any craft, include full size patterns for the home builder. I have read that one can use a spreadsheet to put the Offsets into and graph the lines, then transfer it into a CAD program and print out the patterns. I don't have a CAD program.
I have done a few scale models in the past, by scaling down Offsets, and didn't do too bad. In doing this one I did find a few points a tad bit off, which was corrected with a fair line. I could have just done the Forms, but I wanted to see the profile of the craft full size. An, d I needed to figure out the Stem both on the stern and bow, my plan is to avoid a epoxy dump, and have solid ends, and terminate the strips into a rabbet above the waterline and back about 2' from the end.
Lofting can be a mental challenge, but the rewards are great keeping the mind active. I believe it's a lost art of Boat Building, with so many places offering plans. If I was living up in the Pacific Northwest or around Maine, I would have probably entered the trade as a younger person. It would be fun to take a class at one of those Boat Building places. But I'm teaching myself.
I have some good reference material at the house here. Even have James Gardner's 2nd Edition of his book which includes about 17 boat plans of the old watercraft used in the Northeast. It would be fun to tackle one of those.
Main Street to the Mountains
Eric - the "Loft"
...
I have read that one can use a spreadsheet to put the Offsets into and graph the lines, then transfer it into a CAD program and print out the patterns. I don't have a CAD program....
If you wanted to go that route Eric, I'd be glad to assist. If you wanted to send me a spreadsheet, I can plot it all out for you and send you printable drawings.
This "lofting" is fascinating to me and just went on my list of things to learn about. I don't quite grasp it fully from your's and Paul's explanations but I think I get the gist.
Ryan/// ~sigh~ I blew up another bowl. Moke told me "I made the inside bigger than the outside".
Ryan, thanks. It is an interesting process, I had struggles at first, but I kept reading and finally it hit me. Someday I would like to learn about Blacksmithing.
Main Street to the Mountains
Main Street to the Mountains
--Nathan, TX. Hire the lazy man. He may not do as much work but that's because he will find a better way.
I had to surch for the dutch translation of the word lofting. In this situation it is "een uitslag maken" We also use this description (before the CAD period) when we make a stair (not the straight ones of course) and for another example also for making routertable profile knives. I wonder if this is also the case in the USA, using the lofting technic for making stairs.
Eric. It’s a bit ironic. Your lofting in your loft. And it’s a great place to be doing it 😃
"Duck and Bob would be out doin some farming with funny hats on." chrisstef
OldTool, this is an old school way of building.
Dutchy, thanks. I think it would be about the same process if those stairs were circular.
WoodGuy, thanks. I am guessing somewhere around 500 - 600 hours to build it. Yes, a little ironic, that the term matches the "Loft". Originally, I thought about calling the shop "The Boat Loft" due to the fact that is what i really built the shop for.
Duck, it will come together after the next chapter, at least I hope so.
Ron, thanks. They are interesting and a wooden boat is even more interesting.
Main Street to the Mountains
Eric, I too built my current shop with the dimensions of the boat I was going to build in it in mind, particularly the doors.
The early bird gets the worm but its the second mouse that gets the cheese.
Splinter, agreed, must be able to get her out.
Kenny, if you are doing that now, you should have no problem building a boat. Yes, the age-old mystery how did Gibbs get the Amigo out of the basement. The plan is available through Glen-L boat plans.
Main Street to the Mountains


