Share your craft projects
Make new craft buddies
Ask craft questions
Blog your craft journey
Blog Series
Tools
Part 1: Stanley no 4 1/2 smoothing plane
Just thought I would share my thoughts, after being given a Stanley plane secondhand from my grandfather in the late 1980s, I struggled with using ...
Beginning
Part 1: First project
There is something to be said about woodworking. using a few tools and your hands, anyone can create something that is utterly breath taking. Since...
Share Your Hand Tools Collection
Part 1: Announcement
I’m sure your workshop spring cleaning is already done :) So this might be a great time to share your favorite hand tools collection with us. Some ...
Part 2: We're Upping The Prize
We already have two great entries so it’s time to up the prize. Now you can win a $100 online gift card from your favorite online shop instead of a...
Part 3: And the Winner Is ...
Thank you to everyone who participated in our Hand Tools Collection Challenge. You can see the entries here. And the winner of the random draw is: ...
Shop Upgrades
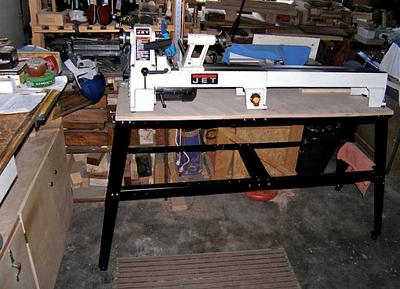
Part 1: Mini Lathe Stand
I had purchased a mini-lathe bed extension over a year ago, with the best of intentions to build an originally designed, all wood stand beneath it ...
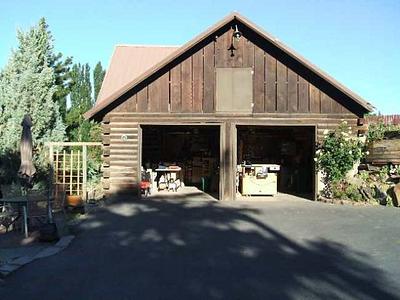
Part 2: The Workshop
I worked all last year to get everything moved around in my workshop, for efficiency’s sake and to add in a new cabinet later when it’s built. I’m ...
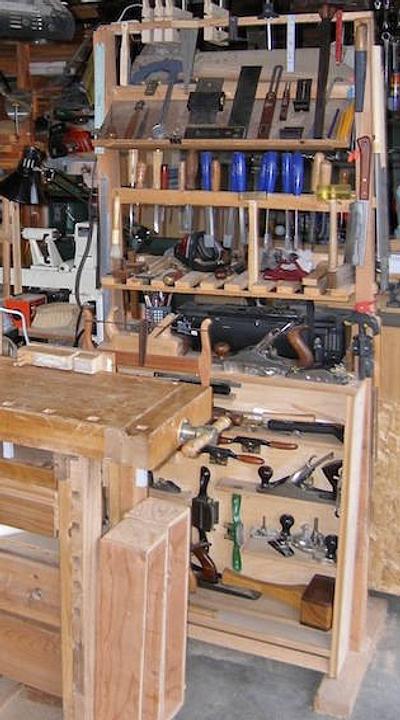
Part 3: Hand tools rack
This is my basic hand tool collection, with others scattered around the garage/shop. Most-used tools are within arms reach of the bench, and it is ...
WoodworkingWeb Awards: Just Pallet Wood
Part 3: One Day Left
Lots of great entries posted already and now you have less than 24 hours to post yours for a chance to win $100 Cash Prize. Theme: Just Pallet Wood...
Part 4: Cast Your Votes
Just Pallet Wood Awards entry period is over and we ended up with 21 entries. Now it’s time to pick your top 5 list and cast your votes. Voting dea...
Part 5: And the Winners Are ...
Our fifth WoodworkingWeb awards are over and we ended up with 22 entries. I would like to thank you all who participated by submitting entries or v...
Cutting Boards
Part 1: Cutting Boards
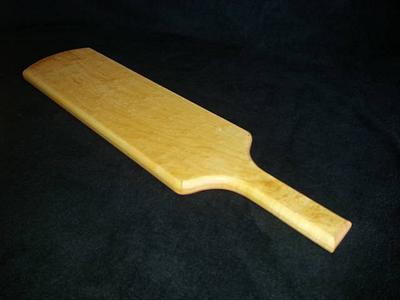
Hey I just finished my first run of cutting boards and wanted to show what the first run is.
Part 2: Cutting Boards end grain.
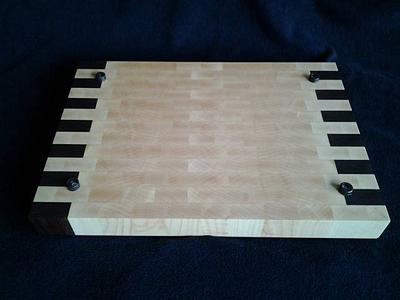
Well here is the next batch. I still have one soaking im food safe mineral oil. These are all oiled and i made my bees wax mineral oil polish. I ap...
Part 3: Last one of the first run.
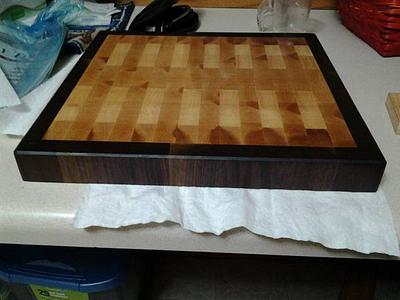
Well here is the last end grain cutting board of the first run. It was hiding and i uncovered it and got r done. Lol hard maple wrapped in walnut.
Serving Bowls
Part 1: Bowl glue up.
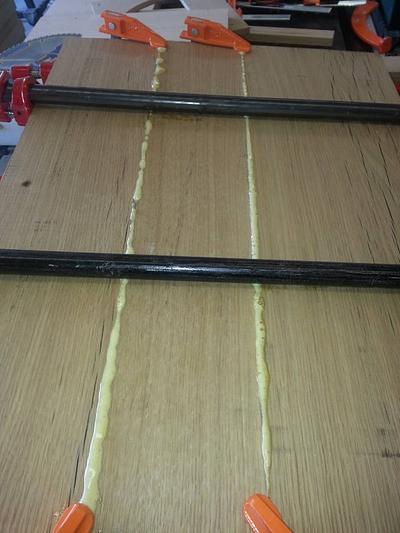
Well starting some new bowls or serving bowls from the patterns I picked up at the wood show. Here is a glue up of 2 inch thick white oak that the ...
Part 2: Routing Out the dish
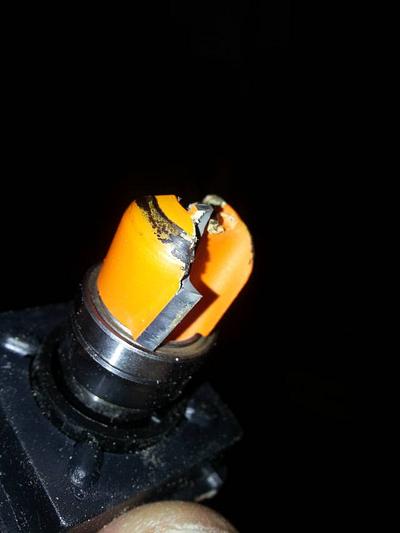
Well the time has come to route out the big white oak glue up. Well after drilling out most of the waste it was time to use my new bowl router bits...
Part 3: serving bowls done on first run
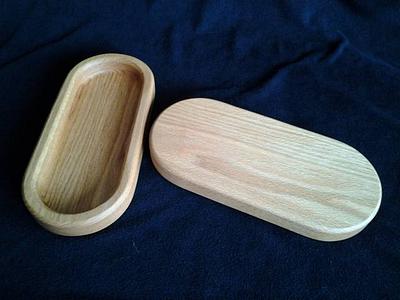
These are made out of red oak. They also as my cutting boards were completely soaked in food safe mineral oil. I soak everything for about an hour....
Marquetry Jewellery Box
Part 15: Top Sand Shading and Assembly
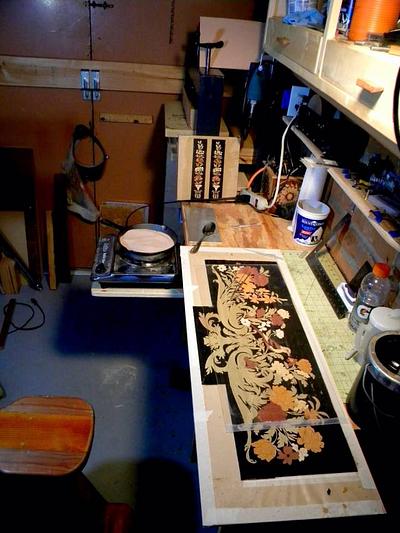
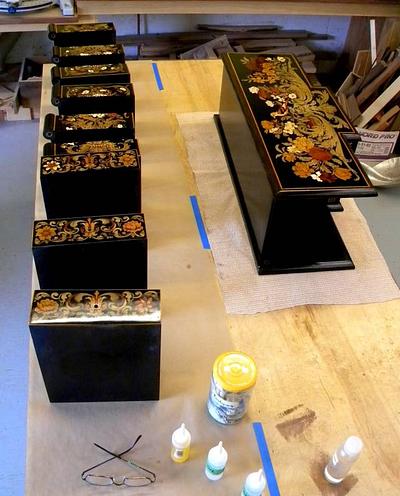
Warning: Lots of photos! Here’s my setup for sand shading one piece at a time. The marquetry has been preliminarily assembled on sticky shelf paper...
Part 16: Glue-Up and Details
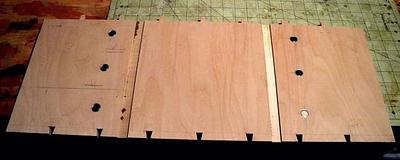
With the marquetry all done and mounted the focus turns to getting the carcass finished and glued up and to the finishing details. First up is to g...
Part 17: French Polish and Pig Suede
Well I’m back home in Canada and after getting a bunch of household maintenance jobs out of the way and spending a very long time getting the surfa...
mesa boogie amp head
Part 6: Assembly and sanding
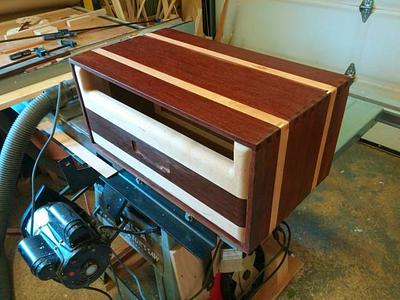
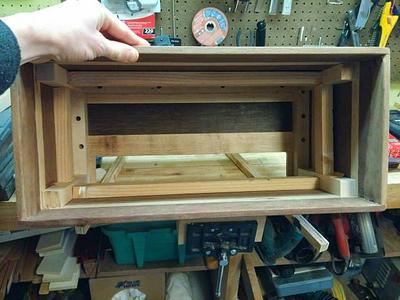
Got a little progress on this thing. My time had been taken up a lot with the baby and projects for my wife, so this is going pretty slow but you g...
Part 7: finishing up
Over the week and this morning I finally got all of the construction tidbits out of the way. It’s finally ready for finishing. But before the amp c...
My Woodcarving Adventures
Part 1: Getting started
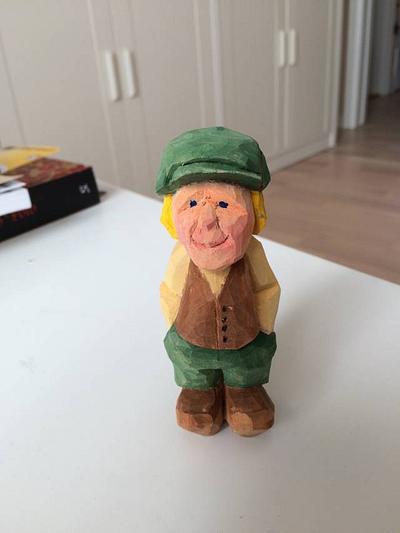
My purpose for this blog is to encourage anyone who has thought about taking up woodcarving to give it a try. I outline below my beginnings and pro...


