Share your craft projects
Make new craft buddies
Ask craft questions
Blog your craft journey
Blog Series
Workshop safety
Part 1: Workshop fire -- averted . . . and a "whuf" question
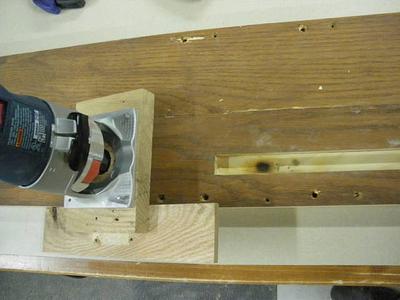
In the process of making a jig, I routed a dado for T-track in recycled plywood. Since my trim router was already set up with a ¾” straight bit, I ...
WoodworkingWeb Awards: Bookmatching
Part 1: Announcement
This time we have teamed up with Lee Valley Tools. Theme: Bookmatching See the grain, slice the grain, re-glue the grain, creating a mirror-image (...
Part 2: And the Winners are ...
Our 10th WoodworkingWeb Awards are over and we finished with 11 entries. I would like to thank you all who participated by submitting entries or vo...
My work bench
Part 2: Hold downs.
After I got my new Exterior door for the lid of the bench I needed to enable some hold-downs. Since the top is made from particle board 1.75" thick...
Part 3: Moving leg vice
I am left handed so I had to install the vice at the wrong end of the table, because I had no lights in the garage. Since then I have install light...
Part 4: New (old) vice.
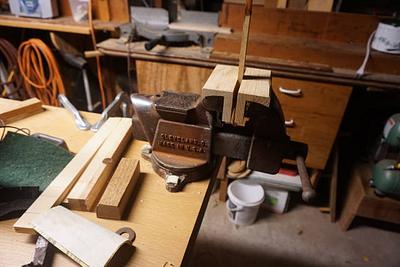
The other day I was asked by my wife to take some stuff to her church sale. i did as asked. When I got there somebody had left this thing at the do...
Woodworking Shop 2015
Part 1: I've got to have more room for Woodworking!
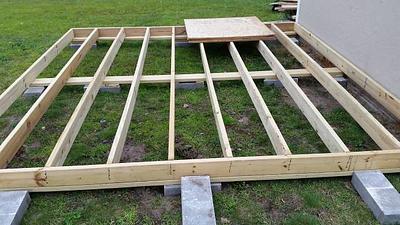
Hi WWWeb People! Well, I have totally run out of room with my little 12’ X 8’ woodworking shed, and decided earlier this year, if I’m to be in the ...
Part 2: I'm Alive!!!! Starting back with my shop build.
Hi people ! I’m so glad to say that I’m up and running, I had a major detour last September. I got sick with I thought was the flu, but in 3 days I...
WoodworkingWeb Awards: Dovetail Joint
Part 1: Announcement
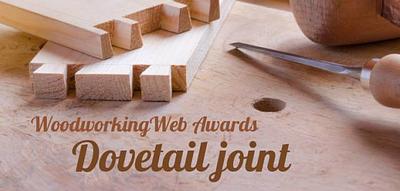
Theme: Dovetali Joint Living on the edge, with dovetail joints. It’s time to get edgy and showcase your dovetail joinery. Whether the creation is b...
Part 2: And the Winners are ...
Our 9th WoodworkingWeb Awards are over and we finished with 7 entries. I would like to thank you all who participated by submitting entries or voti...
Bois D'arc
Part 1: Bois D'arc (Osage Orange)
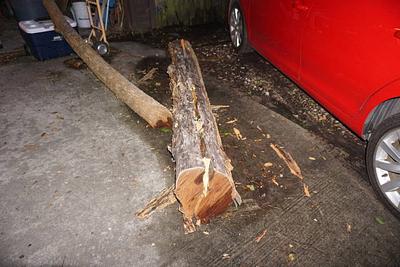
In a previous post I showed some logs that were given to me. https://woodworkingweb.com/creations/2765-free-bois-d-arc-osage-orange. I finally got ...
Drum Sander speed control repair
Part 1: I need help to identify a component on speed control circuit board
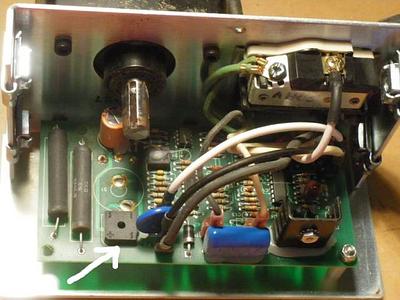
My drum sander’s conveyor recently quit. We were able (with help) to narrow down the problem to a component on the speed control. My husband said h...
Part 2: PTL! It works!
I can’t express how thankful I am for all the help in getting my sander’s conveyor running again. Living in the middle of nowhere, I was unable to ...
My Work Bench JOURNEY
Part 1: My Workbench JOURNEY #1
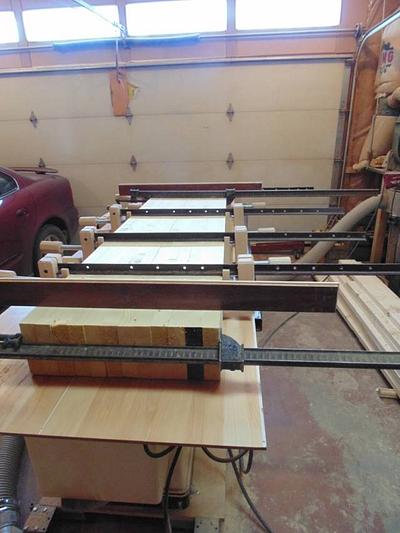
Here is the start of my bench journey It started with a bunch of 2″×10 " SPF ( spruce/pine/fir ) floor joist which where fairly dry and a good grad...
The V8 Wedge Powered Workbench
Part 6: Mounting the Wagons and Cosmetic Top
As a boat builder I worked with epoxy A LOT… so for me it was a no brainer that the vices would be loose fitted and fixed in place with epoxy. This...
Part 7: Installing the Leg Vice and Finishing Up
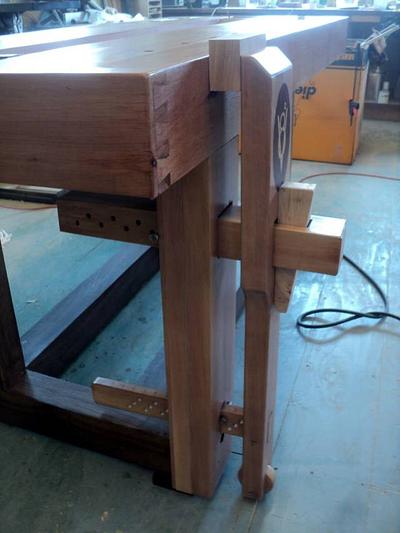
The leg vice is so simple as to be self explanatory and its installation likewise, to the point that you can install it and uninstall it in less th...
Part 8: Leg Vice Upgrade
I’ve been doing a bit of repetitive hand cutting (dovetails) in my leg vice (or vise if you prefer) lately and while I am very happy with it in gen...
Pine Casket Build
Part 1: Pine Casket Build - Part 1
Forgive the blog post of a blog post here but I’ve been away working on new casket build and posting most of the updates on the blog for my coffin ...
Part 2: Pine Casket Build - Part 2
And another recent entry detailing the construction of the lid sections. Each image is captioned with more details of what’s happening in each phot...
Part 3: Pine Casket Build - Final
Had this posted to my blog for a while so I thought I would circle back around and finish up this series of posts. It will eventually get a coat of...


