Share your craft projects
Make new craft buddies
Ask craft questions
Blog your craft journey
Blog Series
LHCD
Part 1: Les Hastings Curved Doors
I guess everbody saw the tutorials Les Hastings did on making radiused or curved doors. Well after all the effort he went to I thought it was certa...
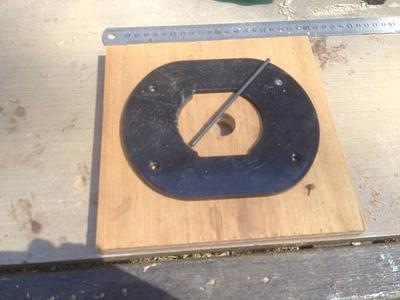
Part 2: Day 2 work Jigging about and Profiling
Well almost a day, it was so windy here AM I thought somebody had redirected Irma my way. A very sad state of affairs in Florida and surrounding da...
Part 3: Panel glue up and progress to dry full assembly
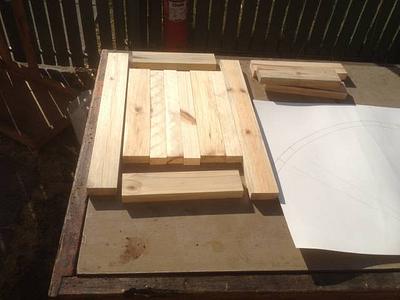
Another part day getting the Panel Door to a completed dry assembly stage. It began with an overnight glue up of the panels, but first up a bit on ...
Fordson Super Dexta wooden model
Part 36: Exhaust and handles, chapter 29
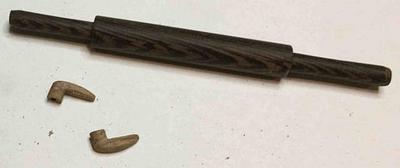
Pictures below are from the making of the exhaust and handles of the Fordson Dexta. Thanks for watching.
Part 37: Battery, shields and oilfilter, chapter 30
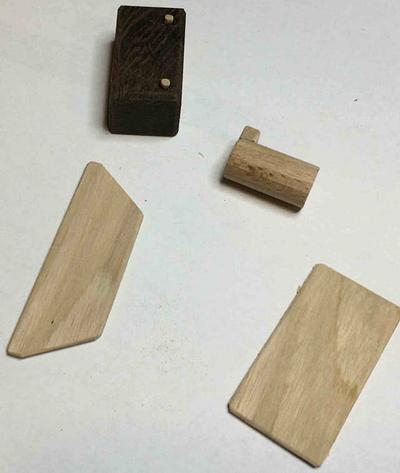
Pictures below are from the making of the battery, shields and oilfilter of the Fordson Dexta. Thanks for watching.
Ramblings from a South Central Texas Wood Butcher
Part 28: Soggy South Central Texas, but Making Shavings and Writing Again
Howdy, Everybody! Hope everybody is doing well. Not bad here, other than it’s REALLY wet. I’ve got a tractor to work on and tractor work to do. But...
Part 29: Hot in South Central Texas, but Making Some Sawdust and Shavings
Howdy, Everybody! Been a while, as I’ve been focusing on other activities, but still have gotten some woodworking done, despite the heat. We’re in ...
Rough TV Stand
Part 1: TV Stand....here goes nothing.
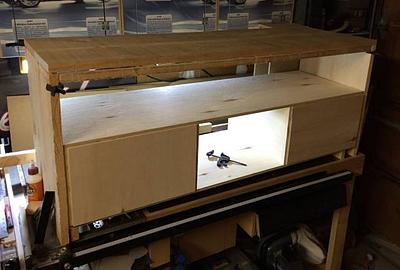
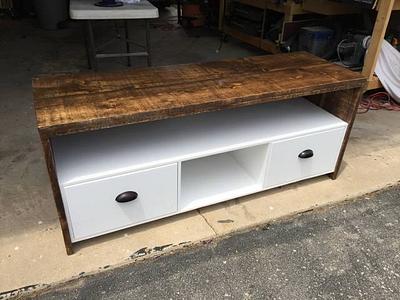
My parents have gotten a new place (Restoring a church into a home) and need a new TV stand that fits the feel of the place. I am building a pretty...
Part 2: Yay warm weather!
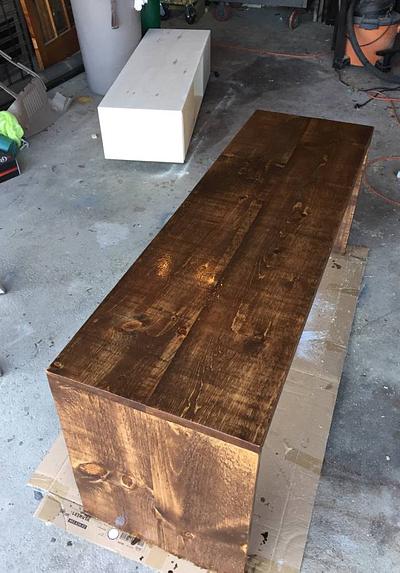
Been waiting for a nice stretch of weather and finally got it. I can’t/don’t want to bring pieces into the house to stain/poly with little kids aro...
Part 3: All done in Time for father day
Had to set this project aside for a while, but got back in it to get it done for this weekend. Came out pretty good I think.
Quad Bluetooth Stereo
Part 3: A little more progress
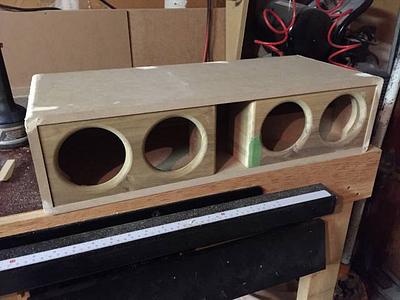
Well, I wanted to try a new (to me) joinery technique ie: A miter lock bit for my router table. It took some time to create an auxiliary fence and ...
Part 4: Front faces complete
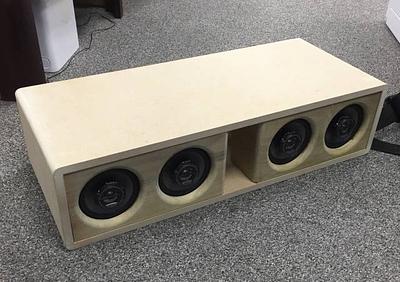
Finally got some time aka. It was warm enough to work in the garage. But for the front faces complete and this morning I installed the 4 speakers. ...
Part 5: And it's complete
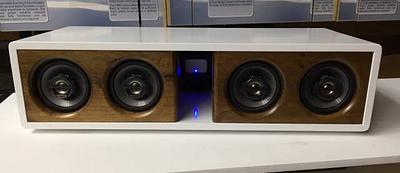
Took a long time to get back onto this project. Finally complete and and it gets plenty loud and looks good doing it.
WoodworkingWeb Awards: Giving the Gift of Boxes
Part 1: Announcement
Theme: Giving the Gift of Boxes Build a special box for a special someone and share the beauty and the inspiration with us, for this Winter Awards....
Part 2: And the Winners are ...
Our Winter WoodworkingWeb Awards are over and we finished with 15 entries. I would like to thank you all who participated by submitting entries or ...
Woodworking Monthly
Part 4: Issue 1.04 / October 2016
October 2016 Issue of our Woodworking Monthly is here. Have a good read! Editorial Feature Article by Les Hastings Feature Article by Paul Miller E...
Part 5: Issue 1.05 / December 2016
December 2016 Issue of our Woodworking Monthly is here. Have a good read! Editorial Feature Article by Les Hastings Feature Article by Paul Miller ...
Part 6: Issue 2.01 / January 2017
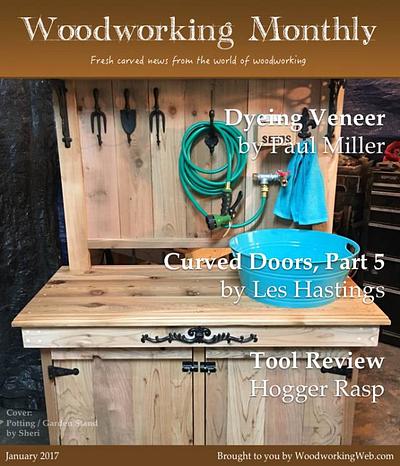
January 2017 Issue of our Woodworking Monthly is here. Have a good read! Editorial Winter Awards Feature Article by Les Hastings Feature Article by...
Compact Bluetooth Stereo
Part 3: Outer case
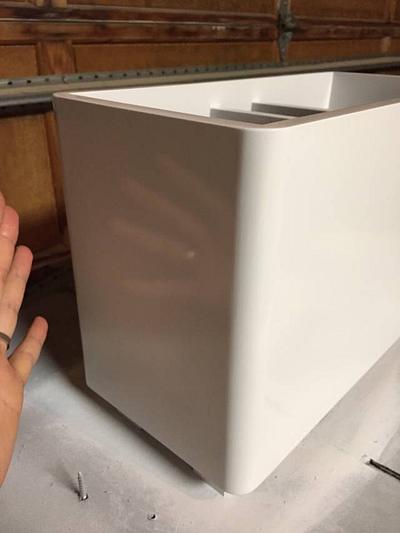
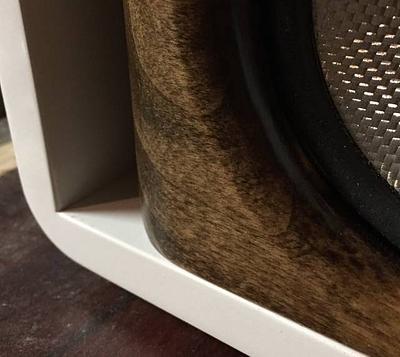
The outer case is complete and painted. The high gloss epoxy worked really well. Front face has been stained and clear will start shortly.
Part 5: 98% complete
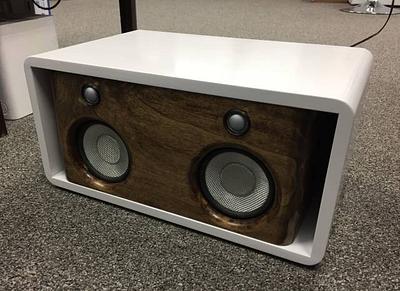
So here it is. I am waiting on a brown leather handle for the top of this unit. When it gets here I will make a creations page but you get the idea.
Creation Challenge 1
Part 1: Hidden Treasures
Kelly has inspired me!!! (See her blog, here) So here’s the challenge: 1. create a little treasure, whether it is something carved, turned, or glue...
Interior door making
Part 7: 8 done, 9,10 constructed
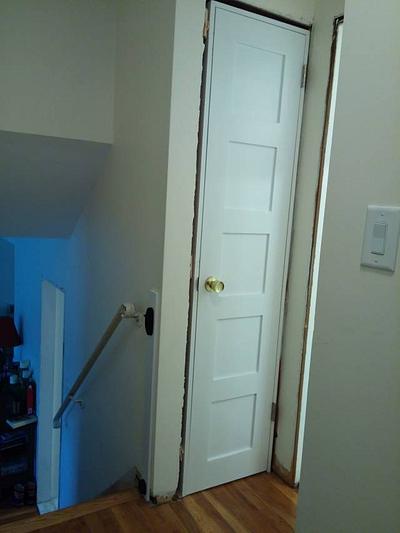
Number 8 of 12 is done. Painted and installed. This one is 18" and goes to the attic. Picked up the lumber for 9 and 10 last night after trick or t...
Part 8: Measure twice cut twice: part deux
I seem to have a knack for doing things backward. This time I cut the hinge mortises on the door upside down, meaning I thought the top was the bot...
Part 9: No movement doors!
I’m very happy to report that all 10 of my doors, which have all gone through at least one complete heating and cooling season, have not moved at a...


