If you thought I lacked frugality with my Bessey clamps you’d freak out if you costed these little gems.
These are an Aussie invention and the closest thing to their plagiarism are the Woodpecker Clampzilla clamps, which are not necessarily cheap in their own right, but even with exchange rates they are a more palatable investment.
I bought my set of 4 over 16 years ago, and even with charging generous commissioning to make up panels for friends (and their friends, and their friends friends, and their friends friens friends etc.) they have more than paid for themselves many times over.
Now many may argue that there is nothing wrong with pipe clamps… well pipe up, as I will argue that these are way, way better… and many of my above commissioners owned pipe clamps and were prepared to outsource... though bear in my they were bulk requirements rather than a few 1 off.
Unlike the Clampzilla (from pictures), they have sufficient bulk behind them to ensure near perfect panels requiring little more work than cleaning up the squeeze out.
These clamps contributed to my avoidance of the Domino, whose primary purpose was for board alignment rather than strength… in fact one of a friend's friend used Dominos (slots) on panels he sent me for glue up and wondered why they were out of alignment… I pissed off his Dominos and ensured all boards were the same thickness (which is critical for minimal rework) for better alignment.
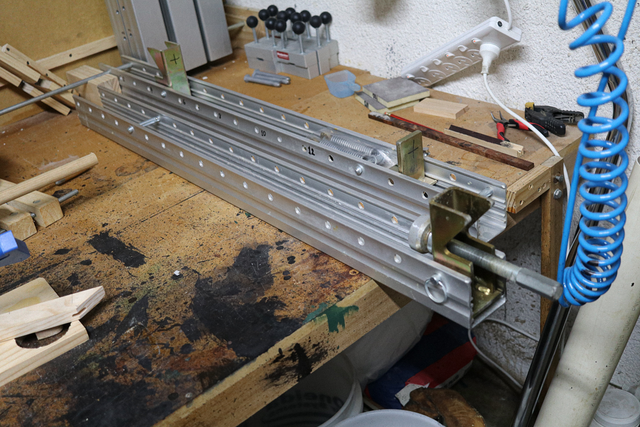
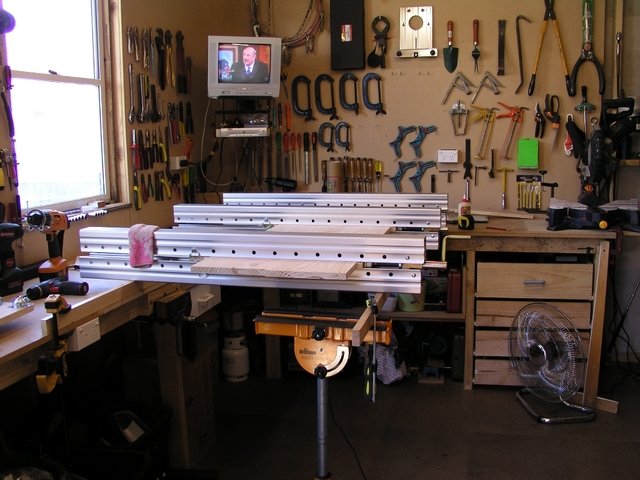
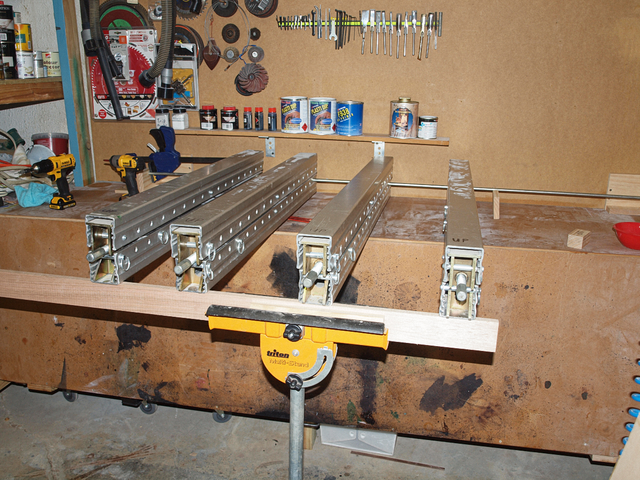
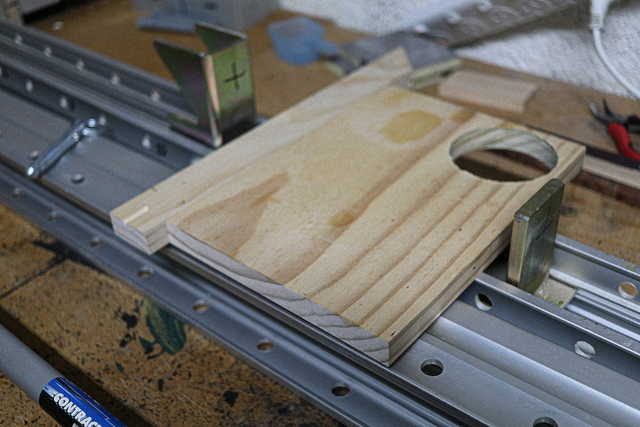
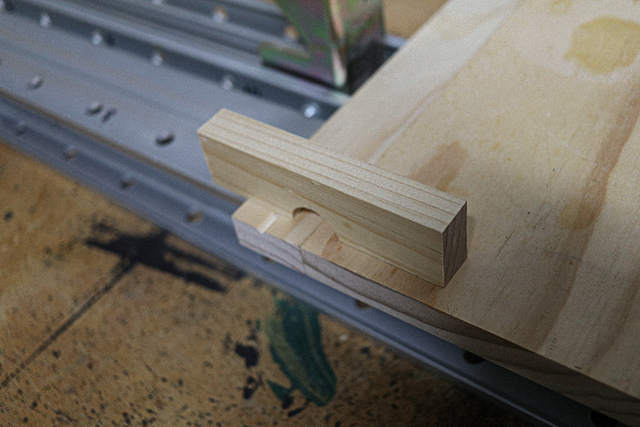
The clamps come in 2 heavy aluminium halves (nearly 13kg for both halves),
that when combined/stacked and closing pressure applied, the boards are brought together as well as flattened.
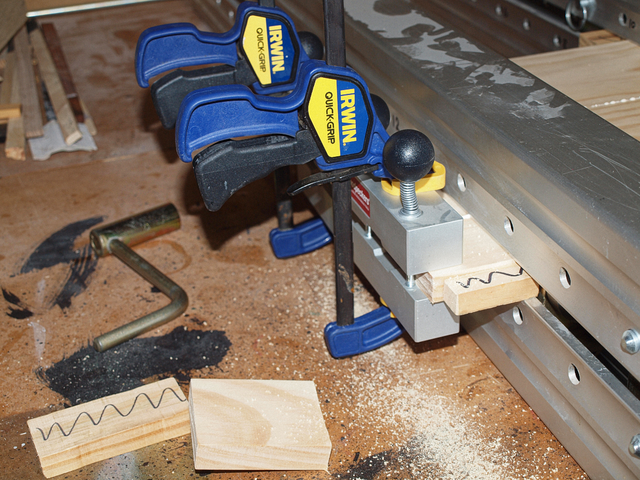
The closing pressure is applied by turning a handle which forces 2 x 45° brackets against some stainless pins, bringing the clamp pieces together while pushing the boards together. (Don't be misled, the clamps are manual and the air hose in the picture is for other purposes.)
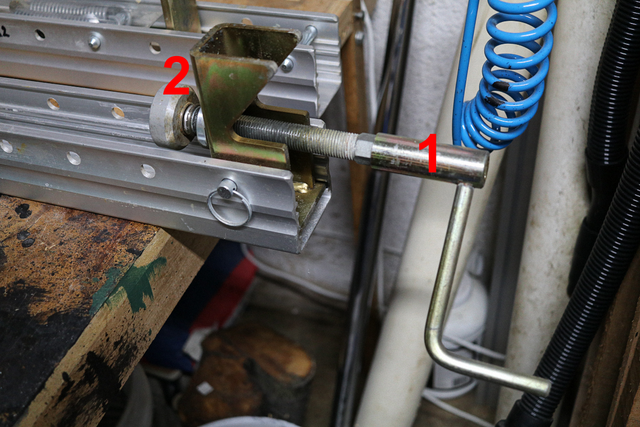
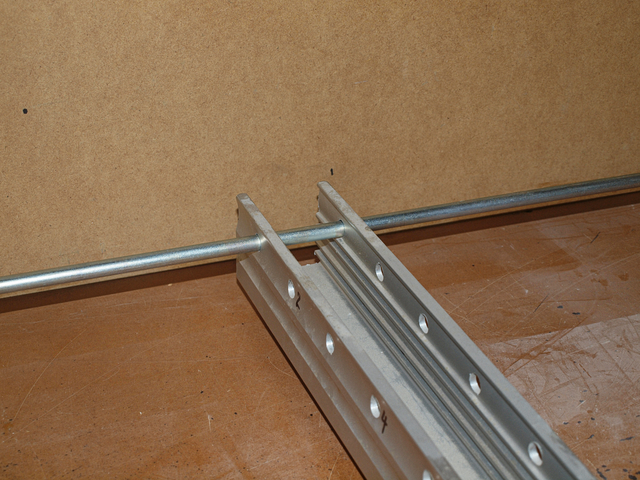
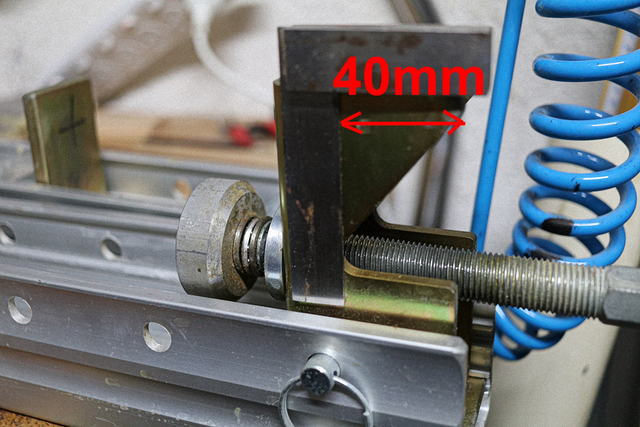
At the “headstock end”, turning handle (1),
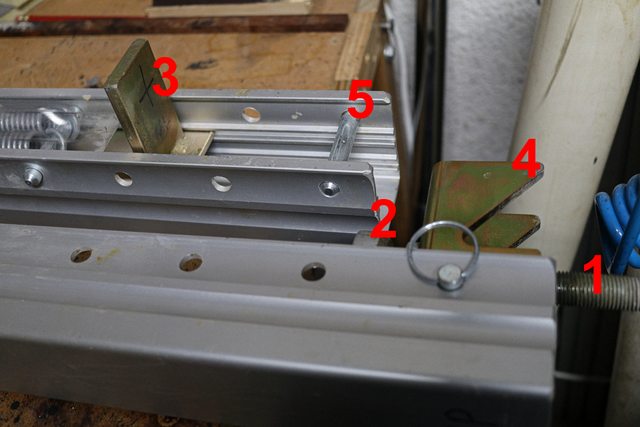
advances plunger (2), onto the spring loaded post (3) (when stacked), forcing the 45° bracket (4) to pull down on pin (5)… meanwhile at the “tailstock end”,
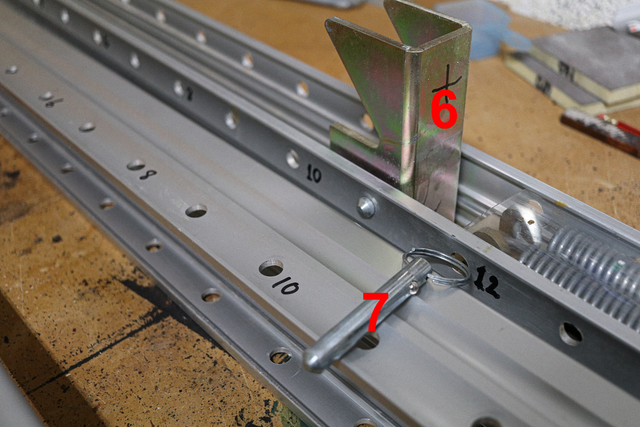
a similar fixed 45° bracket (6) is forced against pin (7), which all culminates in the boards being pushed together and the clamps brought down together.
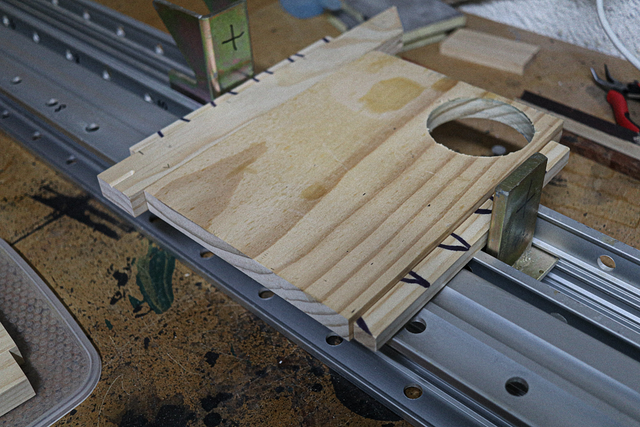
Each clamp in line is initially snugged up and gradually tightened progressively one at a time. You can judge the pressure by
watching the squeeze out reach you preferred extrusion.
an acquired feel.
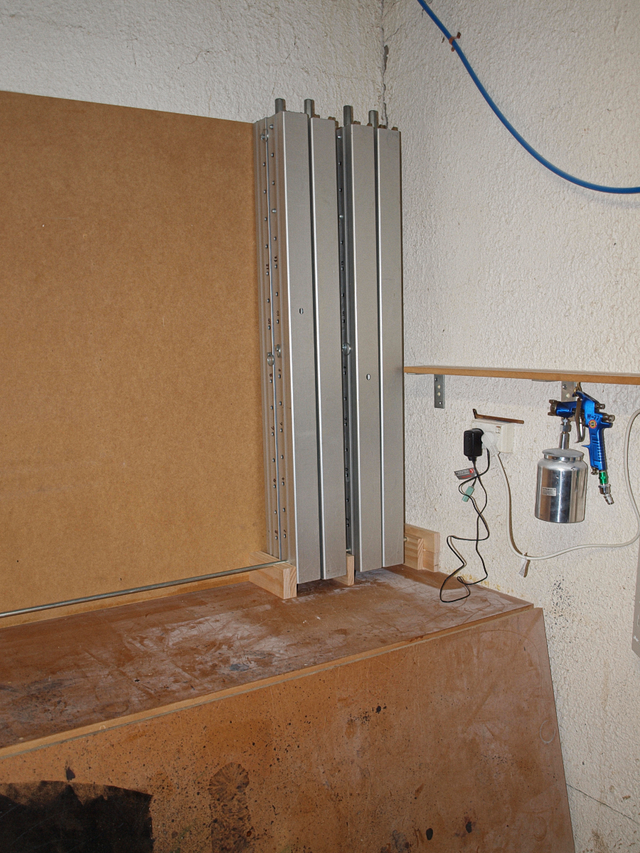
Initially I just set the clamps up supported at one end by my bench and the other by Triton stands
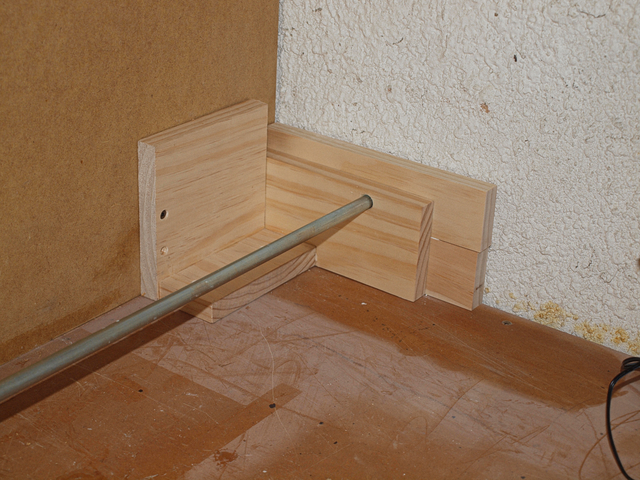
but currently I have set them up in my stock room along a steel rod that I can drop down for clamping,
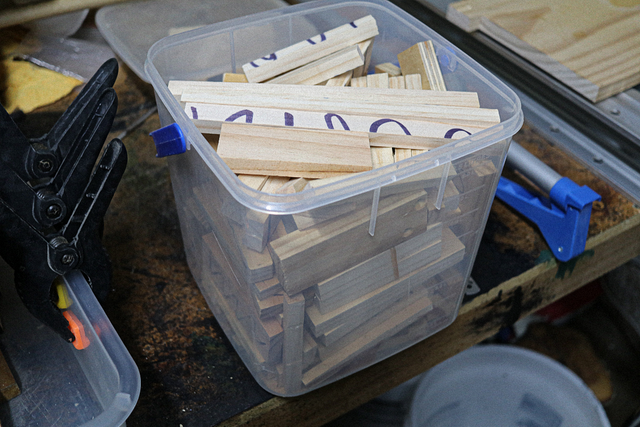
The pins are set in holes 70mm apart and the 45° bracket permits about 40mm travel,
to take up any gap due to the width of the proposed panel,
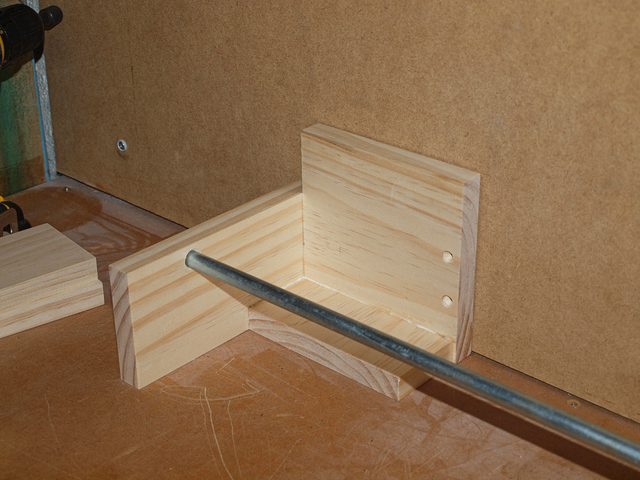
I use packers to take up the slack,
They also protect the panel from the metal brackets that push the boards together.
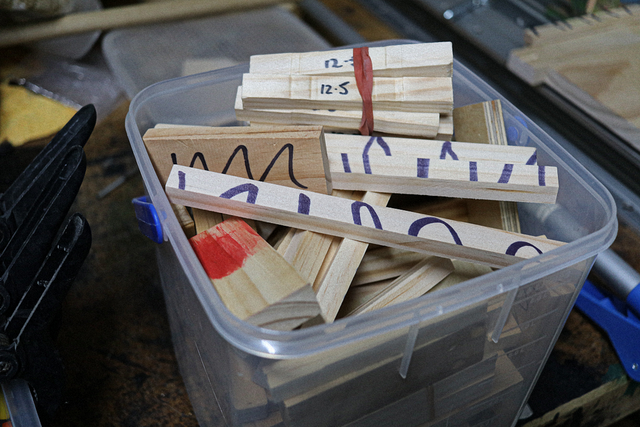
After all this time, I now have a collection to cater for any sized gap,
They come in sets of 8 (2 per clamp) and have identifying markers on each set,
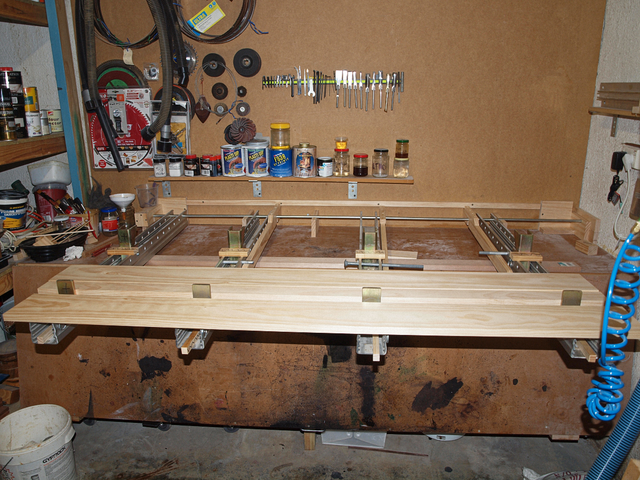
I use these Woodpecker Side Kicks for aligning the ends of the board,
which can be clamped to ensure the ends are even,
Now you can use these type of shop made blocks to straddle the glue line on both sides,
but it’s a pain to align top and bottom to get a clamp around them… a side kick is convenience., just ask any super hero (or Cisco).
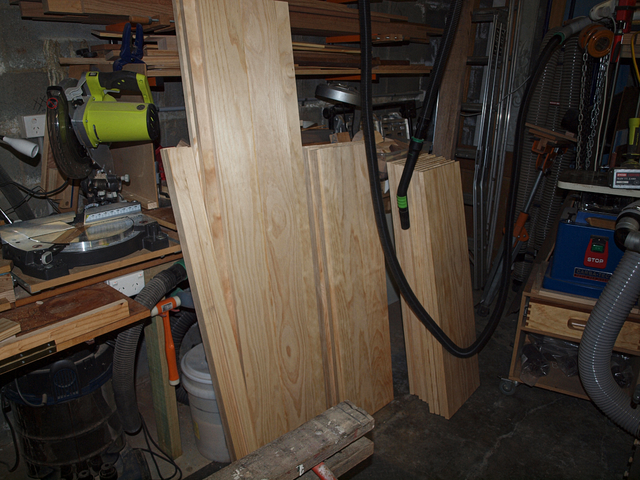
This production run alone saved me about $200 compared to buying boards of adequate width (320mm required)… and even then I would have had to compromise.
While looking for a video on the use of these clamps, I blundered across one I made that I’ve forgotten about.
As you’ve gotten down this far and if not totally bored, here is that video,
it may be long, but it features the old animal nightie...
damn ducks never would have guessed you were a dr phil groupie ! any who those fancy clamps might be the cats meow but ill die with my cheap ass pipe clamps ! just remember a clamps purpose is to apply pressure between two points. a cheap pipe clamp will achieve this !
working with my hands is a joy,it gives me a sense of fulfillment,somthing so many seek and so few find.-SAM MALOOF.
It was Dr. Phil that taught me to tolerate Yanks... he told me that if he could tolerate them, then I should be able to... wise man.
Yep, cheap pipe clamps will apply pressure between two points... these babies apply pressure between 4 points with the twist of one lever. You can then spend the next hour sanding and planing the boards flat/level and maybe use your pipes for some wacky-tobacky, while I just go and start cutting my dovetails straight after scraping off the squeeze out.
If your first cut is too short... Take the second cut from the longer end... LBD
hell in that video it took you a half hour just to get all that fancy clamp setup, setup ! with pipe clamps id be done in 5 minutes ! i dont even wanna know what that setup cost 🤑
working with my hands is a joy,it gives me a sense of fulfillment,somthing so many seek and so few find.-SAM MALOOF.
The setup cost me about 2 hours to build originally with only the steel rod needing to be purchased. With that setup, it's a "permanent" glue up area. Get yourself a stop watch and film yourself setting up your pipes (and cauls) and see if you can achieve that within a day. BTDT... Even if it took me 1/2 a day to set up, I'd save that in leveling costs and don't bullshit me that it's not needed... hell, I remember the hassling times I used to use pipe clamps,
though I didn't have my collection of long reach Besseys,
I must admit those Jet long reach jaws on the pipe are worth their weight in gold for those recalcitrant glue ups.
At my age I wouldn't buy them now, however, after over 16 years of use I wouldn't hesitate if I got that much service again.
If your first cut is too short... Take the second cut from the longer end... LBD