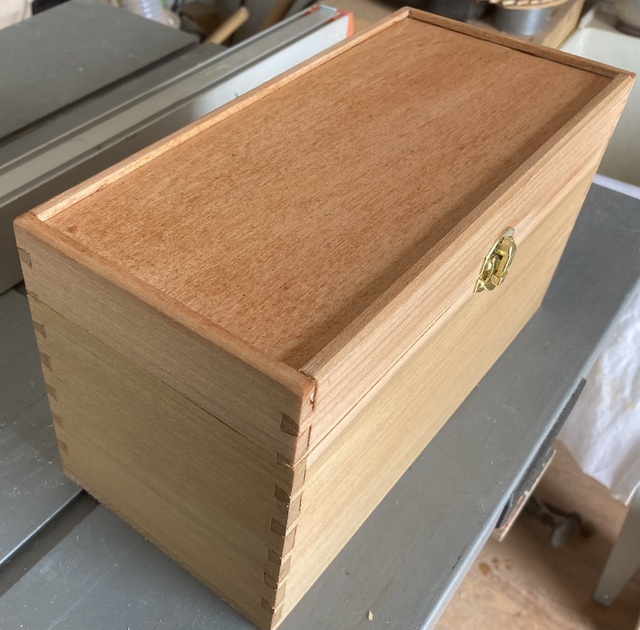
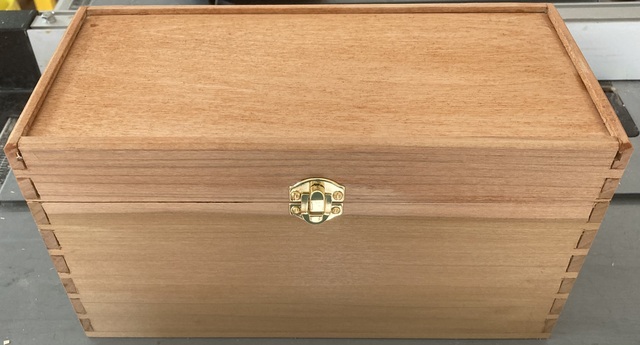
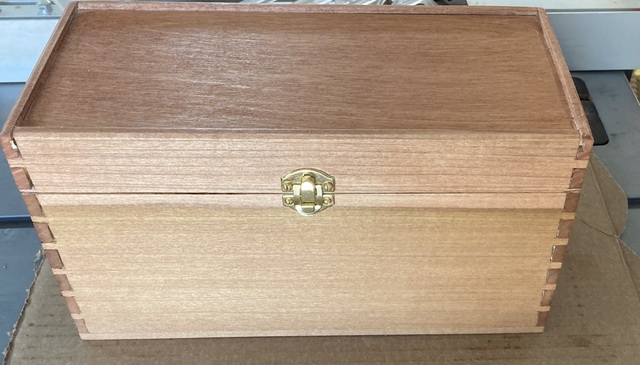
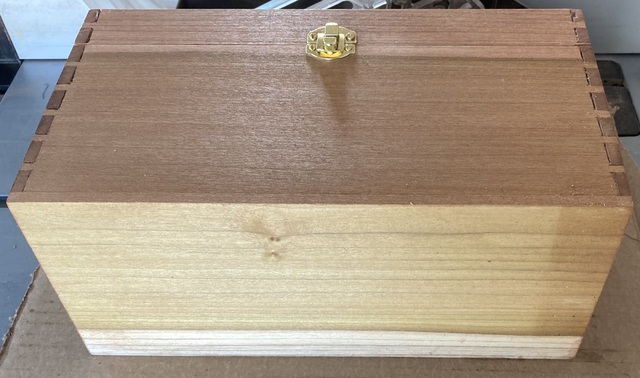
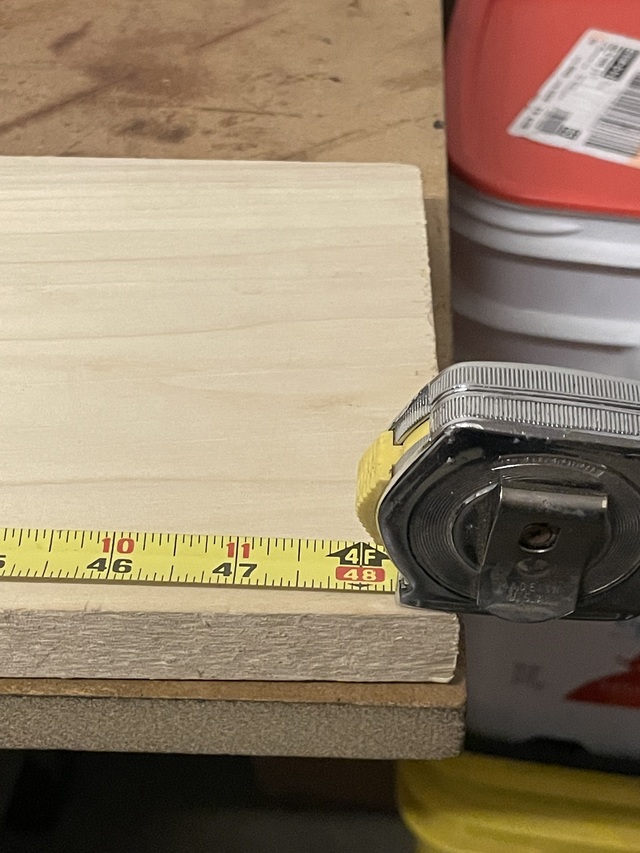
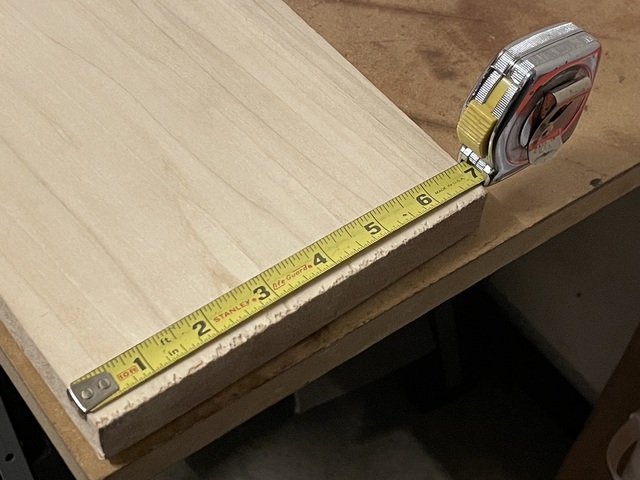
Another storage box, this time from ¼ inch poplar and Baltic birch ply for the top. Treated (this morning) with kakishibu, which darkens with exposure to sunlight. I’ll be documenting that separately.
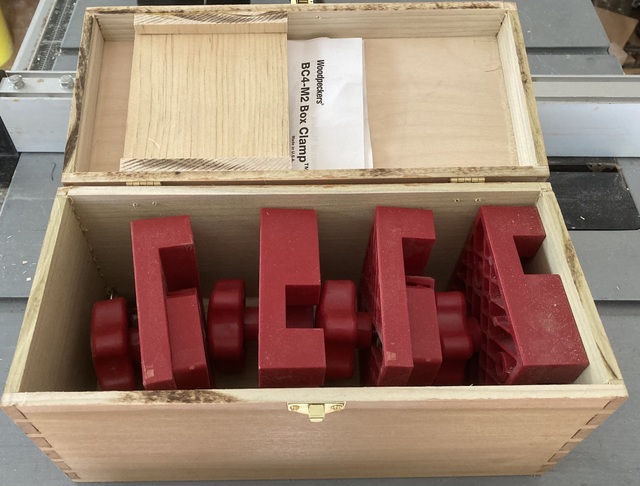
These box (or corner) clamps from Woodpecker’s are a pain to store. They’re much less useful if you can’t find all four, and they tend to slide off a shelf if you’re not careful. So into a box they go!
And after sanding lightly with 220, applying another coat of the kakishibu, then applying a coat of tung oil, it looks like this:
To compare, here’s the bottom of the box which is the same poplar as the sides, with the same sanding and tung oil.
I think I’m liking the kakishibu, though I need to try it on other woods and also need to get it out in the sunshine.
They’re dovetails, Devin. I find it quicker to cut dovetails by hand than any other joint, and poplar and pine are what I have 90% of my dovetail experience in. Poplar is my recommendation if you want to start and don’t hate the green color. And if you do, get some paint or stain.
Steve, I’ve been knocking them out while I’ve been painting on the carved bench and other things in the shop. I need to get cracking on the bench next week if I’m going to have it done by Labor Day 2023 like I planned, but I expect as long as it’s done by Thanksgiving, I’ll be fine, other than my sweetie being exasperated at my schedule.
Petey, exactly. If I have a pile of stuff in the way in the shop lately, I just knock out a box and get it done and out of the way.
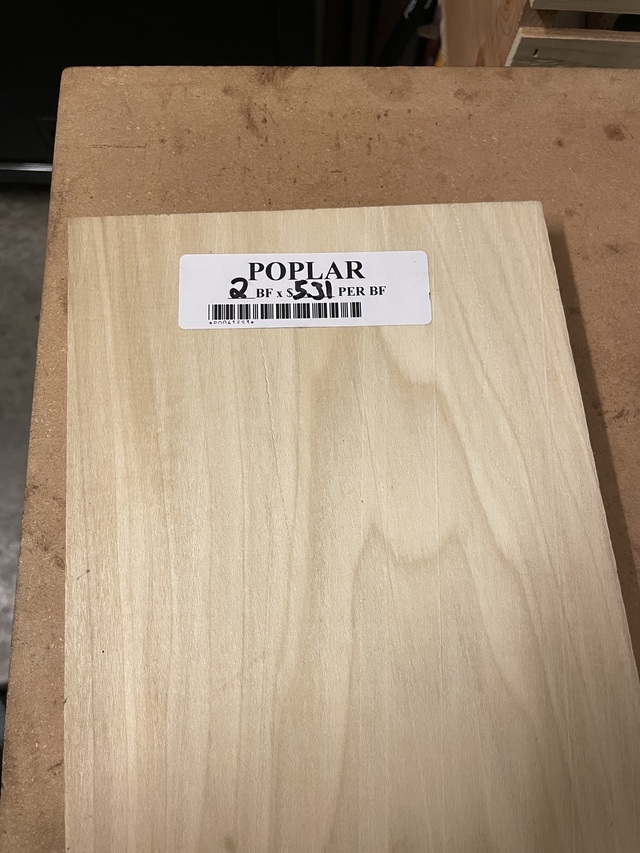
I stocked-up on Poplar based on your recommendation. I have to make a box for my kerfing plane.
In fact, I have to make 2 boxes -- one for my existing kerfing plane and one for the kerfing plane I am giving to a fellow Craftisian. I am going to hand-deliver this kerfing plane to said individual on November 26th, so I have a little more than 90 days (if I count correctly) to make my first box(es).
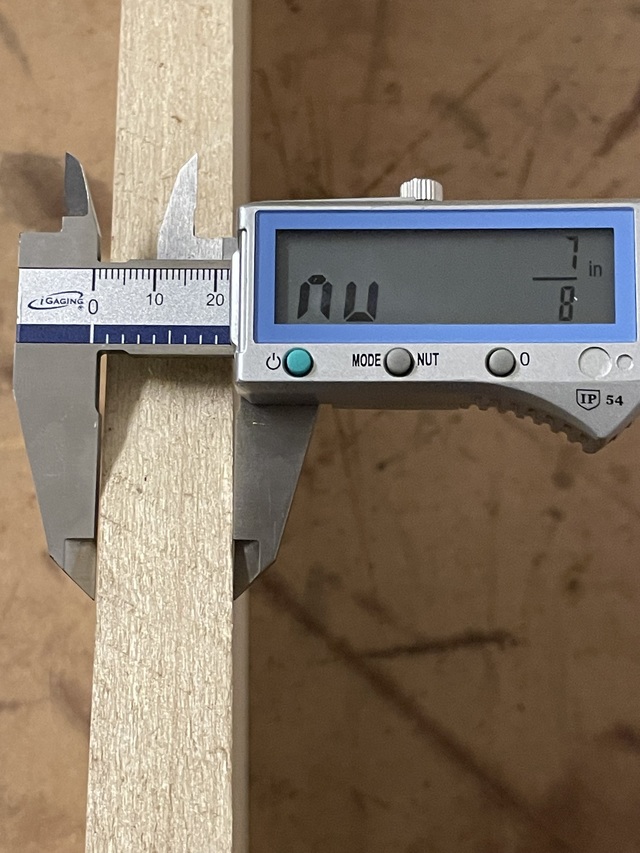
How thick is your poplar, Devin? I buy a lot of ¼ and ⅜ inch nowadays because that’s about the right thickness for most of my boxes. But ½ or ¾ will be easier to learn on. For your kerfing plane, I’d think half-inch would be in the right ballpark.
If you’re aiming for this year, with your perfectionist tendencies, dovetails may not be best. Miters with splines will be a lot easier to get good and looking good. But don’t let me discourage your from practicing dovetails.
Thanks, Tom & Peter. The only real problem is that the kakishibu raised the grain, so I’ll need to sand it down and re-treat the wood. Dang it. Oh well. Learning as I go.
Nice Dave - It just occurred to me, you never label any of the boxes, how do you know what's in which box? It'd take me weeks to track down the right box :)
Mike, I label the boxes with sharpie after the tung oil finish has cured, but that’s generally a week or two after the pictures have been taken. Doing it that way means if I later reuse a box, I can sand off the sharpie and oil fairly quickly and relabel the box.
But I also have a freakish memory for some things, and identifying what’s in a box by its outside shape seems to be part of that for now. I’m sure that’ll evaporate as I get older, so I do eventually label things.
Thanks, Eric, Oldrivers! It’s an ongoing process, but I now have a space on my workbench larger than a sheet of letter paper available for working on. I am going to have to build a shelf (or add a shelf to one of my other work surfaces) soon, though.
That’ll work, Devin. But I would get a cheap piece of ½” poplar, maybe 3-4 inches wide (a nominal 1x4 or 3/4x3) in whatever length they sell it. Then cut off two 2 foot long pieces. Dovetail a joint. Saw off the joint and number and date it. Repeat for a couple weeks to a month, watching your progression.
This is “30 days of dovetails” or “dovetail a day” and one dovetail a day is plenty when you’re starting out. When you start, a single joint will take you a while. Once you’ve practiced… well, I knock out all four corners of a dovetailed box in 2-3 hours, along with some other things in the shop, sometimes even resawing the wood for the box I’m working on. So 15-30 minutes for a single joint, and less dependent on the width of the joint than you might think.
I cut all of mine tails first (in gangs, so I’m doing a pair together), and do 1:4 in all woods. I used to do chunkier pins than I do now, but I definitely do not do the super-delicate pins you’ll see some do. And I almost always have all my dovetail tools right at hand, so there’s no big delay from thinking “I need a box for this thing” to cross-cutting the wood to length in my miter box, and starting in cutting the first pair of tails pretty quick. I don’t chisel waste, instead I saw it put with a coping saw and then run a rasp or a float through the wood to flatten things out (because cutting the waste with a coping saw leaves a little hump in the middle of the waste), test fit, and then tune if needed (also with the rasp or float).
Sections 3 and 4 of my bookcase build blog cover simple mitered dovetails with a rabbeted back. And The Little Things covers tips and tricks I learned doing 70 cases.
If I understand correctly (I did not at first), because you "saw off the joint" at the end, what's happening is that the 2-feet of length continually shrinks as I:
1. Dovetail the ends together and then, ... 2. Lop-off the results
Leaving little-more than just the joint itself but giving me two fresh boards to dovetail together again.
As they might say in a Guinness commercial, ... BRILLIANT!
I don't know why, but I initially read it and thought I was going to go out and buy more wood. But if I have interpreted you correctly, each joint should only be a couple inches in length off each board, at most.
OK, so that only leaves me with one thing left to ask ... how are you doing the 1:4? Do I need to buy a 1:4 marker, or how do you do it? I'm probably getting ahead of myself, as I still have to digest all the links you have provided me.
Yep, Devin. You get a pile of little dovetailed joints, each numbered and dated and you can watch your progress, or make a movie or something.
I made a 1:4 marker. Took a ruler and drew a line 1 over and 4 down on each side of a centerline on a board, then cut. Then stuck it into another board. Overall width is 4-5 inches, and the marker portion sticks out just over an inch (so I can reliably mark 3/4 boards). Don’t buy one. If you must have something metal, I’ve got a piece of brass cut (by John McClure over at that other site) like one of these markers (but at a 1:4 slope) that you can screw a piece of wood to in order to have an adjustable marker that I can drop in the mail as soon as I find them in the shop. But if you prefer another angle, it’s fine, too. I’ve just cut enough dovetails at 1:4 (and know that it’s pretty close to 14 degrees, which is a handy mnemonic) that that’s the angle for me. But really, anything between about 1:3 and 1:8 will work in just about all woods, so pick an angle and stick with it.
1:4 doesn't matter, in fact the angle on the 2 sides of the joint don't have to match, you just have to cut the tail or pin, then mark up the other to match, as long as it fits the angle doesn't matter, you could do 1:3 on 1 side and 1:20 on the other, might offend your sense of OCD but it work's fine - in fact you can get some nice effects by varying the angle on the dovetails as you roll up a board.
If you want 1:4 specifically, mark 1 Inch in on a board, 4 inch down, use a bevel gauge to join the 2 marks and you have 1:4 - I'm fairly sure you will have something that can make that angle measurement much more accurate than anything I can do.
I never did the 30 days of dovetails thing, just made something with a fair amount of dovetails in - the ones I did last are a lot better than the ones I did first on that project, so I reckon it's a good idea if you have the time.
At the risk of sounding stupid, has anyone ever thought to perform this exercise where, after finishing the joint, you only cut one of the two boards, then dovetail the results perpendicular to the new cut-off? Dovetail stairs! The strength would probably be questionable but you would have quality A at one end and quality B at the other, hopefully showing marked improvement between.
ASIDE: Hey, I said “at the risk of …” — I realize that this would pose a minor clamping/working challenge