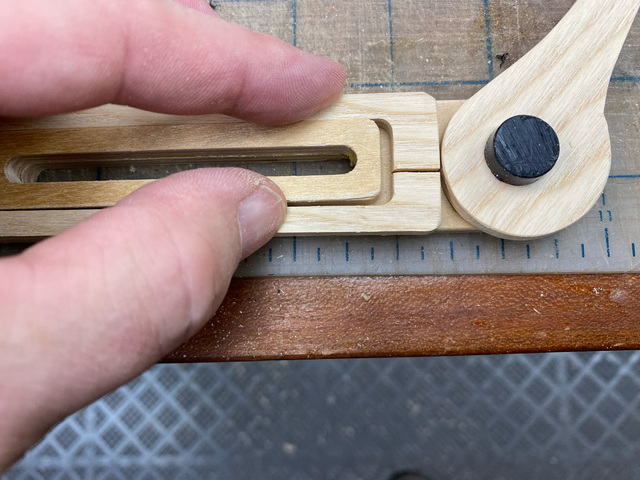
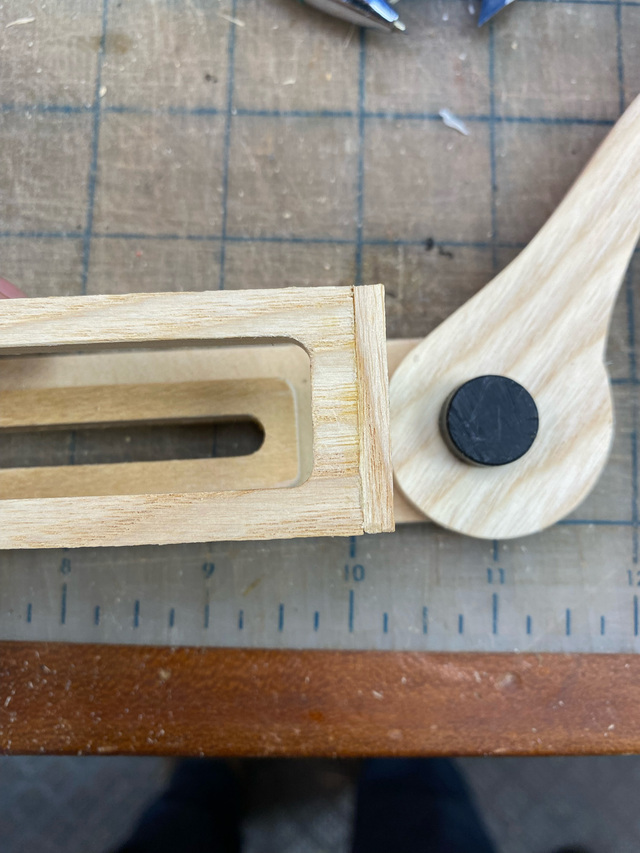
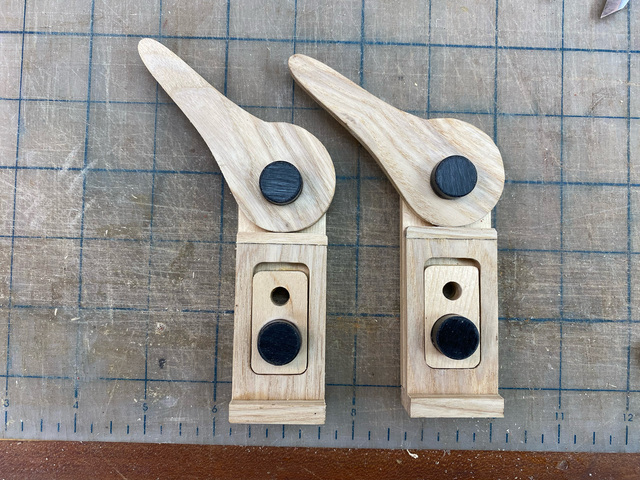
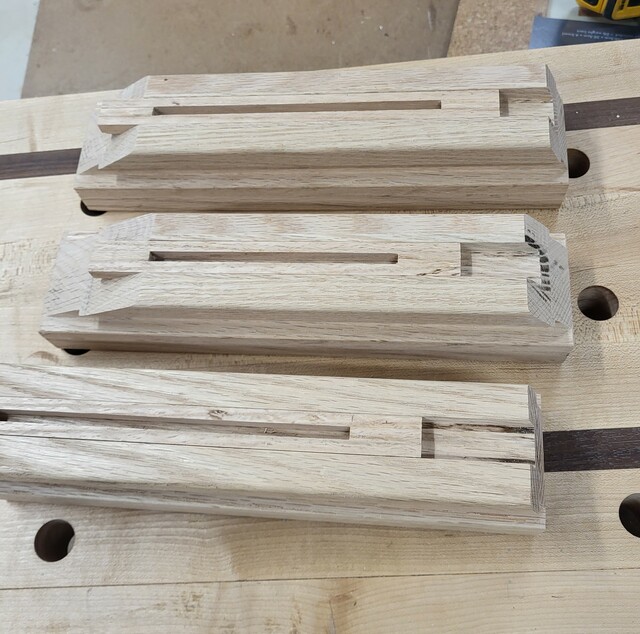
Yesterday evening, I cut out the parts for the long version of the clamps and got one assembled.
On the first test, the top of the plunger snapped when pressure was applied by the cam. I thought that the hardwood plunger would have been stronger, but I guess that is a narrow piece of end grain.
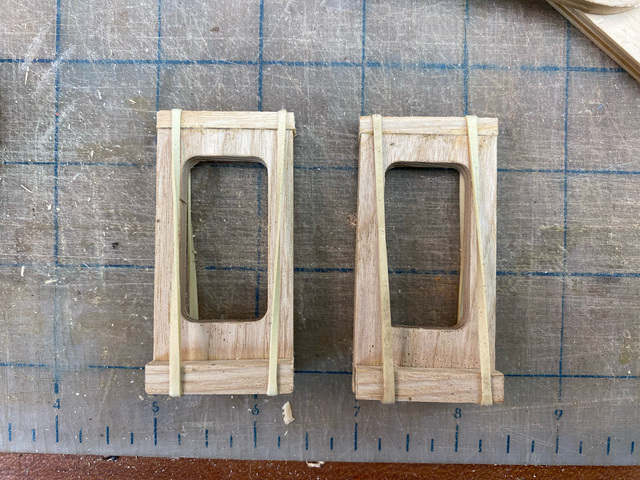
My fix was to cut off about 1/4" of the top of the plunger and replace it with a cross grain piece. For future clamps, I'll adjust the design to incorporate a wider cross grain piece.
I preemptively applied the same fix to the plungers for the stubby version. It's a good thing I went with a design that allowed it to be disassembled.
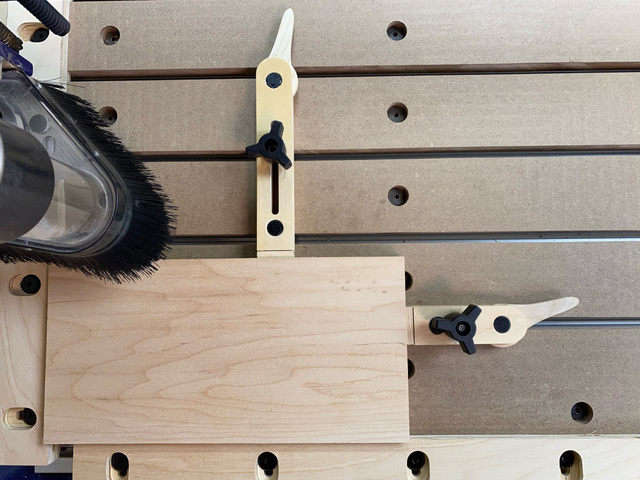
The second test went much better. I will probably add a patch of sandpaper or some other non-slip material to the clamping pad for good measure.
Really great mods Ross. Looks like you just release, then slide it up to your workpiece with a small gap, lock down and clamp. No need for excessive travel!
First thing I though of with the split piece was to cross drill and epoxy in a pin. I'll usually snip of the threaded portion of a long machine screw for pinning since the threads really give a great bond
You might consider giving the clamping face a slight downward angle like is often down with bench dogs. This may help to push the work piece down and further reduce the chance of a release during a machining process.
--Nathan, TX. Hire the lazy man. He may not do as much work but that's because he will find a better way.
Ross, here's a though for you. What about using 2 long strips of say Oak 3/8" square with a block say about 1' long at each end for the strength glued to the longer strips. It will give you an opening in the center and add the strength. (Hard to explain in works).
I made adjustable stop block for the Kumiko Jig Block like that, they slide nicely in the dado and a screw with washer locks them in place. mine were 1/4" square here.
SplinterGroup commented about 11 hours ago Really great mods Ross. Looks like you just release, then slide it up to your workpiece with a small gap, lock down and clamp. No need for excessive travel!
First thing I though of with the split piece was to cross drill and epoxy in a pin. I'll usually snip of the threaded portion of a long machine screw for pinning since the threads really give a great bond
Splinter - Yes, I can just snug it up so the pad is flush to the workpiece, tighten the knob to hold the clamp body in place, and rotate the cam lever a bit to tighten it fully. It doesn't have to move very much at all to get a firm grip.
I didn't think about repairing the plunger crack like you've described. That sounds like the machine screw would both clamp the split sides together as well as add rigidity.
Lazyman commented about 4 hours ago You might consider giving the clamping face a slight downward angle like is often down with bench dogs. This may help to push the work piece down and further reduce the chance of a release during a machining process.
That's definitely an option. I've used the clamps already to cut some wooden knobs, and they're holding well at right angles, even without any sandpaper attached. What I'd lose if I put an angle on the pad is that I wouldn't be able to flip them top-to-bottom. I was thinking that if the cam lever movement was obstructed in one direction, I could flip the clamp upside down so the cam could move in the opposite direction.
Eric - the "Loft" commented about 1 hour ago Ross, here's a though for you. What about using 2 long strips of say Oak 3/8" square with a block say about 1' long at each end for the strength glued to the longer strips. It will give you an opening in the center and add the strength. (Hard to explain in works).
I made adjustable stop block for the Kumiko Jig Block like that, they slide nicely in the dado and a screw with washer locks them in place. mine were 1/4" square here.
Eric - yeah, I definitely think if that top section of the plunger piece was 1" long, it would have resisted cracking much better. Maybe even a spline would work. Although, with the plunger having to be thinner than the center rail so it can slide (I think it ended up about 0.217" thick), the spline couldn't be very thick. Even a thin spline might be enough, though.
If I can get a few projects off my plate here, I would like to experiment on something like it to fit in dog holes on my little Moxon bench. I find myself using that more and more for the projects I have been working on, and even to glue up short thin stock panels.
Eric - the "Loft" commented 1 day ago If I can get a few projects off my plate here, I would like to experiment on something like it to fit in dog holes on my little Moxon bench. I find myself using that more and more for the projects I have been working on, and even to glue up short thin stock panels.