As I mentioned earlier, given the desired cart height and the max height of the shelf (dictated by the tallest tool), I was concerned that the lateral stability of the cart would be compromised if I designed the cart to have the casters mounted underneath. My original plan was to drop the cart close to the floor (1/2" above the floor) and mount the caster on external platforms at the 4 corners.
To minimize the overall cart footprint, I abandoned that original plan and modified the design to create inset mounting platforms at each corner. This turned out to really complicate the construction of the base. As I began assembling the base, I immediately started feeling uneasy about the order of the build (from the inside out). It all felt a little too fiddly, with the possibility of alignment issues later when it was time to attach the sides. But I pressed-on with the assembly order anyway because I couldn't see a better way. Sure enough, in the end I did have some alignment problems when putting everything together, but luckily they were minor. If I were to do this again, I would spend more thinking about changing the design or the order of construction.
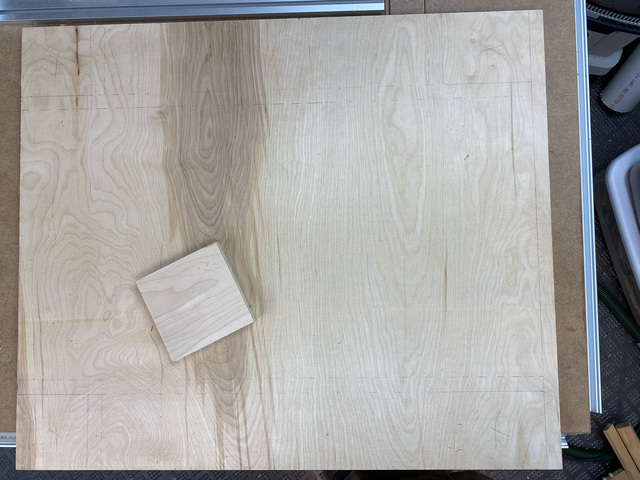
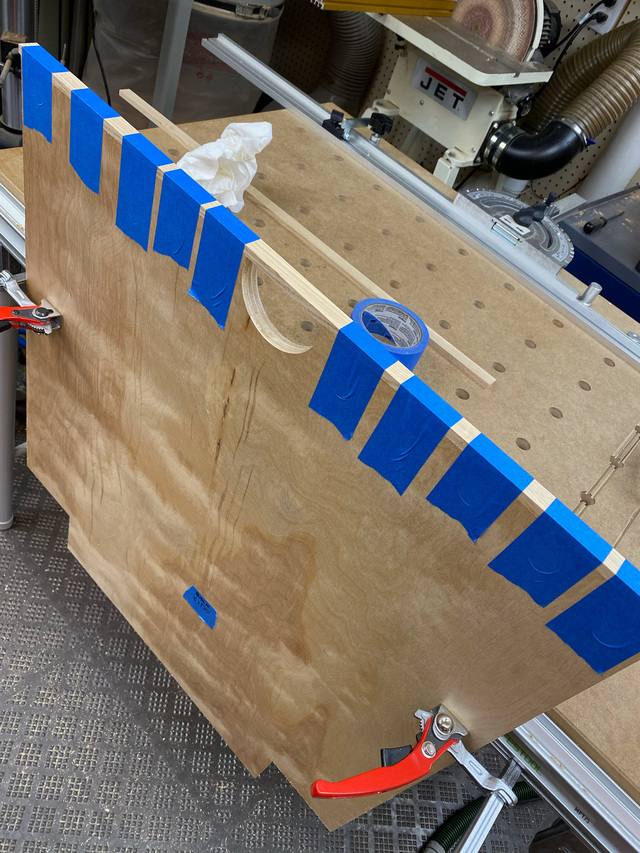
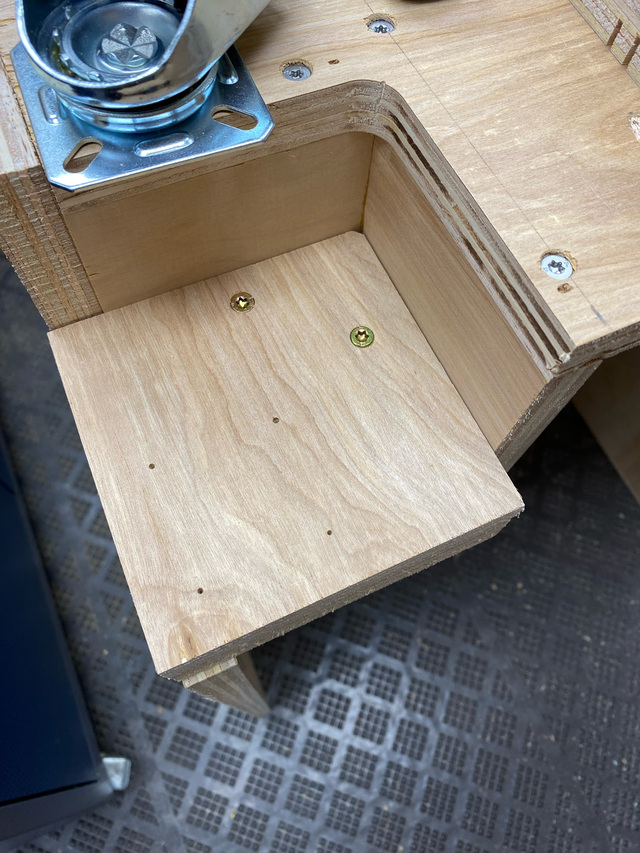
After completely disassembling the cart from the proof of concept, I started laying out the positions and dimensions of pieces that would mount to the bottom panel. These were driven by the caster height and its rotation radius (the inset platform had to allow the caster to rotate freely).
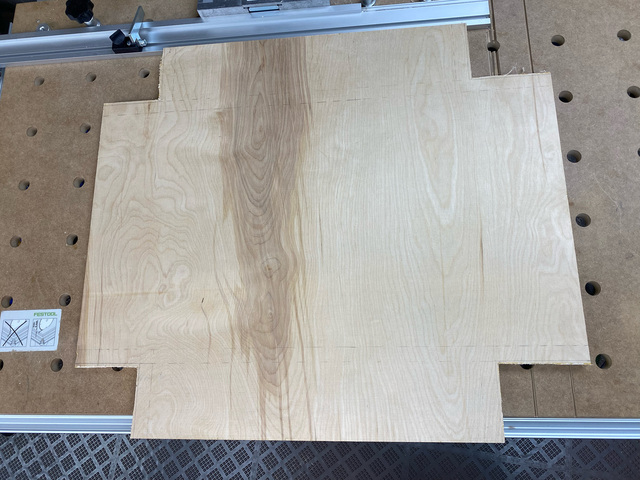
I pre-cut out the corners of the bottom, leaving some excess that I'd flush trim later.
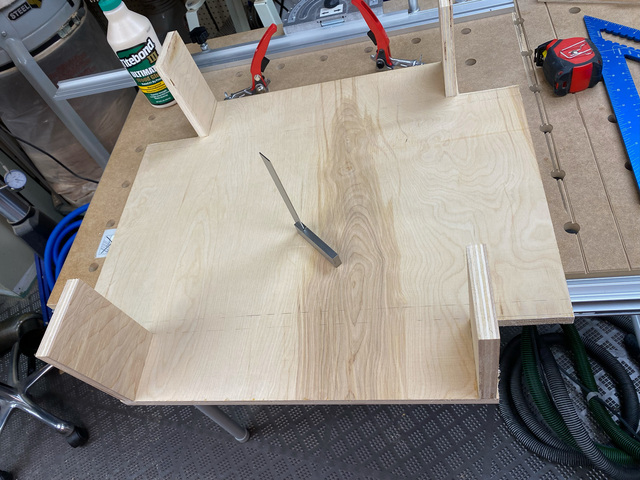
All pieces of the base were glued, tacked with a brad nailer, and then screwed in place. Everything was checked for square and plumb as I went.
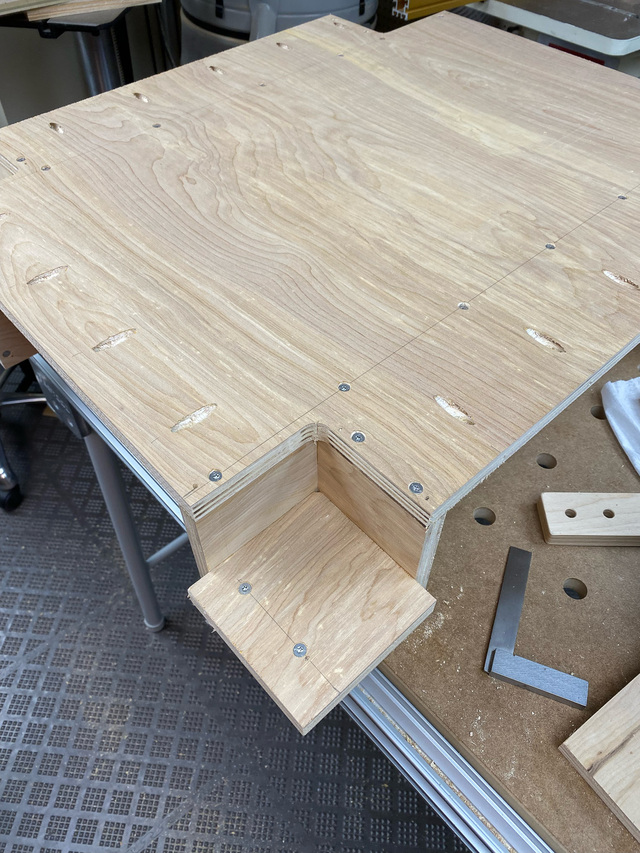
At this point, I flush-trimmed the inverted corners.
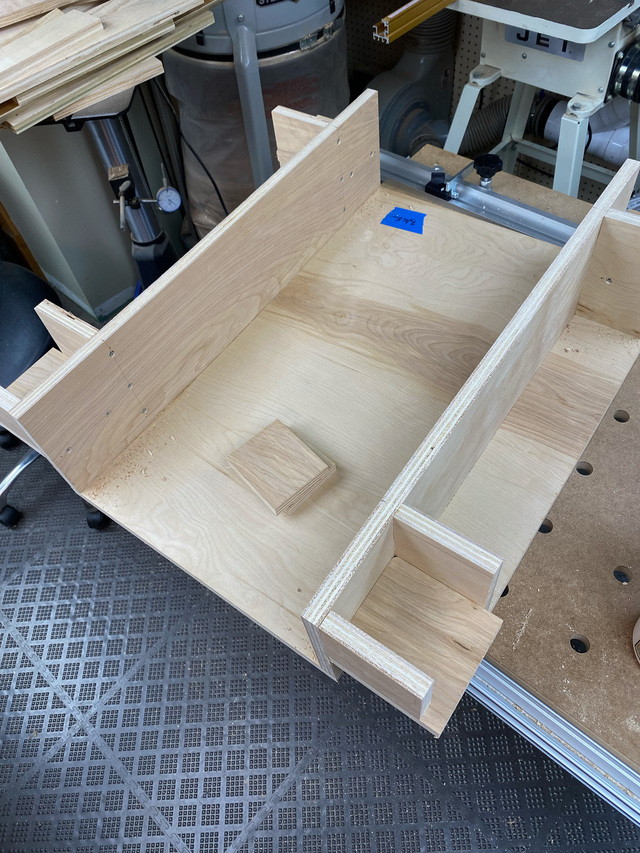
Next I installed horizontal platforms into each of the inverted corners, and then additional vertical bracing above them.
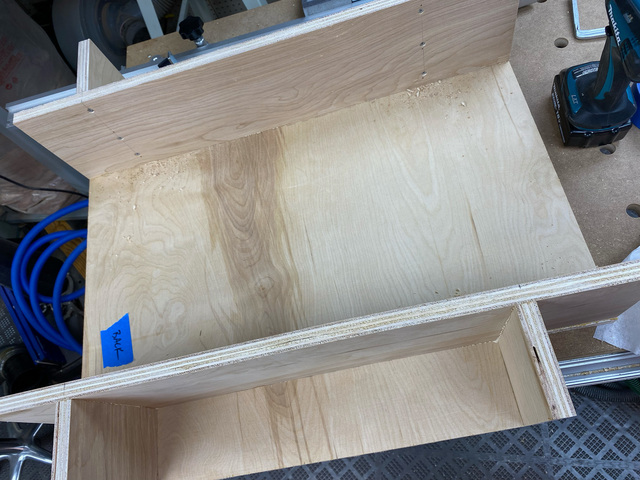
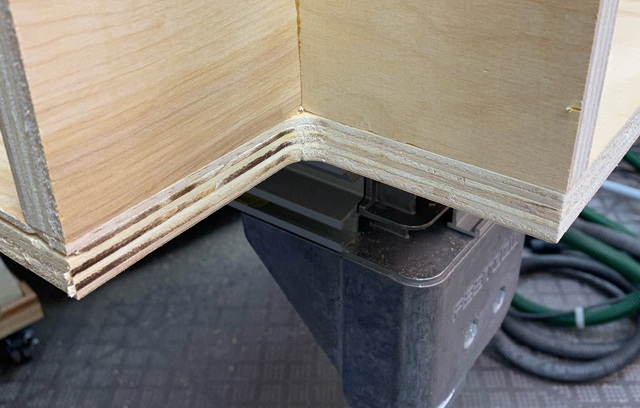
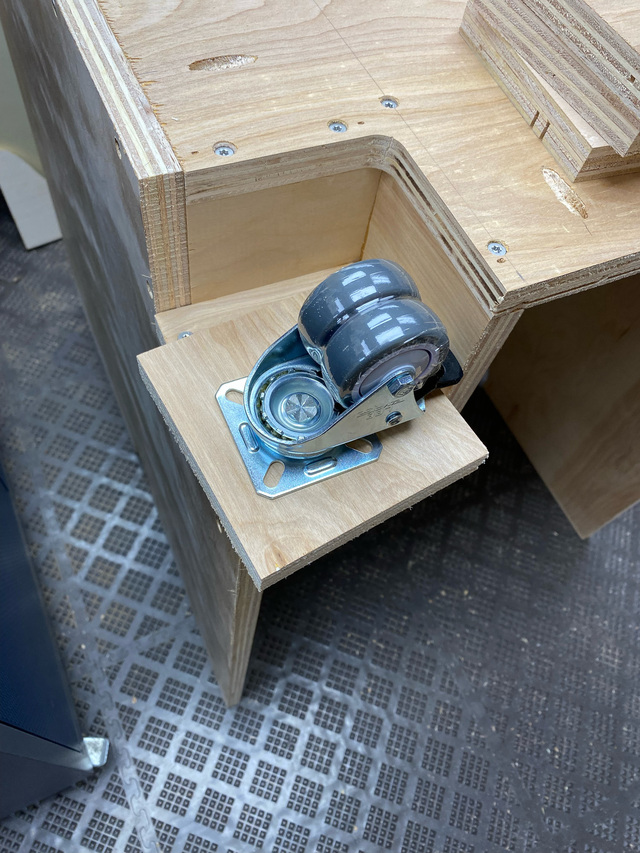
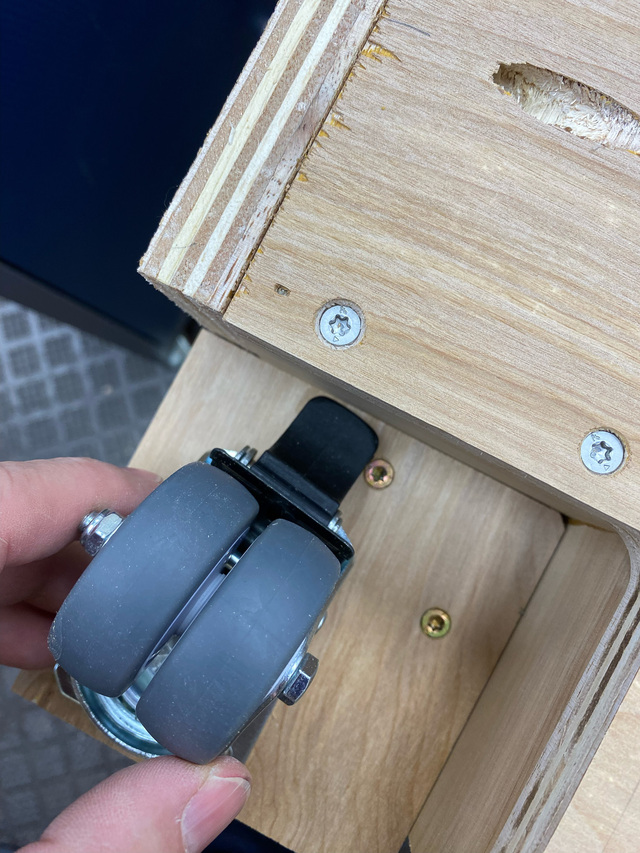
Here's a view from underneath at one of the back corners. The horizontal platform extends out 3/4" so that the weight from the sides will be transferred to the platform. It also extends on the back side so the back piece can index against it and be screwed to it from underneath.
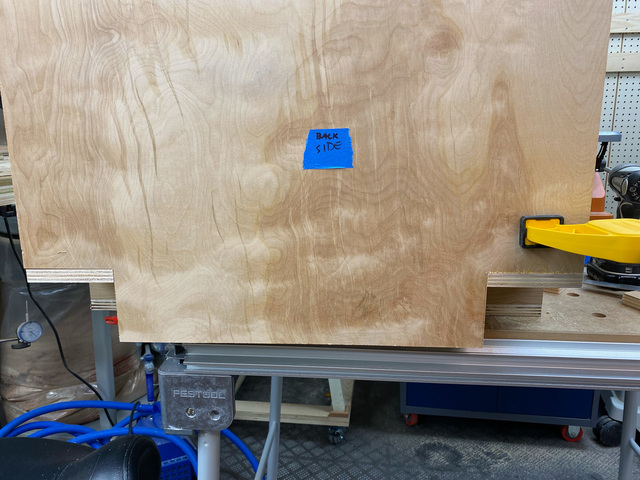
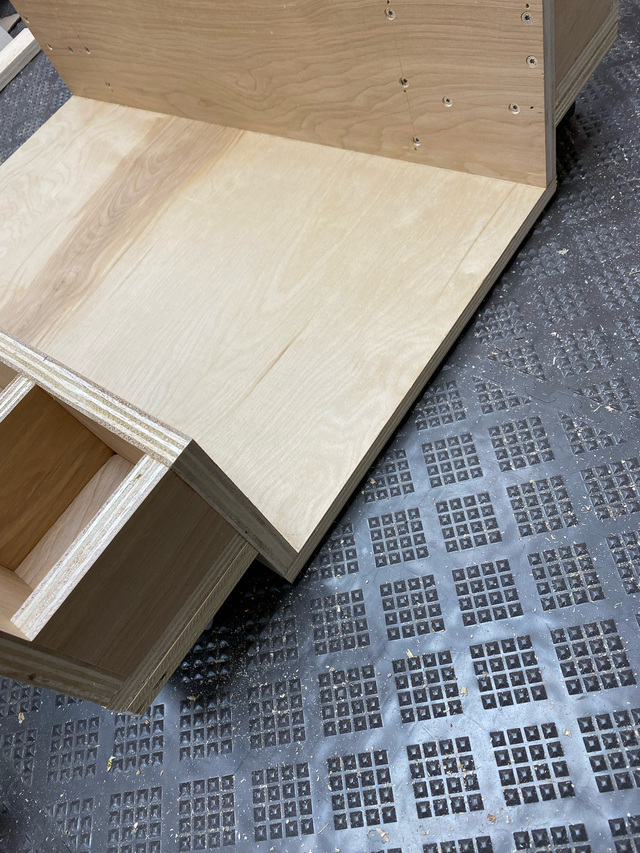
Each of the side panels were notched out to fit onto the base.
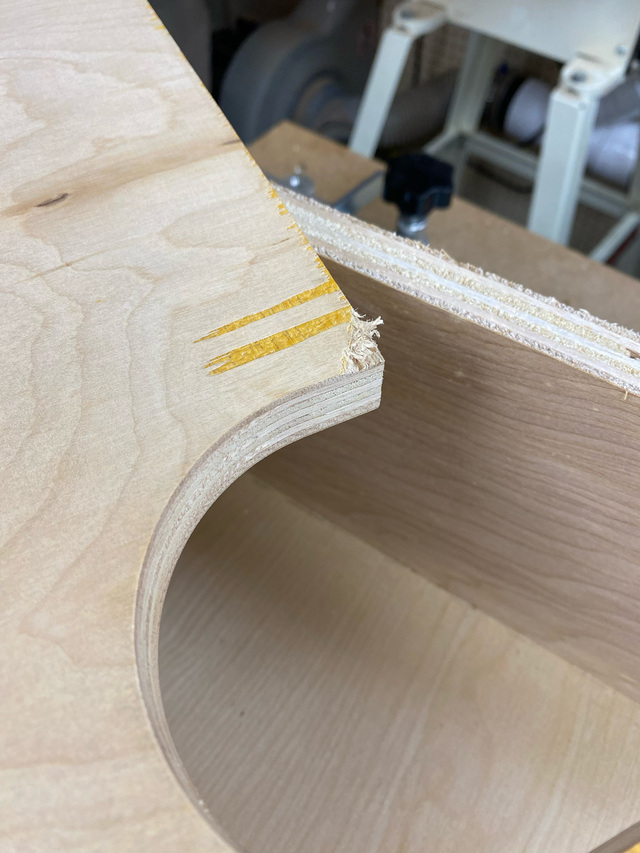
Due to some cupping on the plywood sheet I used, the rotating platform had been catching on the corner of the hub cradle opening. I remedied this by trimming-off a little of the top edge and gluing on a strip of ash. The section spanning the opening will get cut out after the glue dries.
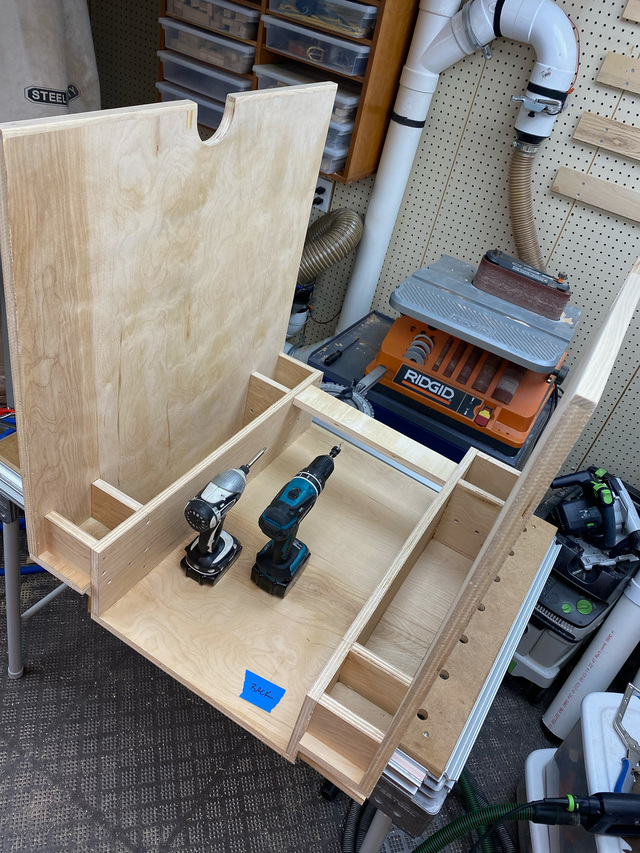
Then I could attach the sides. They'll just be screwed in place for now. Once I've verified everything is working as expected, I can pull them off, apply glue, and reattach them.
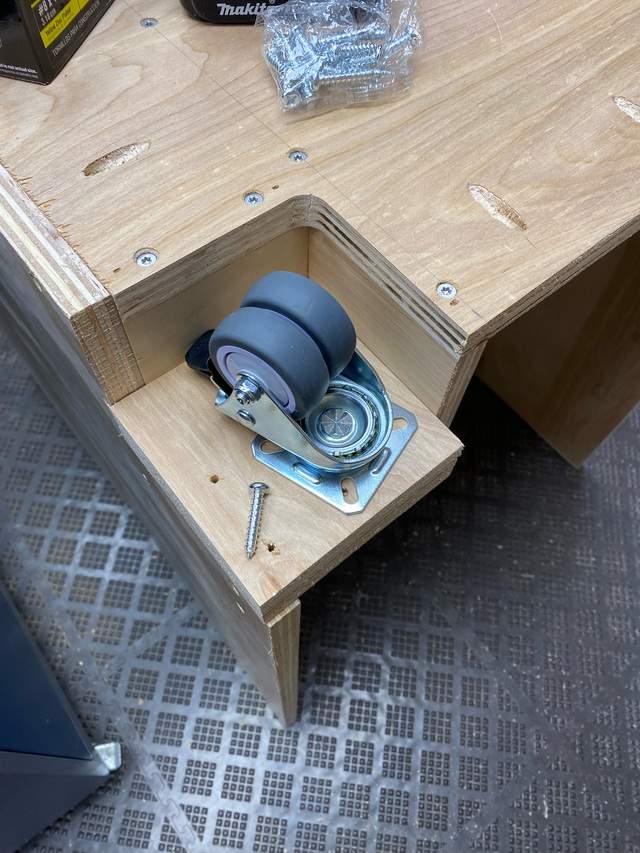
With the sides attached, I could up-end the cart and attach the casters. Each caster platform receives a 3/4" spacer, which is just screwed in place. This will place the casters 1/2" past the bottom of the cart. If I need to adjust the cart height later, I can use thicker or thinner spacers. I chose double-wheel locking casters to spread the patch that would be bearing the weight. With the casters plates about 1/4" in from the outside corner, there's about 1/8" gap that allows the caster to fully rotate.
Back right-side up and rolling on the casters.
So that's one way to complicate the task of mounting casters.
It looks like the main benefit of this approach is that the cart won’t topple over if one of the casters fails catastrophically.
The only problem I foresee is that two of the casters’ locking levers are going to be difficult to access after you move the cart. Of course, that’s usually the case with the usual casters-underneath configuration. I usually end up locking just two casters on my drill press cart.
The only problem I foresee is that two of the casters’ locking levers are going to be difficult to access after you move the cart. Of course, that’s usually the case with the usual casters-underneath configuration. I usually end up locking just two casters on my drill press cart.
Ron - I hadn't even considered the failing caster scenario, but that's a good point. For me, the main benefit is that it helps to maximize lateral stability (because I can make the back piece taller), which I thought would be prudent with such heavy tools. It also increases storage depth, although now it's chopped-up.
I bought 4 locking casters, but I'll probably only use the ones that are easily accessible. I locked 2 and the cart wasn't going anywhere.