Bentlyj
in almost 12 years
Murphy Bed Wall Unit #4: "Side Job Delay" Murphy Bed Soon!
This is
part 4
in a
4 part
series:
Murphy Bed Wall Unit
Just an update on my side job!
My partner and I finally got the job rolling on Sat. the 19th after narrowing down the details with the designers from NY.
We split the wall units into 2 halves for easier delivery and set up.
I’m just going to show some pics and briefly explain them.
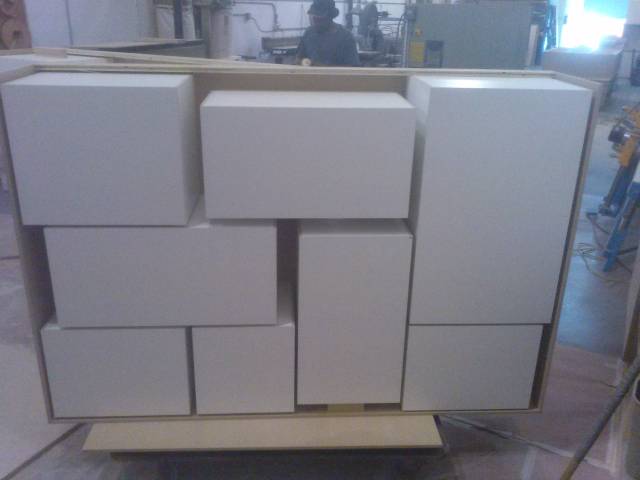
We built all the cubby hole boxes that went into the upper wall unit first, (total of 44) Then pre-drilled all of them for the lighting. Next we built the carcass and glued the boxes to back of the faces. Here is the carcass with the boxes glued in place.
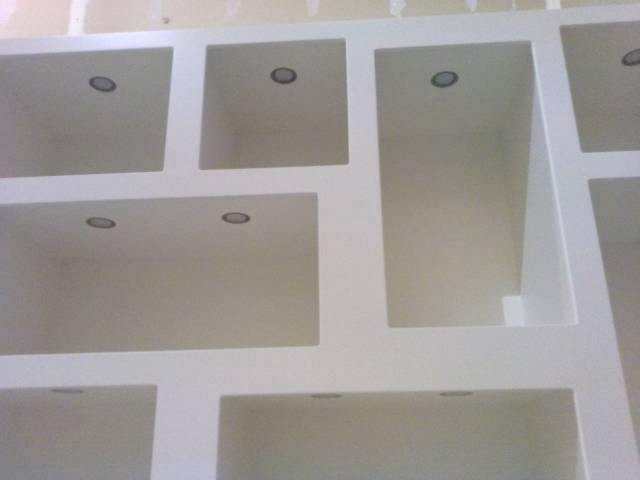
Next we wired in all the lights and attached the backs.
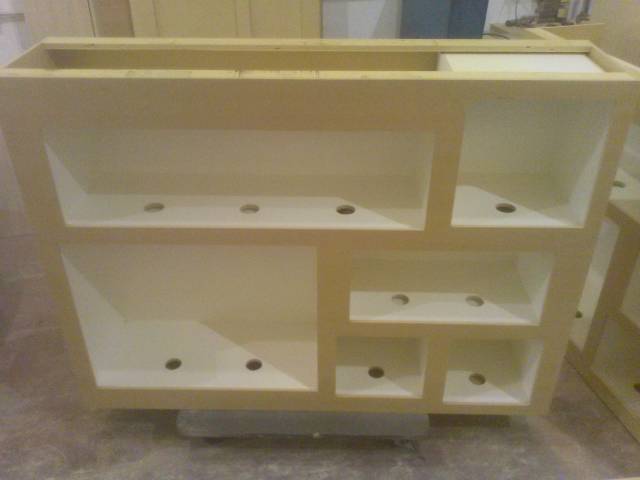
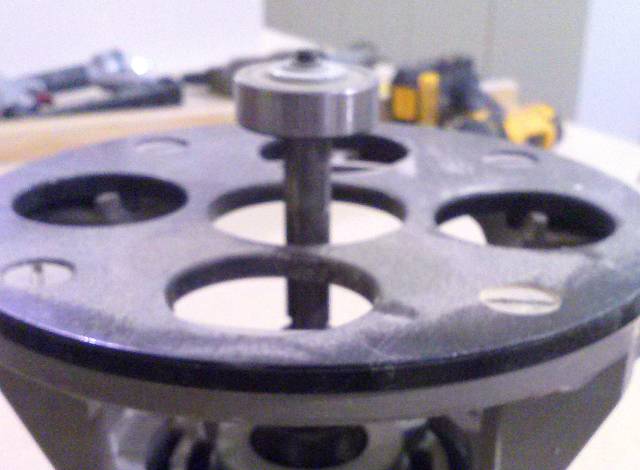
Next thing to do was to rout out the front cubby holes out of the face. The designer wanted a 1/2" lip around the inside of each cubby. The only bearing I could find that was the right size had a 1/2" ID so I had to insert another 1/2 OD bearing to make it work.
Here is the pic of the face with the holes routed out.
Here is a pic of the router bit with the 1 1/2" oversized bearing on it.
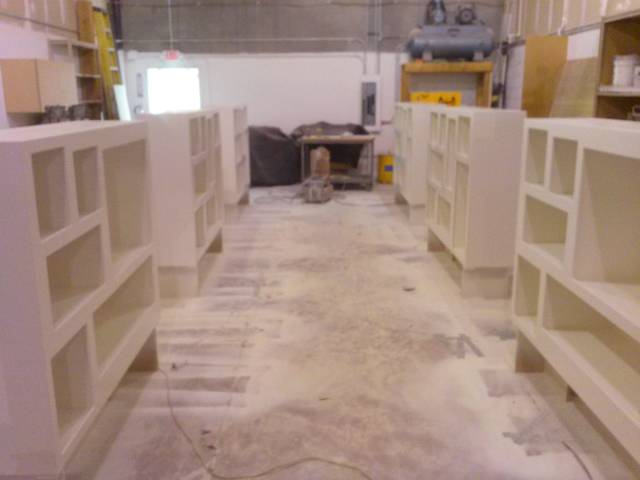
Thats about the just of the build the rest were just boxes. Here is everything to date. Ready for the truck Tomorrow.
These are the bases for the upper units. (6ea.)
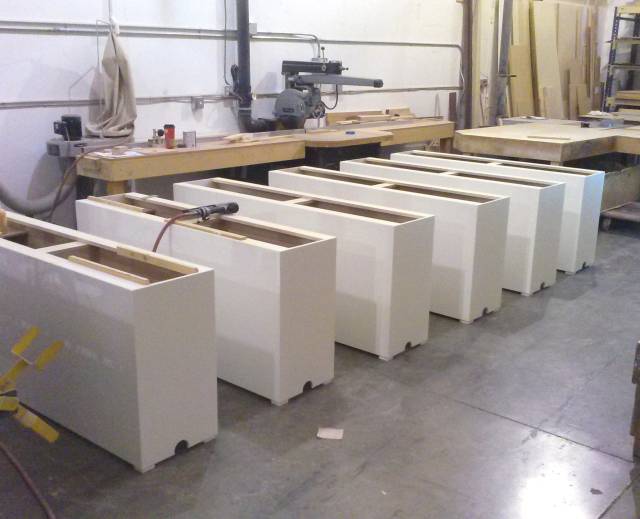
These are the pedestal displays that will stack in front of the units. (4 smaller ones)
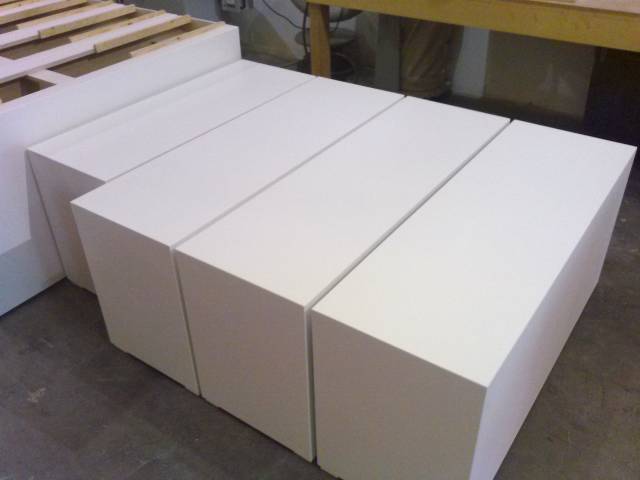
And 4 Bigger ones.
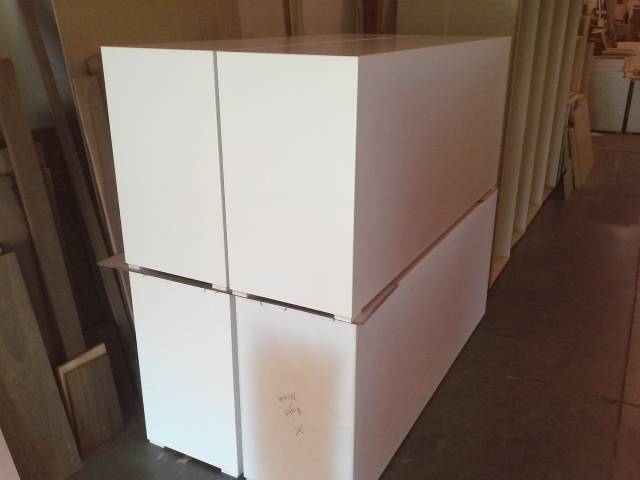
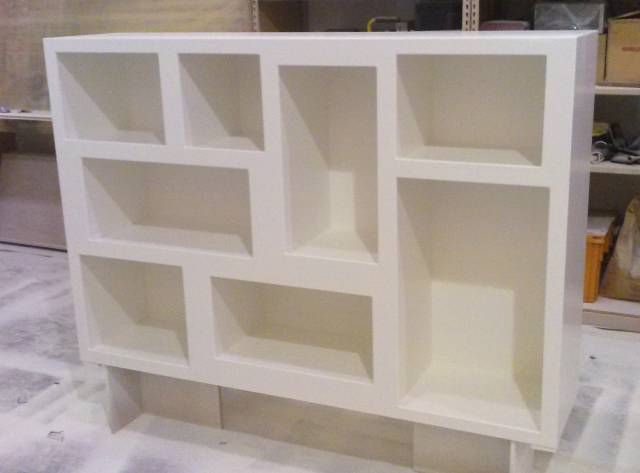
These are the display units.(The upper sections)
Typical Unit
With the lights.
That’s about it. Just got some cleaning and a few small things to do by the end of the day, then I can call it done.
A lot of work for 2 guys in short time. I’m happy with the results, I hope they will be as well.
Back on track with the murphy bed ASAP.
Thanks.
Figuring out how to do something you have never done is what makes a good challenge.
18 Comments
That’s a great update, Bently. Thanks for sharing.
Martin Sojka, Maker of Craftisian
That is a lot of work in a short amount of time. Where are you located?
Losing fingers since 1969
Thanks Martin,
Brian, I’m in Las Vegas, NV
Figuring out how to do something you have never done is what makes a good challenge.
Way to go Bently; looks like you’ve knocked it out of the park!…………what do you do in all your spare time? lol
John @The Hufford Furniture Group
Holy cow. That’s a long way from ny. Talk about a tight deadline. Add 3 days just to ship it.
Losing fingers since 1969
Let me know when you’re finished setting up. Maybe we can grab a quick beer after.
Losing fingers since 1969
Thanks Huff, Spare Time…I build cabinets… what else? LOL
Hey Brian, I would love to catch a cold beer with you, but this job is getting loaded on a truck and I’m saying, bye bye…The contractor I’m doing it for is responsible for getting it there.
Figuring out how to do something you have never done is what makes a good challenge.
Bently,
You do great work under pressure. Now get back to playing . . . with the murphy bed!
L/W
“Those who would give up essential Liberty, to purchase a little temporary Safety, deserve neither Liberty nor Safety.” Benjamin Franklin
Thanks L/W, I do my best work under pressure.
For some reason I’m always working under pressure. probably because I wait until the last minute to start things. LOL
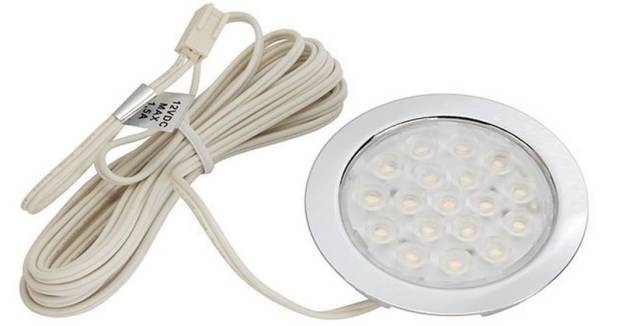
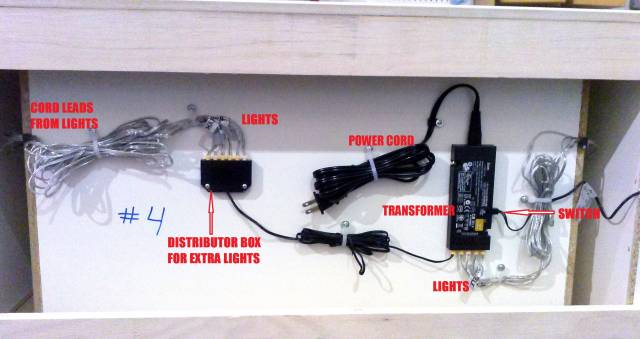
I also thought I would share the lighting I used. It’s very simple.
It’s the Loox system from Hafele’
Everything just plugs right in. I used the 12v system, but you can use the 24v system just as easy.
This is the light that I used.
Here is a pic of them all hooked up on the cases. (10 lights per case)
Figuring out how to do something you have never done is what makes a good challenge.
Looks great.
Mike, an American living in Norway
Thanks Mike.
Final Check came today, Paid in Full….. Woo Hoo!!
Figuring out how to do something you have never done is what makes a good challenge.
woo hoo :)
Martin Sojka, Maker of Craftisian
That’s a lot of spraying…
I missed all the action.
Abbas, Castro Valley, CA
Painted my butt off… Butt…. you didn’t miss much.
The VP sent me some pics from the show.
Looks like they should have designed them to be taller, I don’t like how the models heads stick up above them.

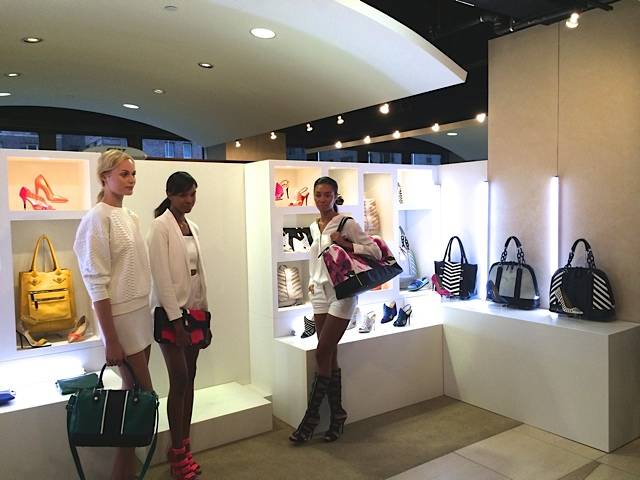
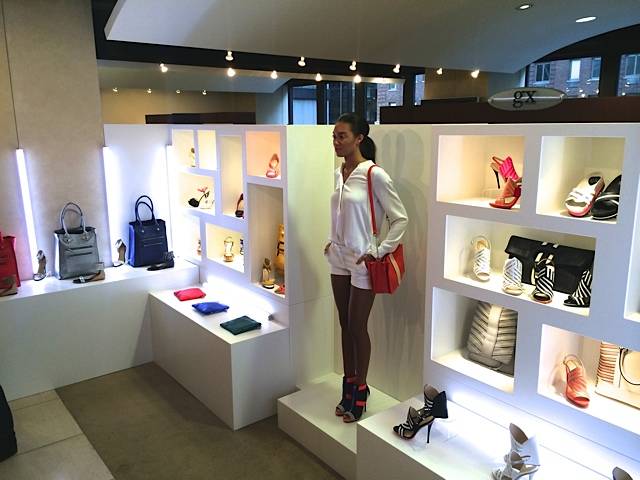
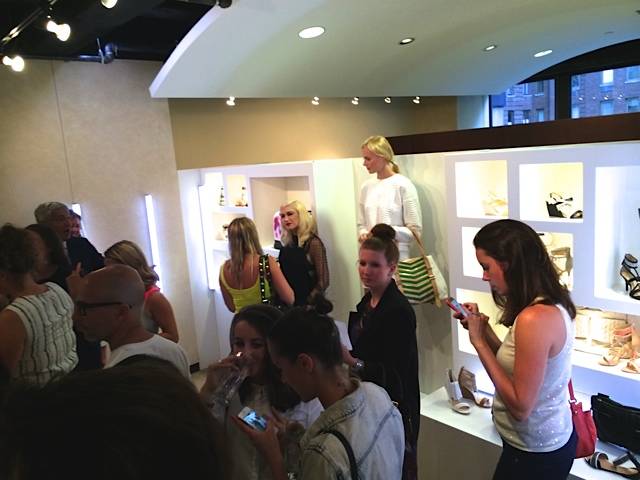
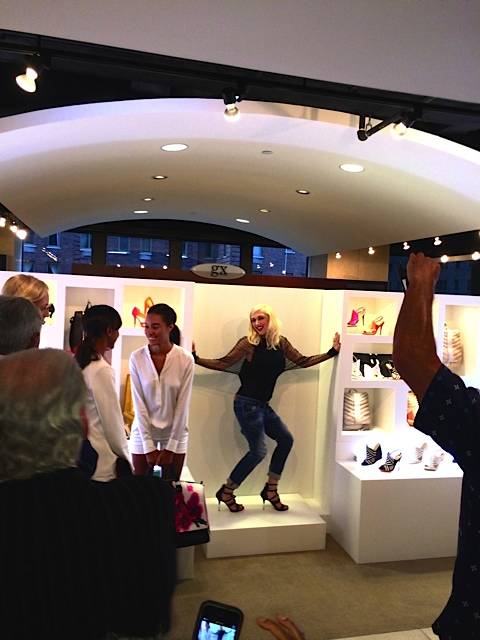
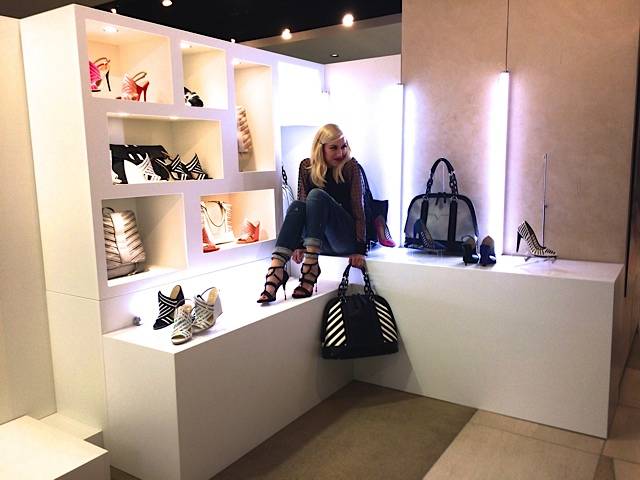
Now do you want to hear the funny part? They used the cabinets for a 3 hour long show. Now the contractor and one of my buddies are flying back to NY to put them on a truck to drive them back for a show here in Vegas….LOL
Their home office is in CA (Huntington Beach I think)
OK, OK really, I’m getting to the Murphy Bed. I am, I ammmmm
Figuring out how to do something you have never done is what makes a good challenge.
Some pretty girls… I mean some very nice cabinets :)
seriously the setup looks great!
Abbas, Castro Valley, CA
Another fine job by the awesome Bentlyj!
Did you spray the interiors too or melamine?
Involve your kids and grandkids. They'll love you for it!
Hi Gary, Thanks
Nature of the job, ($$, time frame), I decided to use melamine.
Hope all is well with you. Your probably building high rises by now?
Figuring out how to do something you have never done is what makes a good challenge.
Should have called this topic anything but the Murphy Bed.
Little jobs keep pushing it back.
Re modeled this entertainment unit.
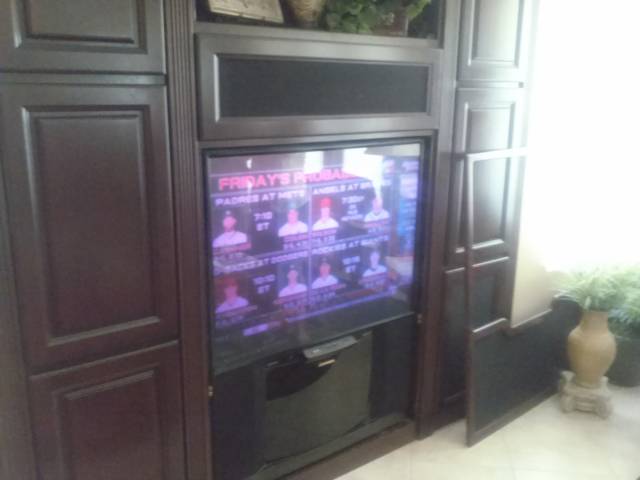
took out the big tv adapted it for a flat screen and changed the doors to speaker grills. All done as per Sound guy’s specs.
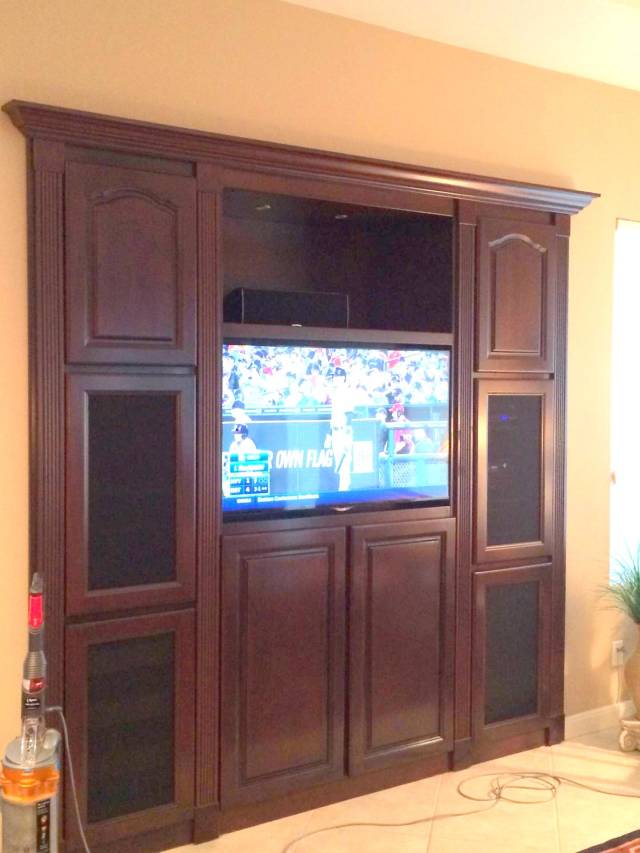
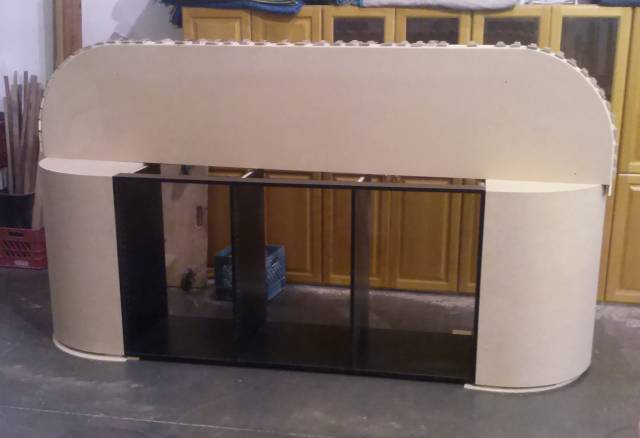
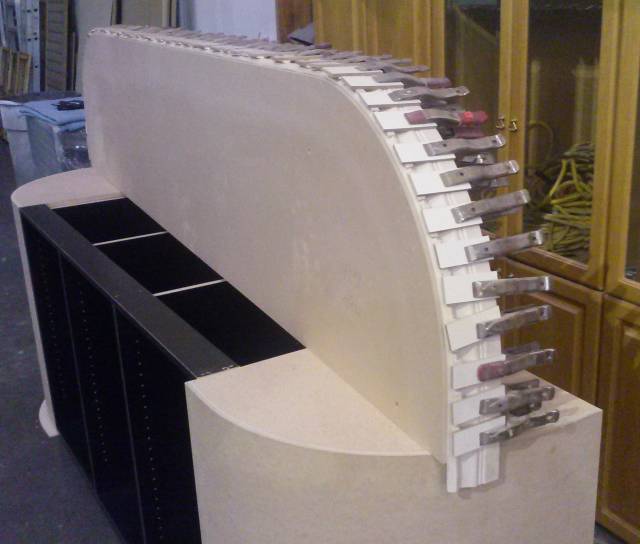
Now working on a media cabinet with rounded corners. Here are some progress pics. The piece with all the clamps is the base for the unit. It will be painted black lacquer, flat doors all flush.
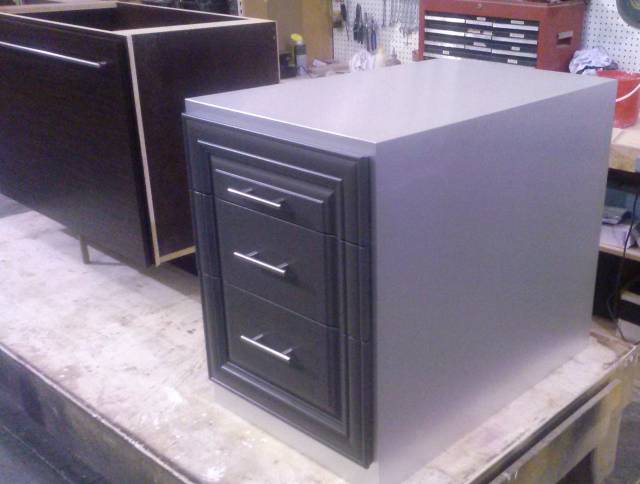
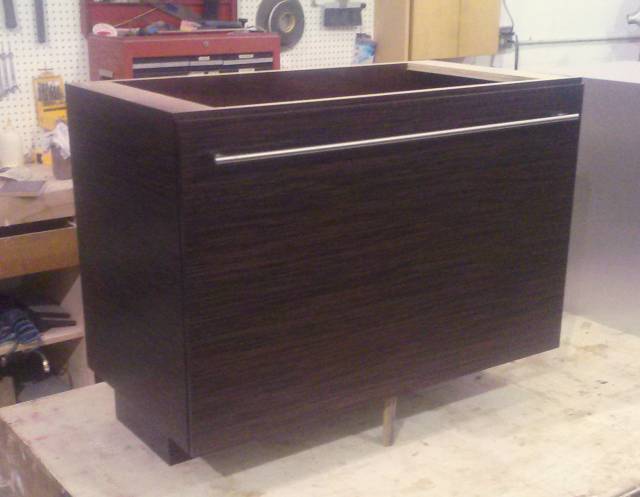
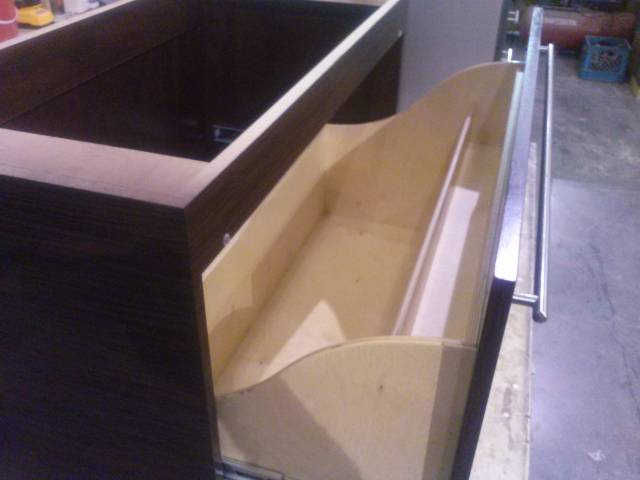
Made a desk base (metal Laminate)and Powder Bath (Engineered Macasar Ebony)for the same client that wants the Murphy bed. These are the only pics I have of them right now.
Figuring out how to do something you have never done is what makes a good challenge.


