Share your craft projects
Make new craft buddies
Ask craft questions
Blog your craft journey
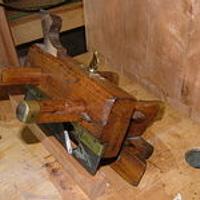
There has been an aspect of the panel layout that has been bugging me. Now seems as good of a time as any to see if there is anything I can do abo...
This is the finished Inlaid Dovetails. Keep in mind this is only one corner of a box! When doing a complete box a lot of the steps can be done in t...
First I marked up the pins positions using the tails per Fig 13. Next I set my marking gauge to account for the rebate on the tails board in Fig 1...
The critical step for inlaid dovetails is cutting a rabbet 1st on the tails board ( inside face ). For inlays it is mandatory. The depth of the ra...
First I milled up and squared all pine and cedar stock. I am using pine for the two main boards and cedar for the inlay. Initially I cut each to ...
This is a tutorial on how I make “Inlaid Dovetails” sometimes referred to as double dovetails. You can make them what I call in Fig. 1) “Tail Ou...
OK, so I needed to make a box for the rounding plane, as I seem to have run out of flat surfaces to dump stuff on.
Nothing fancy, just a basic box....
Glue up the sections of the top.
[20230329_165730.jpg]
Then just give it a final flatten.
[20230329_170116.jpg]
[20230329_171407.jpg]
[20230329_...
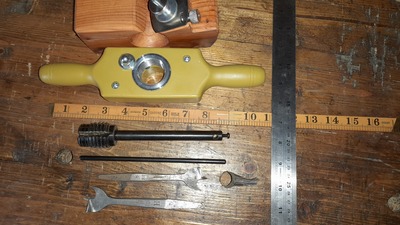
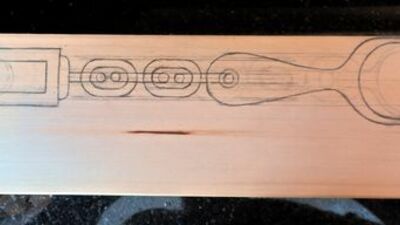
So, I need a 1 1/4 inch rod for a vice screw, so make a rounding plane for it.
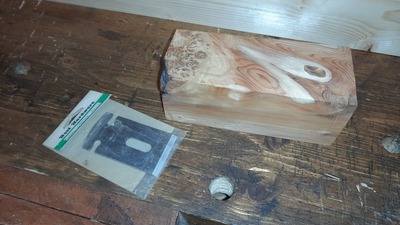
Get a likely looking block of wood about the right size (Yew in th...
Big box 1 x 4 lumber, so everything needs jointing.
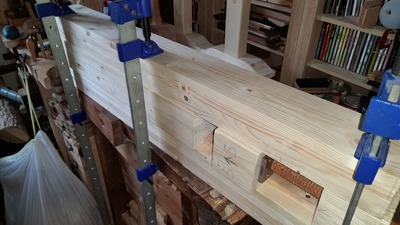
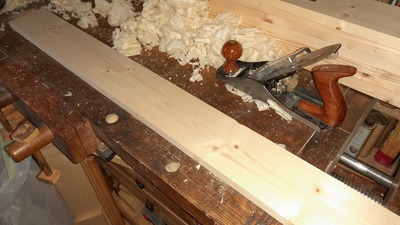
Flatten and glue up some planks for the sides of the top.
[20230205_161734.jpg]
[20230206_1236...
Had a bunch of 1x4’s lying around so decided to make a mini saw/workbench.
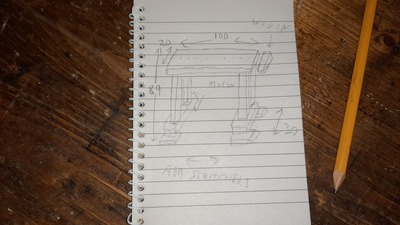
No particular plan – I've got a rough idea in my head of how I want it ...
“This blog was originally posted on another woodworking forum back in 2015. The fact that I finished this project a long time ago means you won't h...


