


Share your craft projects
Make new craft buddies
Ask craft questions
Blog your craft journey

Brit
296 posts
and
37 followers
in over 9 years
in over 9 years
More from Brit


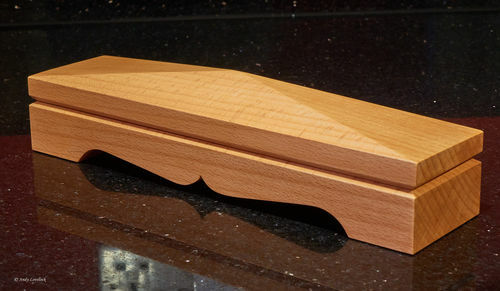
Traditional Oil Stone Holder 1


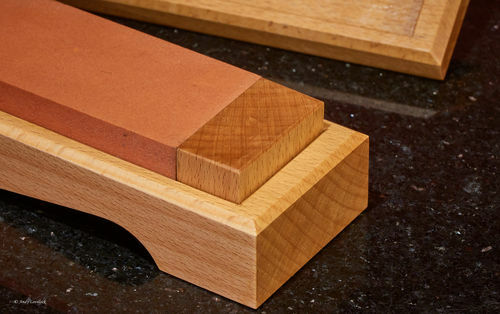
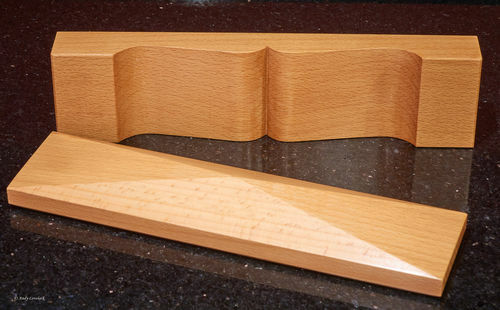
I decided to make a traditional holder for my Norton medium India stone (8"x2"x1") after watching Bill Carter talking about oilstones on YouTube. After searching the internet for other examples, I merged all the elements that I liked into my design. It features a pitched roof, opposing chamfers to seperate the lid from the base, and 1" end grain blocks either end of the oilstone to enable the whole surface of the stone to be used when freehand sharpening. My favourite design detail though is the cupid's bow cut-out on the underside of the holder. Apart from adding a certain elegance to the piece, it's function is really to reduce the surface area in contact with whatever it is sitting on so there is less chance of it rocking on an uneven surface.
I started with a piece of European beech much like this one crosscut to the correct length.
I started with a piece of European beech much like this one crosscut to the correct length.
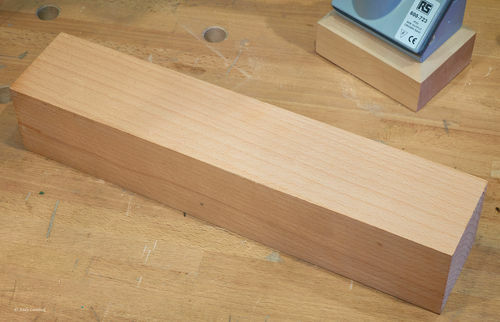
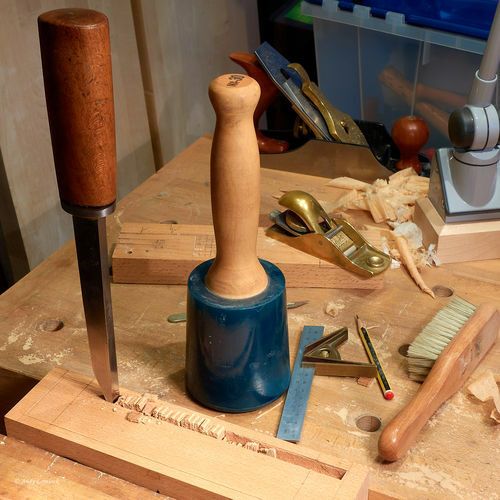
Then using my finger as a fence, I drew a line all the way around to represent the bottom of the pitched roof. I wasn't working from a drawing, just making it up as I went along. Gripping the wood in the vice, I planed the four sides of the pitched roof with my LN 4 1/2. After that, I turned my attention to the Cupid's bow detail on the opposite face. I marked this out by folding a sheet of A4 paper in half and drawing half the bow on one side of the paper. I cut this out with a pair of scissors, unfolded the piece of paper and drew around the shape on both sides. Working with the bottom uppermost in the vice, I sawed some relief cuts across the grain and hogged out the waste to within about 1/16" of my line with a bevel-edged chisel. Once the majority of the waste had been removed, I rasped down to my lines and then refined the surface with some P180 sandpaper.
Using my finger as a fence, I then drew a line all around to guide my backsaw and ripped the lid from the base. After marking out the mortise in the base with a marking knife, I chopped along the two long sides of the mortise and then hogged out the middle section with a bevel-edged chisel, bevel down.
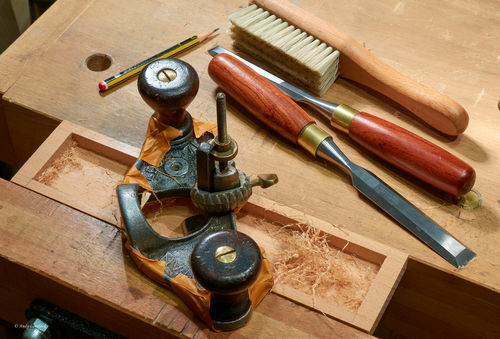
After that I refined the surface with my router plane and pared the two ends of the mortise.
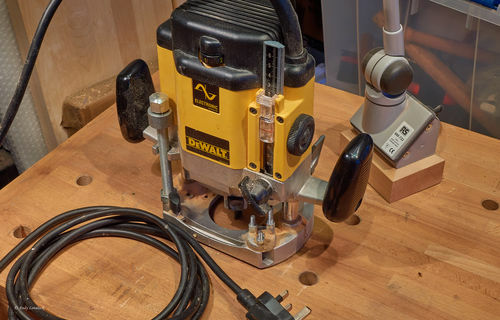
I then turned my attention to the mortise in the lid. I calculated that by the time the mortise was at full depth there would only be 3/32" of wood between the bottom of the mortise at the two ends and the roof, so I opted not to chop out the waste with my pigsticker in case I accidentally blew out the top. Instead I dusted off my power router and freehanded it to within 1/32" of the mortise walls and then refined the mortise floor with my hand router.
The two blocks were then cut and planed until they were a push fit at either end of the mortise.
All that was left to do then was plane the chamfers on the underside of the lid and the top of the base with my block plane and break the arrises on all the edges to make the whole thing more tactile. I also added a small chamfer around the mortise in the base so that any oil that ran down the edge of the oilstone would be encouraged back into the stone.
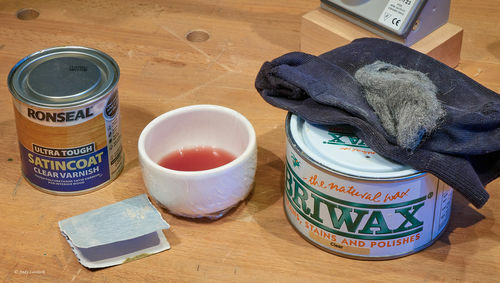
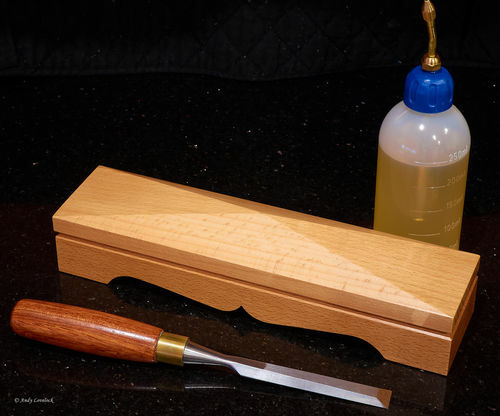
The finish is one coat of clear satin varnish thinned 3:1 with pure turpentine sanded back with P240 sandpaper, then another coat of varnish rubbed out with 0000 steel wool. I then gave it a coat of Briwax clear wax and buffed it out with an old sock.
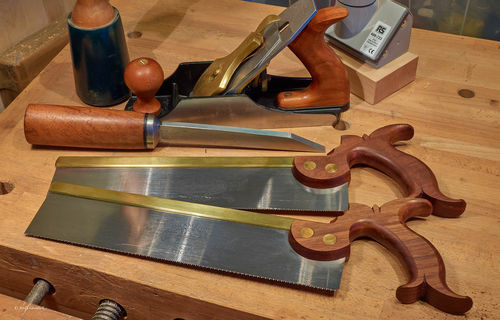
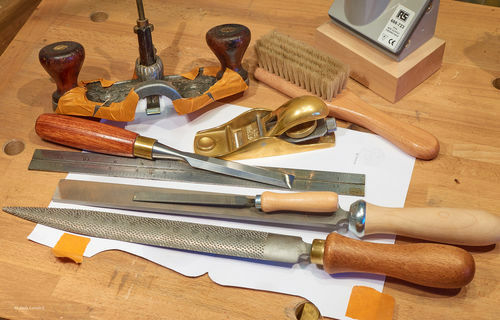
The main tools used were…
Oh yeah and this thing…
Some additional pics…
All in all a fun weekend project. Thanks for looking.
Andy -- Old Chinese proverb say: If you think something can't be done, don't interrupt man who is doing it.
6 Comments

I like oil stones and making these holders. I have made 3 and have a few more to go. I make them with flat tops so that they can be stacked. I wonder if cupid bow base could be hollowed so that they could be stacked when the tops are not flat. Also how do keep the router plane from blowing out the ends. I've had this trouble.
Stay safe, stay healthy, Don -- Holland, Michigan.

Beautiful and functional!
Ryan/// ~sigh~ I blew up another bowl. Moke told me "I made the inside bigger than the outside".
@ComboProf - That can be an issue when using a router plane. What I do when working near the ends is rather than pulling or pushing the plane, I hold one of the handles still and pivot the other handle. This enable you to take short, more controlled cuts.
Andy -- Old Chinese proverb say: If you think something can't be done, don't interrupt man who is doing it.

Very beautiful! Great fabrication and photos, too. I like the bottom cut out and its reflection on the table! You are an artist!
No name noobie here

Some how your shop fixtures remind me of fine furniture. The exacting work on this is great.

Another great stone case, some wonderful details and I like the chamfered edge between the top and bottom. Well done.
Main Street to the Mountains
More from Brit