Mike40
in over 11 years
MAKING A WOODEN GEARED CLOCK #4: Day Finishing Up The Clock Dial - Day 4
This is
part 4
in a
9 part
series:
MAKING A WOODEN GEARED CLOCK
...
-
The Main Dial/Gear - day 3
-
Day Finishing Up The Clock Dial - Day 4
-
Escapement Wheel, Minute Wheel and Idler Wheel - Day 5
...
- The Main Dial/Gear - day 3
- Day Finishing Up The Clock Dial - Day 4
- Escapement Wheel, Minute Wheel and Idler Wheel - Day 5
*Day 4 work
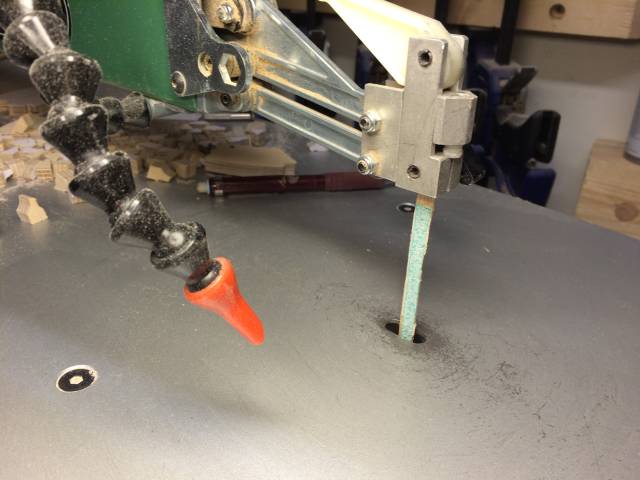
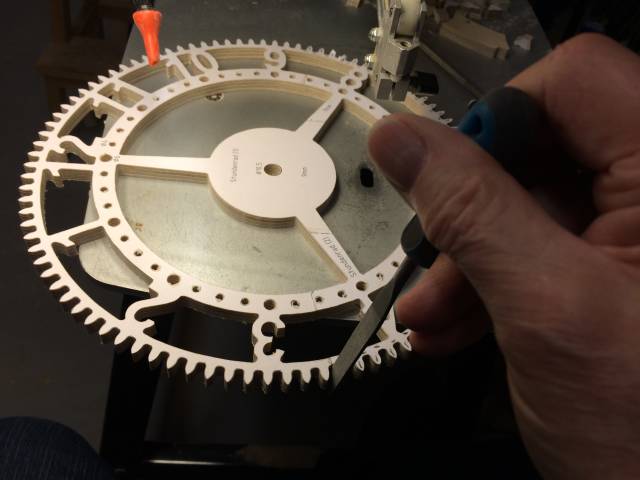
The gear teeth on the clock dial had to be filed down to the pattern lines after cutting yesterday. I tried making a sanding stick that I could run in my scroll saw and it worked for awhile but the blade holders eventually split the wooden stick and that was that. I decided to hand file it instead and this turned out to be just as fast as I had very little to file and I was also able to file the gullets at the same time with the edge of the same small flat file I used. As you can see if you look closely I pencil marked the finished teeth as I worked. I just filed downwards in smooth long strokes and not upward, to avoid lifting the pattern on the edges.
Next up was to take the tip of the teeth off on my disk sander to make the gear perfect round. We’ll see if I actually accomplished that when I try to get the clock going. I need to make a decent jig for this work, but I got lazy and I will probably regret it later.
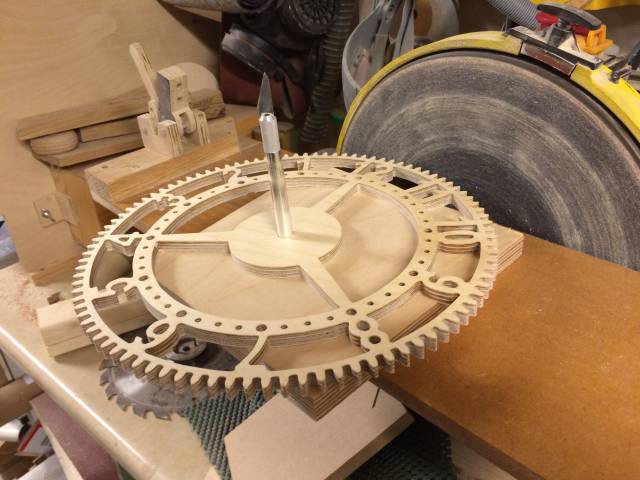
And finally I removed the pattern from all the pieces done so far which are show below. Altogether 9 big pieces and some small ones not shown cut out so far including the winding barrel in the center which is composed of 5 pieces. From left to right are the mounting frame, the winding barrel and the hour dial/gear.
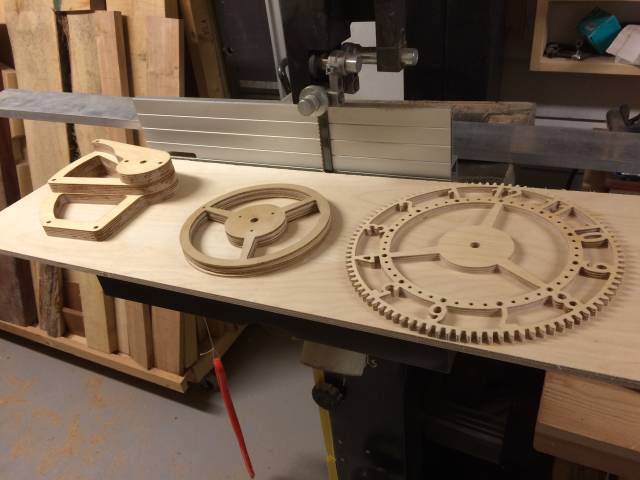
My plan is to not glue anything until I have cut out all the pieces and I can lay them out for a photo so you can see every part that goes into the clock in one photo.
Thanks for viewing.
Mike, an American living in Norway
3 Comments
I am amazed at the detail and expert cuts that you are doing , I can’t wait to see this clock work. I really think I’m going to try to make one .
Wheaties
Awesome, just awesome.
Thanks, but the quality of the cuts will be determined by whether or not the clock runs as it should. I’m not that confident yet and I expect to encounter some difficulties before success.
Mike, an American living in Norway


