
MontyJ
in almost 12 years
Gazebo build #1: Laying it out...
This is
part 1
in a
4 part
series:
Gazebo build
In my very first build blog, I included a shot of a gazebo I built for the wife. Is it woodworking? Is it carpentry? Is there a difference? I like to think there is. Carpentry doesn’t normally require tolerances measured down to the thousandth of an inch. Framing nailers don’t do well with ¾” cherry face frames. They are two different worlds, but share a common trait; both involve working with wood in one way or another. Both woodworking and carpentry have their intricacies and learning curve, especially if you’re not building something square.
I recently answered an interview for this very website in which I claimed to be a complete novice to woodworking. I’m not backing off of that claim. I am new to woodworking, but not new to wood, if that makes sense. I’m used to power tools of the hand held variety. Before this foray into the world of fine woodworking my tool collection consisted of air compressors, framing, pin, brad, staple and roofing nailers, chop saw (CMS), circular saws, Estwing hammers (the best in the world as far as I’m concerned), well, you get the idea.
In light of all that, I would like to share a build I did several years ago of the gazebo mentioned earlier. I had no plans; they only serve to confuse me. All I had was a rough dimension (12’), and the wife’s desire for a gazebo that didn’t come in a box….oh, and some math I scratched out on a piece of cardboard.
This will probably be a very long blog. I have scrounged over a 2 terabit hard drive to compile the pictures, but I will break it down into many entries as long as there is interest. I wrote nothing down as I built it and if it weren’t for the wife, there would be no pics of it.
I guess I’ve rambled on long enough. Here goes…
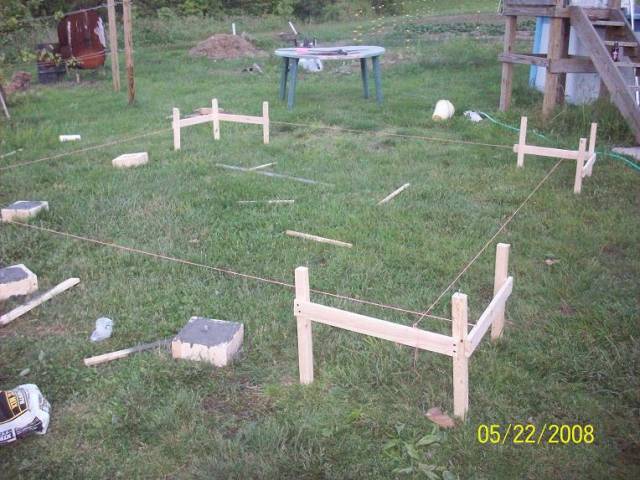
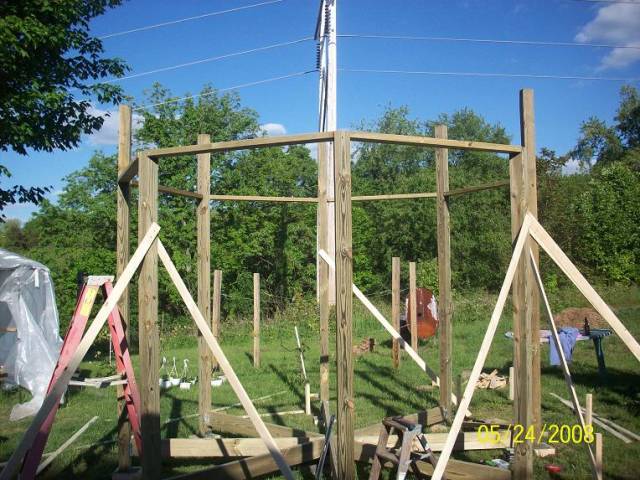
To build an octagonal gazebo, you have to start with a square. After all, an octagon is nothing more than a square with the corners cut off. In the pic below I have set the batter boards and stretched a line at 12’. I also have already dug, poured and set a few footers for the posts. This is where the math comes in.
Once the footers were set, I went about setting the posts. The footers sit a couple of inches above ground level to keep the posts out of the ground water, which helps prevent rot. Contrary to popular belief, even treated lumber will rot if buried in the ground long enough.
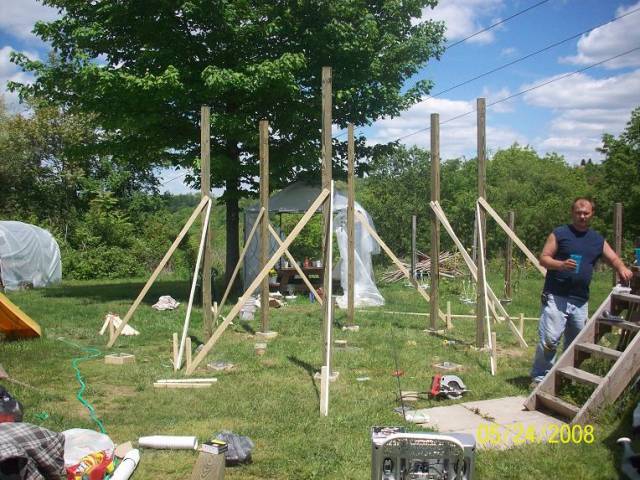
In the center of the gazebo is a central hub post. This 6×6 is embedded into a deep hole filled with concrete. The concrete is sloped away from the post to extend its life. This is a very important piece of the structure. BTW The trailer in the background is where my woodshop is now. The trailer in the foreground is where the new house will soon be built.
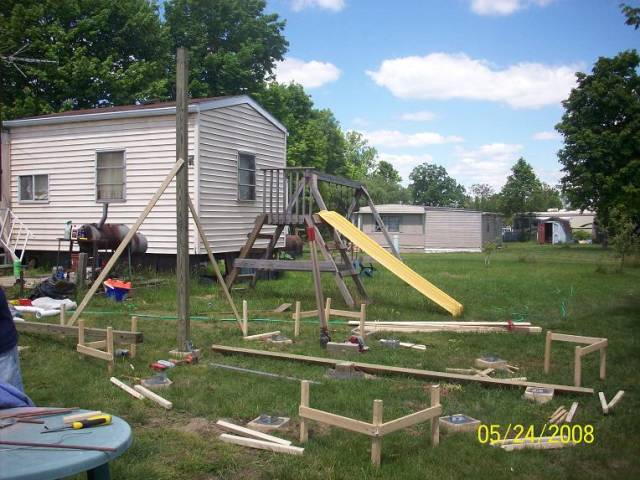
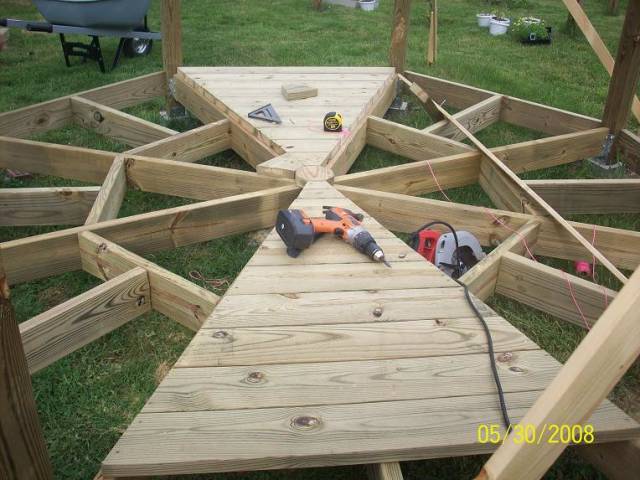
This is the purpose of the central hub post. It supports the center of the floor joist interchange. If you are doing a simple straight across floor pattern, you would do this differently (like many gazebos built on skids). I’m not usually one for simple and plain.
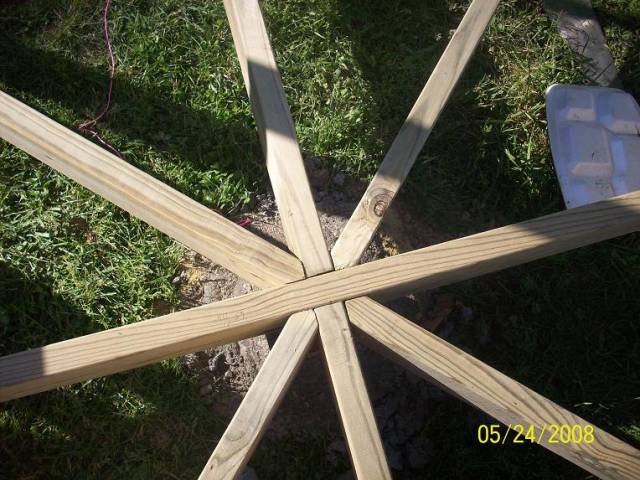
Once the floor joists are in, it’s time to lock the top together with some headers.
What fun would an octagonal gazebo be without an octagonal floor?
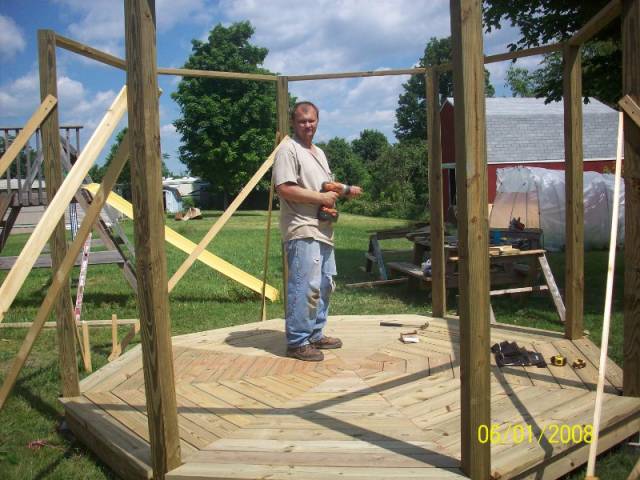
That concludes this entry. If you’re interested in the math of laying out a gazebo, I’ll share. Next up, getting a roof on it.
Where are the band-aids?---Pro Libertate!
7 Comments
This is going to be a very interesting Blog.
I am really interested in this build.
I would love to see /read the math behind it. Usually they are more practical than the text book.
The central post is 6×6. is it the same for the other post or 4×4?
Are the joist 2×8?
If carpentry is not woodworking what is?
I think Carpentry is a branch of woodworking like marquetry etc…
PS: I had an octagonal gazebo when I purchased my house but it was in a dilapidated state. Pretty much holes dug for post and no concrete. All the substructure was badly rot.
I demolished it an built a pergola in its place. I do have a nice spot where we have been thinking to erect another one.
Abbas, Castro Valley, CA
Nice. I can’t wait to see the finished product. Funny thing is i’m working in an octagonal table lamp at the moment. Im also interested in the math aspect of it to see what overlaps with my project. I was dealing with compound angles which I’m sure you will be too when setting the roof joists. One tool I bet we both used was a speed square! ;-)
Losing fingers since 1969
The math is easy. the formula for an octagon from a square is:
L – {L(.2071)2}/2
Where L is the length of the side of the square and .2071 is constant. You can simplify the formula if you break it into two pieces:
L(.2071)2 = LO
Where LO is the length of the octagon side. Plug that into the formula above and you get:
L-LO/2
tells you how far from each corner of the square to set the posts.
Example for this gazebo:
L=144"
144" – {144"*.2071*2}/2 = 42.1776"
or
144*.2071*2 = 59.6448 (length of the side of the octagon LO)
144-59.6448/2 = 42.1776
Don’t bother trying to measure out to 4 decimal places LOL! Just round it to two or three places and convert to a fraction.
If you want to skip ahead and see the finished product I posted a picture of it here
Where are the band-aids?---Pro Libertate!
Thanks for all the info and the finished gazebo looks great !!!!
I have considered many times building a Gazebo or a free standing screened in porch…..so, I am really looking forward to your blog! My big question is now that it is built ( and very nicely, I might add) does your wife sit in it? I do not want to build a monuent, but something that gets used….what are your thoughts…..
Mike
Mike
We use it all the time. I sit out there in the morning and have coffee and watch the hummingbirds come and go. We sit on it in the afternoon and evening. When we have people over, it’s the most popular place to sit, along with the yard swing under the maple tree. The gazebo has roll down sun shades, full electric, and a lighted ceiling fan. I’ll post pictures of all of that in a later post.
Where are the band-aids?---Pro Libertate!
Thanks Monty!
Now I see why you have so much data. The gazebo look really nice!
Now I am even more excited.
Abbas, Castro Valley, CA


