Share your craft projects
Make new craft buddies
Ask craft questions
Blog your craft journey
Jeff B
152 posts
and
10 followers
in over 11 years
in over 11 years
twin bed project
Hello,
I had mentioned a while back that I’m working on a solid cherry pedastal bed. Lots of folks seemed interested in the project, so I thought I’d post a few progress pics. :-)
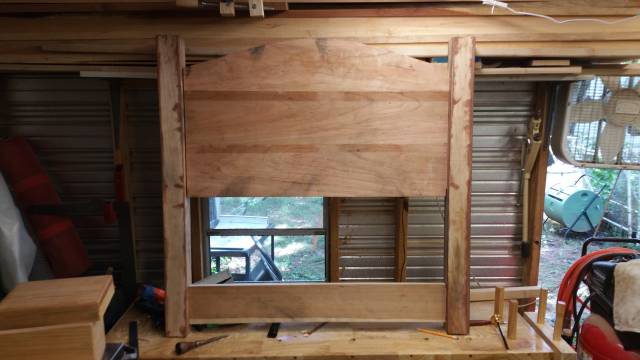
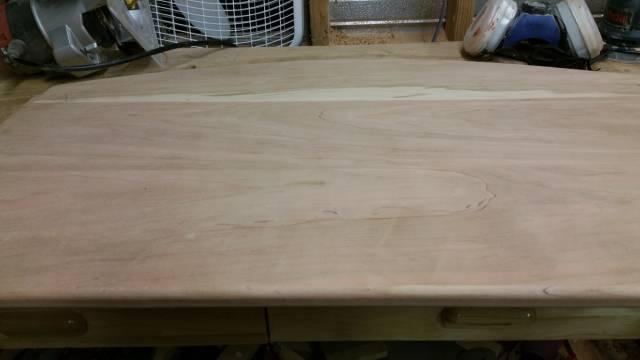
That’s the headboard parts dry fit together. All the mortise and tenon joinery is cut and finessed. I just need to round over the center section of the headboard and the stretcher on the top and bottom, although I might add a storage shelf to the top of the stretcher board instead. That could be a nice little spot to tuck things away.
After that, it’s time to glue up the headboard :-)
42 Replies
Oh, by the way, the black marks are where I sweated on it. It’s HOT in Alabama this time of year, and my little tin workshop does not have A/C. :-(

Looks like it’s coming together very well
woodworking classes, custom furniture maker
Thanks :-)

Good job
Wheaties
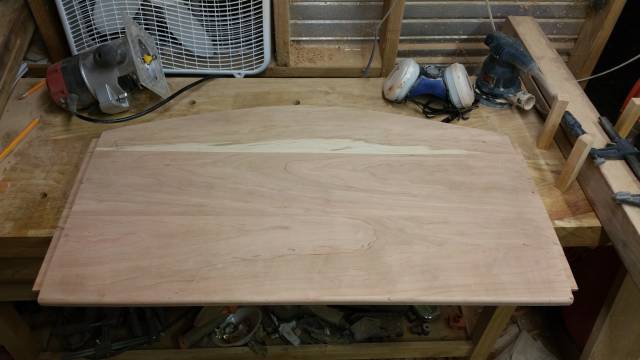
Initial shaping and rough sanding on the headboard center panel is now done. :-)
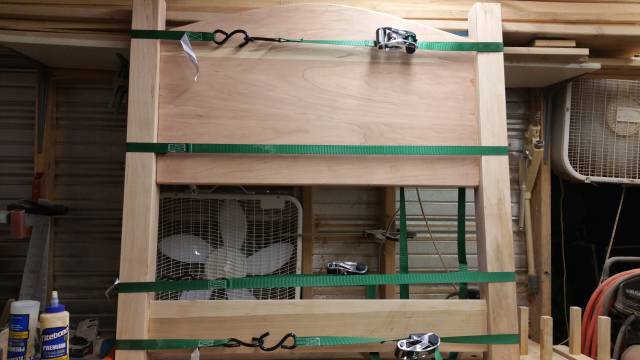
Headboard glue up underway.
looking good , keep it going
Wheaties
More progress 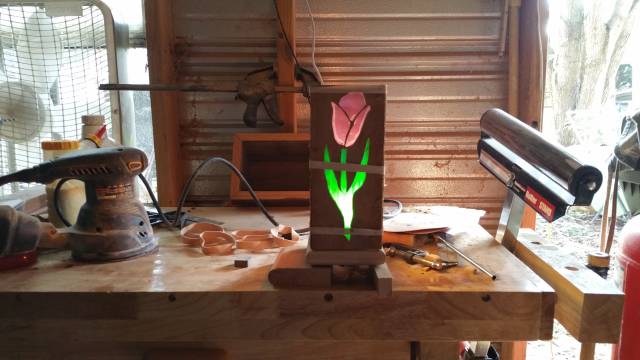

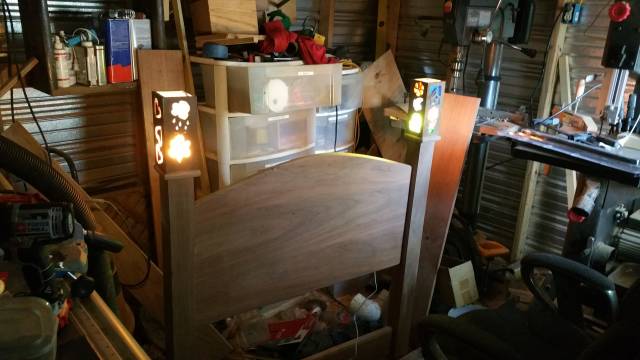
Glass work and electric is done

That is awesome! Very creative. I love the lights. Just don’t give my wife any ideas. At least not until I get through some more of the honeydo list. ;-)
Losing fingers since 1969
thanks, I’m really enjoying this now that it’s rolling again. My original concept for bedpost lamps simply wasn’t working. I was originally going with Tiffany style stained glass, but They kept coming out WAY too big and throwing the proportions off. I came up with the idea of scroll sawing the shapes out and attaching colored glass to the inside with silicone glue. That worked. If you decide to use this technique, be sure to leave more room between the edges of your cutouts and the mitered corners. I had to redo a little glass work because the glass was overlapping un the corners and opening cracks in the miter joints.

Jeff,
The bed is coming along fine. I really like your ratcheting clamps! Now, if I can just remember that idea when I need it!
L/W
“Those who would give up essential Liberty, to purchase a little temporary Safety, deserve neither Liberty nor Safety.” Benjamin Franklin
They are just cargo straps from Home Depot. Cheap and effective. Don’t pull the same bone head move I did though. Be sure to make some sort of caul to put between the strap and the project, or, just like I did, you’ll spend hours steaming out the dents the strap makes when it gets really tight :-(

Absolutely great work Jeff B. I use a couple of sets of 4 cargo straps in my own shop.
CHRIS, Charlottetown PEI Canada. Anytime you can repurpose, reuse, or recycle, everyone wins!
Thanks :-) I’m glad to hear people like the look. Once I get the pedestal built, and the light panels installed in it, I think it will be a striking piece
Me too. Can’t wait to see it.
Losing fingers since 1969
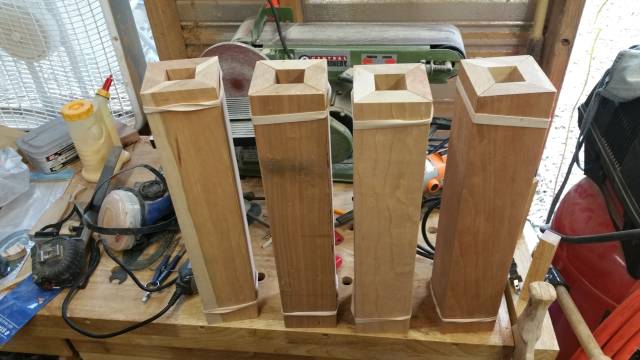
Blanks for the quadralinial legs for the pedastal. I just need to cut the pine cores, and glue them up. They come out solid as a rock, heavy, and seem like a solid cherry 4×4. :-D
Looking great.
woodworking classes, custom furniture maker
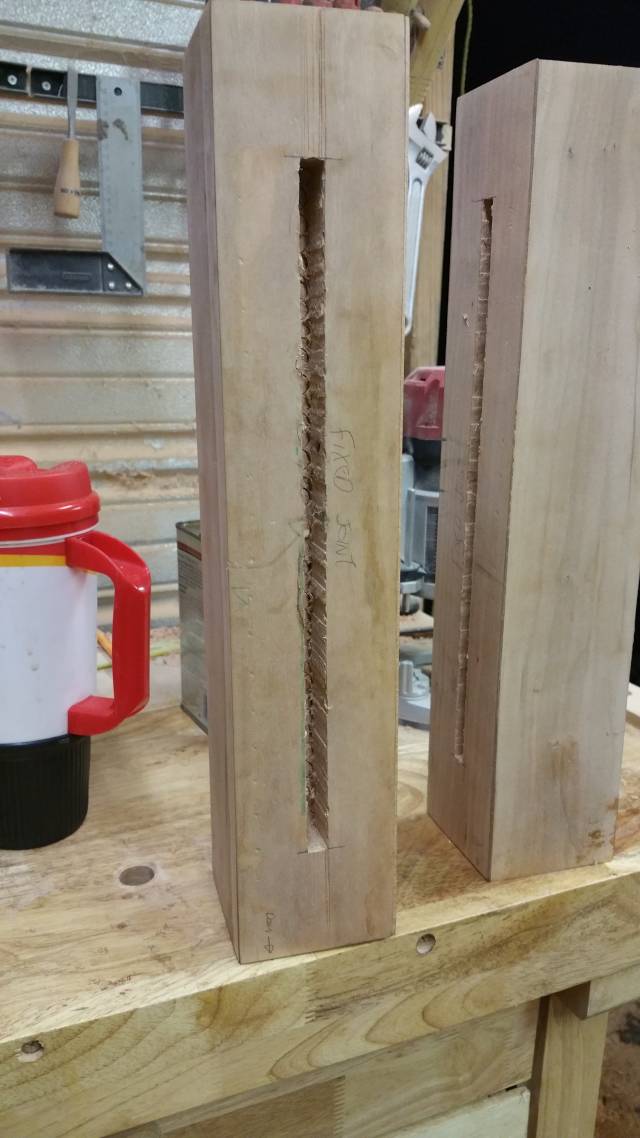
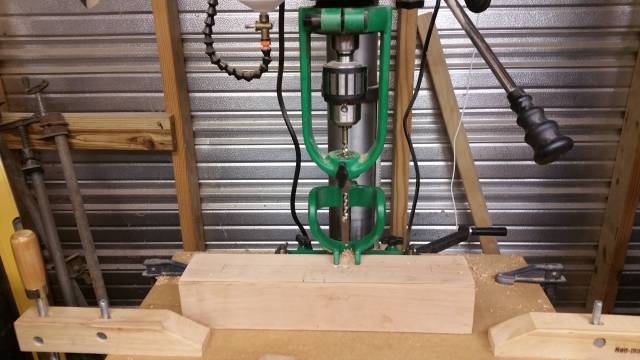
Cutting the mortises for the pedastal legs now. It’s the first time I’ve used the mortising attachment for the drill press. It requires a lot of fussing and readjusting, but it’s surely faster than the ones I cut with a chisel for the headboard