


Share your craft projects
Make new craft buddies
Ask craft questions
Blog your craft journey
TonyCan
377 posts
and
19 followers
in over 11 years
in over 11 years
More from TonyCan
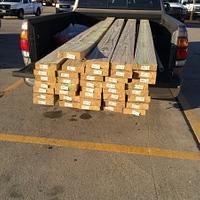
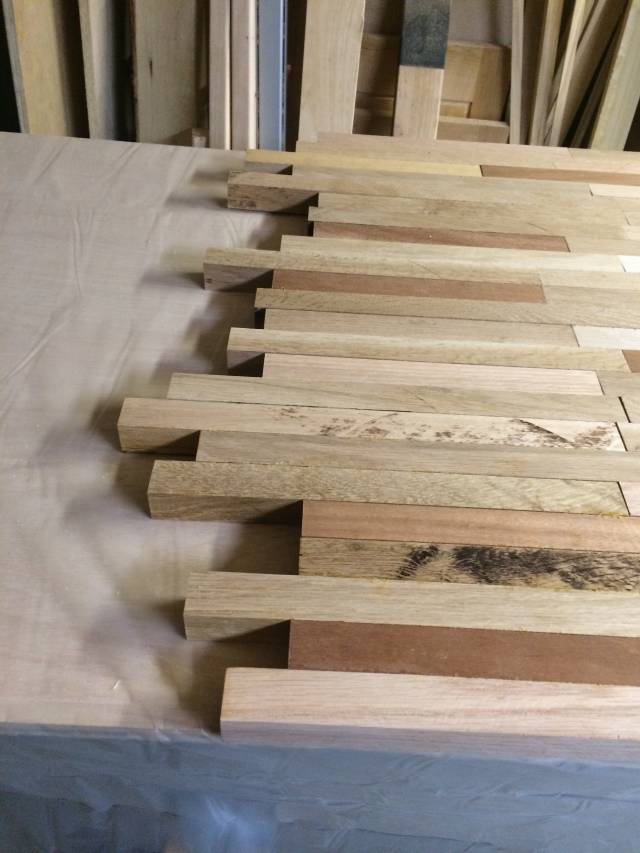
First butcher block
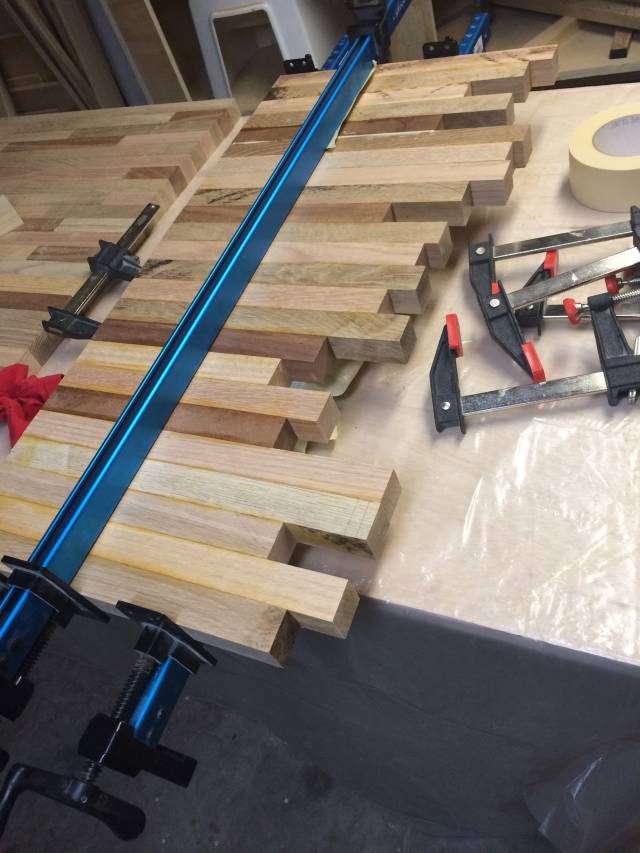
This is my first attempt at this and not sure i am headed in the right direction. I started gluing 2 pieces at a time, it is going to take me a while, but it seemed to be the only way to do it with out glue drying before fitting/clamping. Give me some pointers, tips, tricks! TIA.
18 Comments

Great progress Tony
woodworking classes, custom furniture maker

looks good to me , nice work
Wheaties

Looks good so far. Will it be end grain or long grain when finished? Even though end grain blocks are the traditional form, I think that was because butchers were using meat cleavers a lot and only the end grain can take that kind of abuse. I think the long grain boards are better for household use if only knives are going to be used because they are much easier to keep clean and free of dangerous bacteria.
Mike, an American living in Norway

Mike, I always thought the same thing and mainly I worry about stability and/or fragility of end grain boards. I’ve never made one but this is very high on my back burner list. I’m committed to one as a gift for my wife’s cousin who gave me 3 litres of homemade palinka when I was in Hungary this summer. And believe me, a cutting board doesn’t come close to the value of his gracious gift. :-)
Anyway, Tony, it looks good. You can share some pointers with me and other cutting board newbies after the glue up.
I can share one thing with you about a big glue up from my door making experiences. Those times I did 2 doors at once and stack them together for a single clamping requires some really fast work. First, just slop it on all over. Don’t try to be careful. You’re going to be sanding the crap out of it anyway. Slop the glue on and spread it quickly with a stick. Then when you get the clamps on it wipe off as much excess as you can with a damp rag, then beat it with a mallet to get them into alignment. You need a sturdy table, of course. But the glue should be OK for about 10 minutes. It will sort of set but not fully in that time, if you have enough glue. Too thin and it will set up quickly. Too much and you’ll have to sand a little more, but you’re going to be sanding a lot anyway, so taking excess glue off is really marginal in terms of how long you sand. The excess glue you need to prevent quick set up well squeeze out when you clamp it, so there will never really be too much glue, only too much cleaning and sanding. :-)
Losing fingers since 1969

looks good
jim
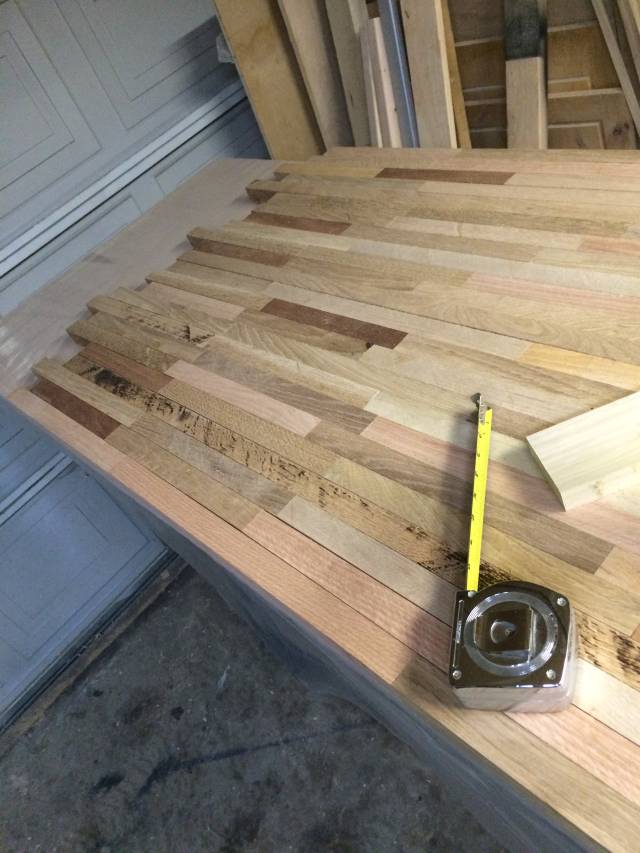
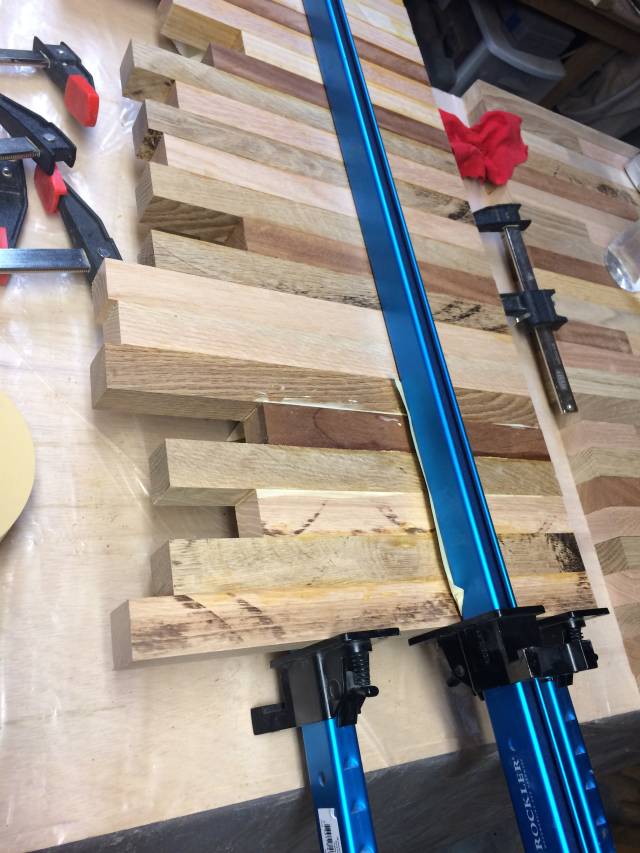
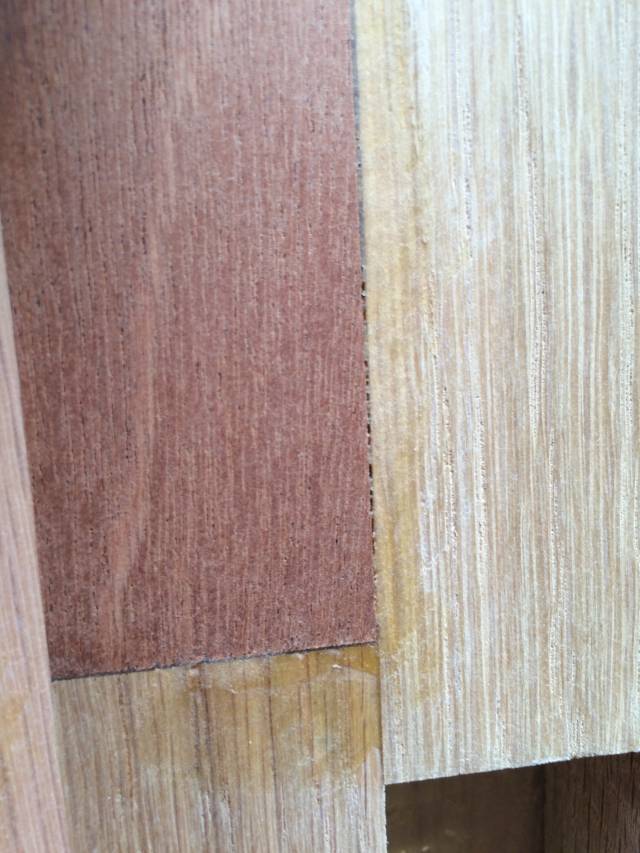
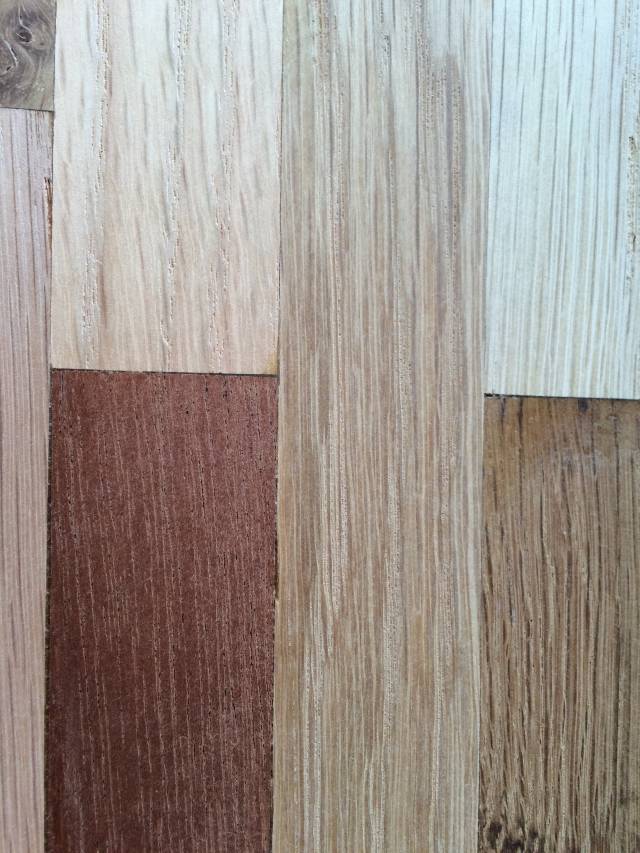
What to do about these gaps.
I don’t understand the end grain.
These pics are after some sanding.
This is creeping from my back burner to a front one, as my sycamore dries. Meanwhile, I’ve done a lot of reading on the matter, to find the easiest way to make my first one.
From my readings, I’m sold on the end grain. As is pointed out, over and over again, pros and others used it for centuries, over long grain, for a reason, and it wasn’t just because of the pounding of cleavers.
My knives are wicket sharp. After using what most of us grew up with, that had to be all but hammered through a potato, then using thin bladed knives sharpened with my Edge Pro, I would never voluntarily go back. Both my wife and I thought we’d gotten soft potatoes, since the knives seemed to nearly fall through them. Repeatedly dragging my sharp blades over long wood grain would severe it. End grain, on the other hand, would, for the most part, just separate.
Many of us grew up with plywood cutting boards. They looked horrible, in short order, from use. End grain, of the other hand, would have held up much better. Especially if it were treated with oils that left the wood swollen and pliable.
As to bacteria, that’s why we use tight grain. It’s also why you should treat your cutting boards regularly. If the board/block is deeply penetrated with mineral oil, the cells are swollen and bacteria isn’t going very deep. At least no more than it would in the slices left behind from cutting on straight grains.

Tony,
Looks like OK work to me!
Have a look at my post “End grain chopping block” is shows end grain from start to finish. Lots of little pieces just the same as you are doing. There are gaps in it filled with CA glue.
The work you are doing requires heaps of specalised clamping techniques, mainly to ensure everything remains parallel and the joints are almost invisible, butt joints are a real problem as a clamp needs to be applied there too. As Brian said dont spare the glue and dont be shy malleting it if its not where you want it to be.
End Grain:
A dart board may be a good example.
If you play darts you will know the board is end grain, the darts go in and open the grain then come out again and the grain closes.
Keep up the good work.!!
Regards Rob
Thanks guys for the input. I used wood glue and saw dust to fill in the gaps, got them filled, had a few larger (must have not clamped right) but i took thin slices of wood and put them in. I am pretty happy with the outcome. Will post build pics when finished. Tomorrow i will buy and apply the oil.
Ok now for the finish. This is what I could buy at the big box store near by. Which should I use?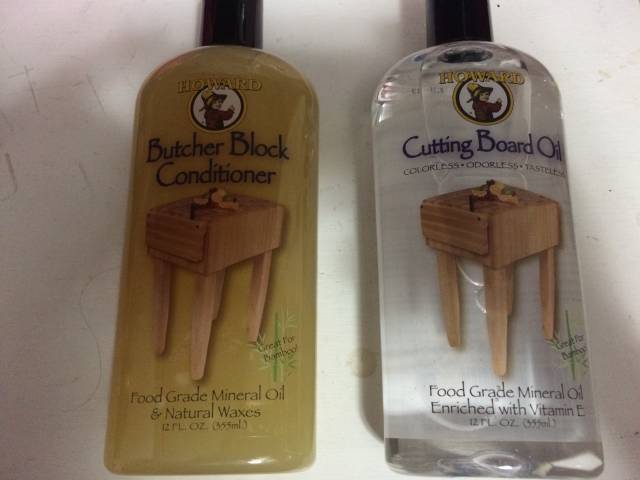
I would use the one without wax. It’s going to wash off anyway and you probably don’t want it in your food (even if it’s non toxic, it might not taste so good). You might be able to find straight up mineral oil at a drug store. No other additives.
Losing fingers since 1969
Or your could save a bundle and buy bottles of mineral oil. No matter how much they spin it, it’s mineral oil in a fancy bottle.
I slather it on and as long as it soaks in, I keep adding it. There is NO reason to slather it on and wipe it off. That’s just wasting product. The idea is to get it into the wood (penetration).
I’ve taken old butcher blocks that separated and cracked and poured the oil on, then did other things throughout the day, to allow it time to soak in throughout. As I walked by, if any area was dry, I added more. After getting an entire bottle in, I grabbed another. At the end of the day, I slathered one last application on and ignored the block for a few weeks. When I came back, the oil had swollen the fibers, just as water does on a Seattle deck in the winter, and ALL the cracks, splits and separations had disappeared.
P.S. The wax would make future applications of [needed] oil difficult to add. That said, I have a bottle of the wax version (you can make your own with mineral oil, turpentine or lemonine and a little beeswax) and I think it works great on those old gray wood handles we have on kitchen knives. Mine look better than new. Of course, I’m cutting with them and not on them.
Well i already bought these, and would like to apply it tonight so i will use the oil (no wax) this thing is 30″×60″ and i only bought one bottle, should i get more? This is my first time doing this. Also once applied how long should i let it sit before using? Thanks so much guys for all the wisdom!
Tony,
Dont be spending too much loot on items which may get subjected to abuse.
Some off the shelf Grapeseed oil from a supermarket gets great results.

Regards Rob
Well i already started applying that stuff i bought, as i wanted to start tonight. it was only $8 for the bottle, so not bad. But i will save this advice, i know i will be making another.
Grapeseed oil is a great idea. Is there an odor?
Losing fingers since 1969
Does grape seed oil go rancid, like olive oil and such (which is why it and similar oils shouldn’t be used for wood).
Many use walnut oil for wood projects, but it’s a hardening oil, and you don’t want that on the surface of a butcher block or cutting board.
On price and such, Walmart sells oil for around a buck twenty-five a pint. I keep at least one or two on hand in the shop and have one for the house.
As I mentioned, as long as the wood absorbs it, I keep adding, in this instance, non-hardening oil. Wood full of oil isn’t going to crack and split. Nor will it absorb other things. Too, the wood fibers will remain resilient.
Oil doesn’t evaporate off, like moisture in wood does, the latter which causes shrinking, thus cracking and splitting or separation of joints. Instead, if you’ve been generous with the applications, but it seems like the wood is drying, it’s really just that the oil has wicked to adjacent cells.
Because it takes time for the oil to wick, the longer oil sets on the surface, the more oil you get into the wood. Similarly, frequent light applications can go far toward saturating and protecting the wood.
I cheat and thin my oil. The thinner will gas off and leave the oil behind. Thinner oil soaks in quicker though, so, if you have time, that’s one way to get aggressive oil applications on an in the wood.
If I were making a long grain cutting board I would not butt joint anywhere, but instead use long enough pieces to run straight through the length of the board. I also do not think your oil will saturate the long grain very deeply at all. It would for end grain of course. One advantage with long grain is that it is easy to plane fresh again after it gets a lot of knife cuts, which will in practice be pretty shallow. It is much more difficult to renew an end grain board as they tend to get a bit saturated with grease if you are cutting meat on it. chefs usually use coarse salt and lemon to clean those with. I have renewed some end grain boards for my son and it was quite a lot of work.
Mike, an American living in Norway