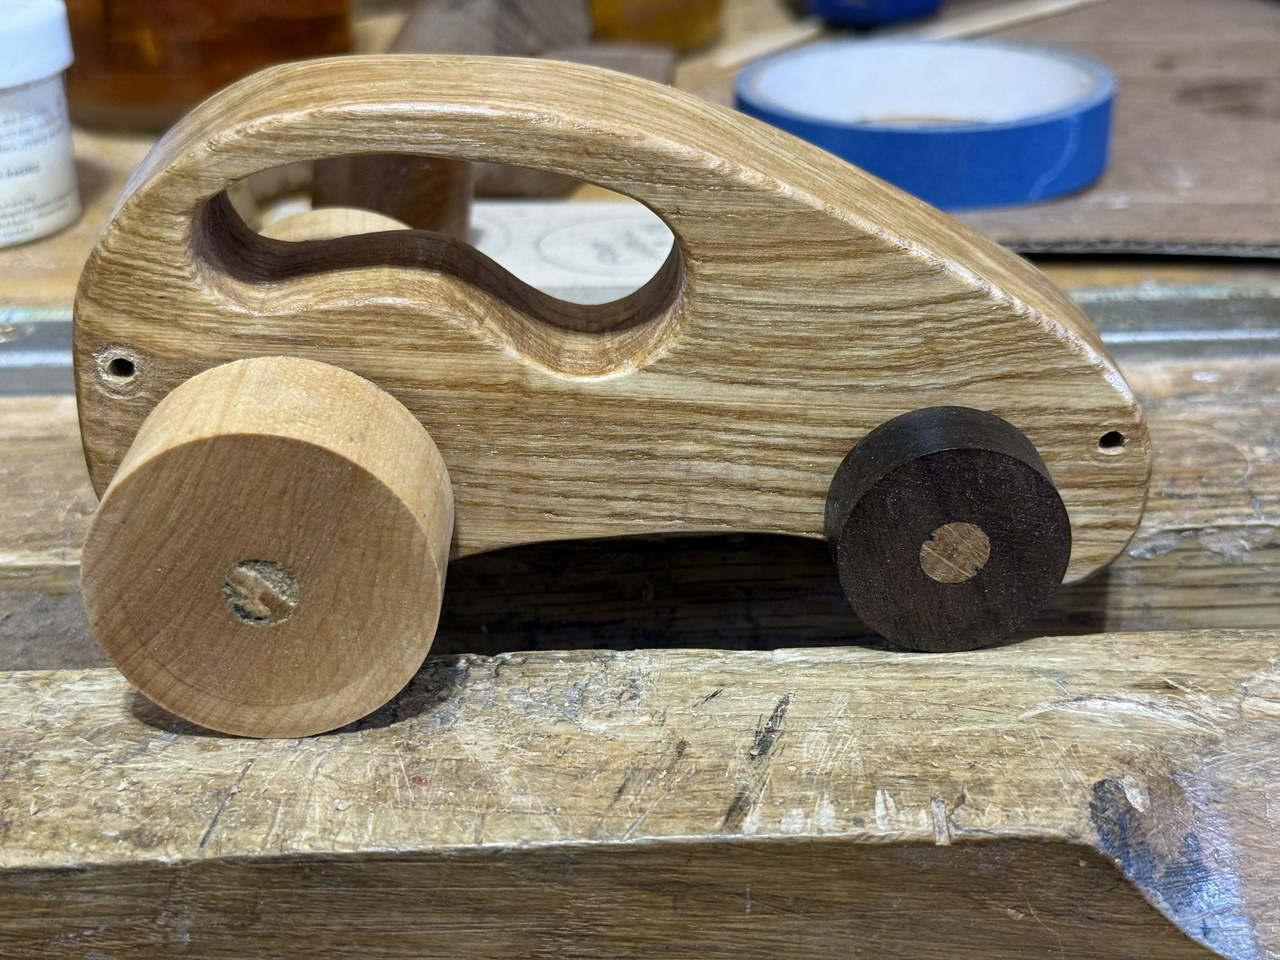
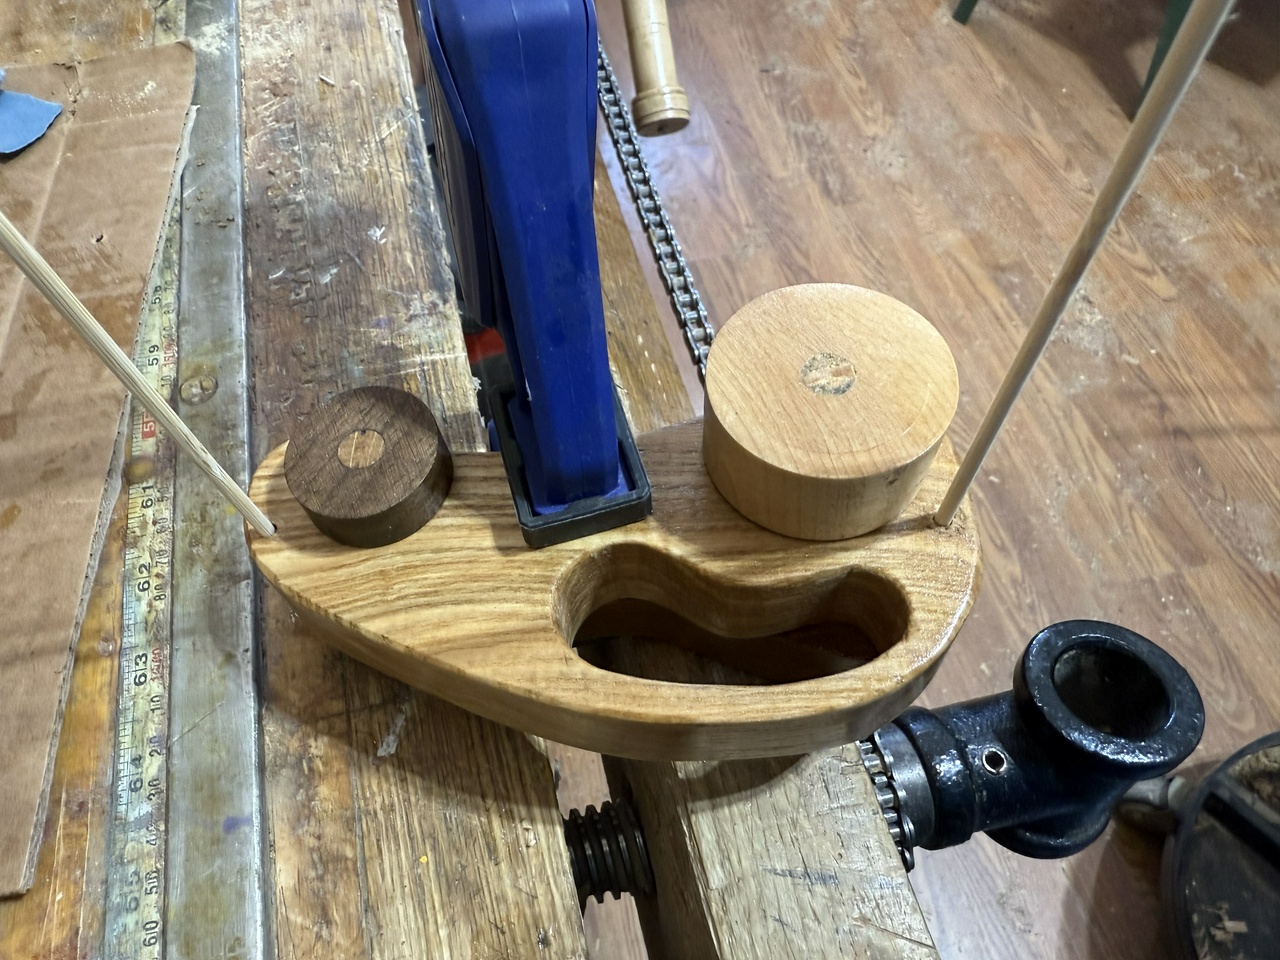
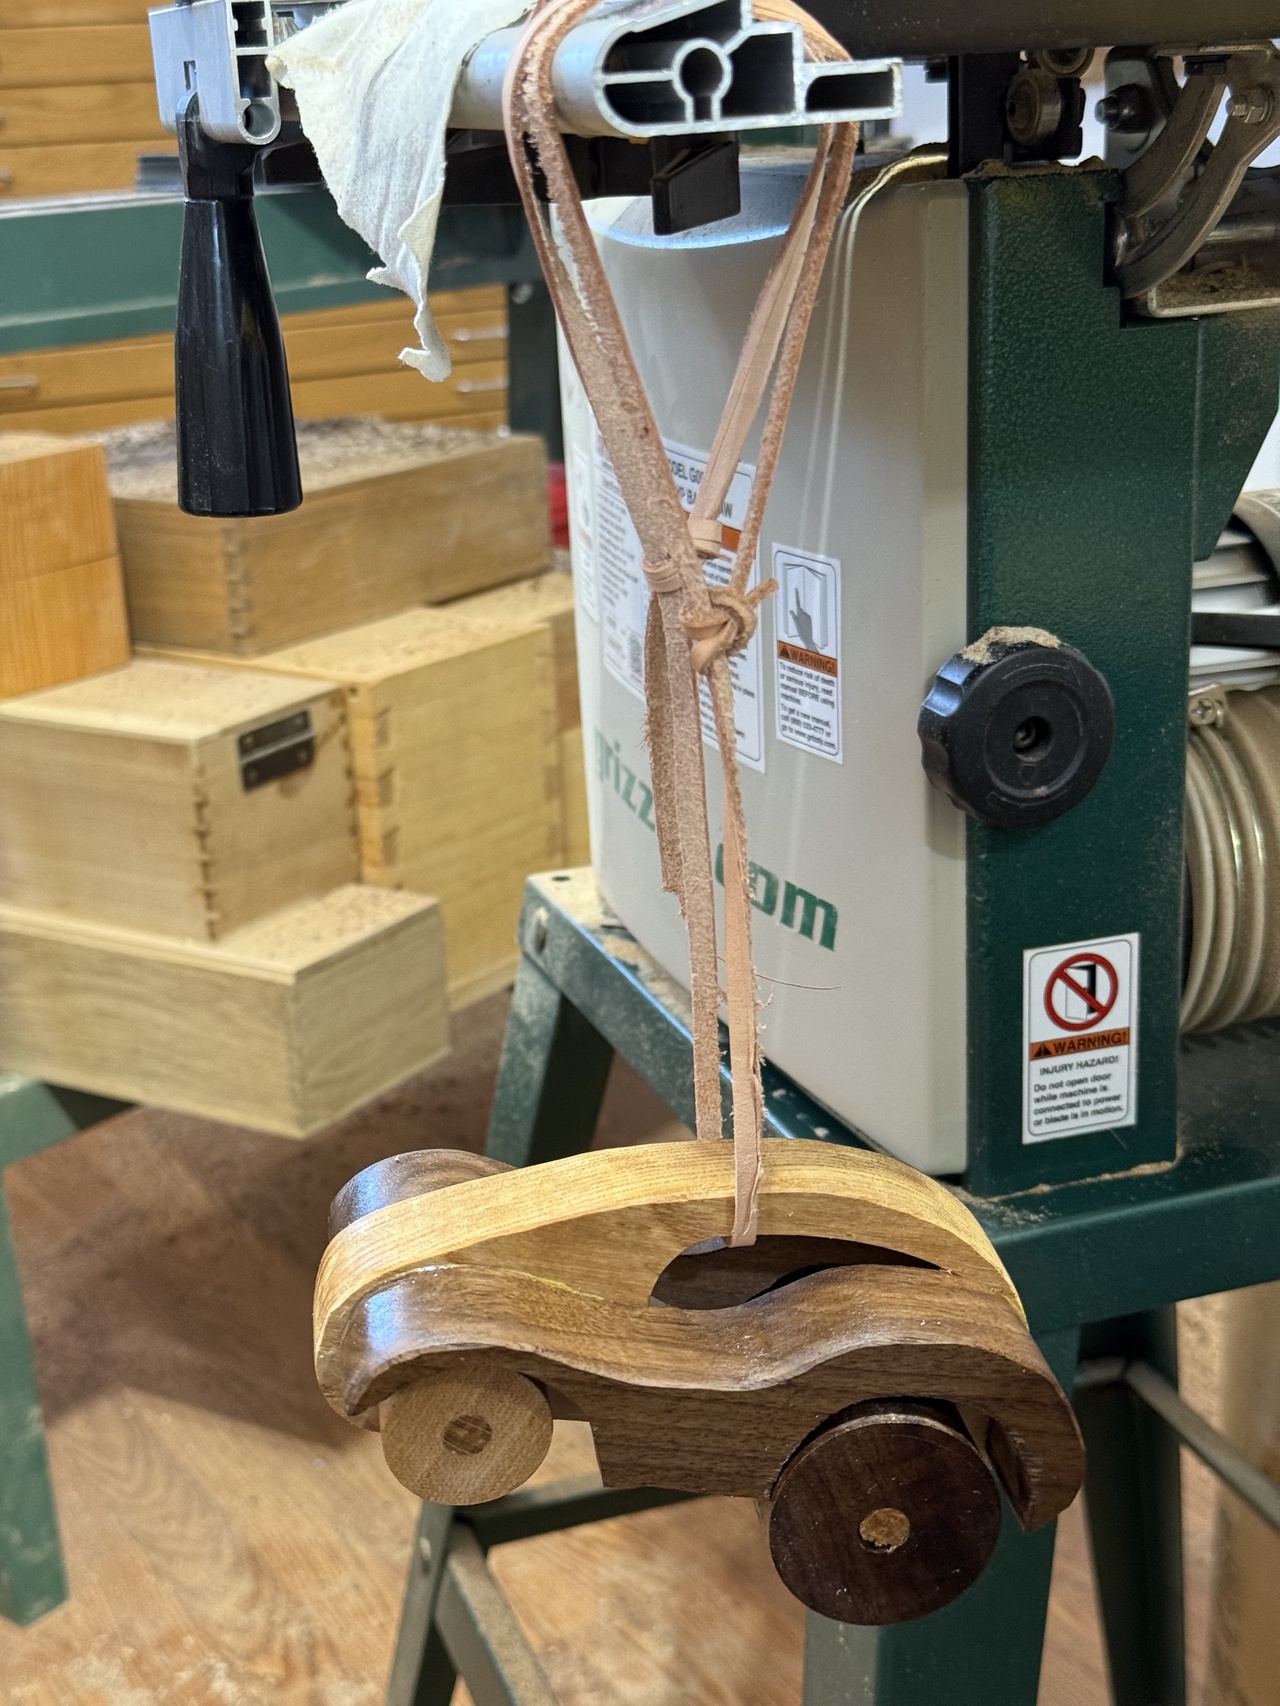
Putting the cars together isn't too complicated, but here is the order I do things in. Your mileage, as they say, may vary.
First I get the axles cut to length and shaped. See the Axles section for more if you don't remember it. For the length, I make the rear axle the width of the body, plus two rear wheels' worth, plus about 3-5mm (1/8-3/16 inch) to give them a little room to move. If the axle is a little long, that's better than a little short, since you'll be trimming the ends of the axle once the wheels are on.
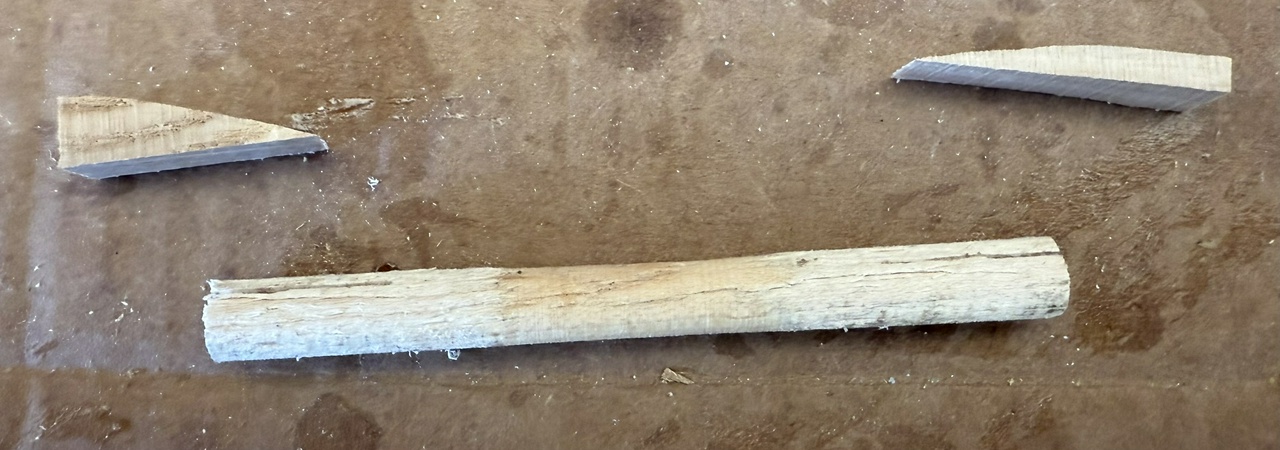
The axle gets a small kerf, about ¾ the width of the wheel, sawed into each end of it, perpendicular to the grain. I then glue one wheel onto the axle and glue a wedge into the kerf. The wedges are normally cut to about a 14° angle (half of a 1:4 dovetail angle) and maybe an inch long. I mostly make them from oak offcuts, but sometimes use ash.
Once that's dried, I'll put the axle through the body of the car, and test how it rolls. If there are any catches, this is the last chance to fix them (short of drilling out an axle and making a new one, DAMHIKT). Then I put on the other wheel and wedge it. Make sure to clean up any squeeze-out on the axle, so it doesn't get into the body (again, DAMHIKT).
Then I repeat the whole deal with the front axle, which I generally give an extra mm or two in length beyond the body width plus the width of the two front wheels. I like having the front wheels spaced a little farther from the body, and have pondered putting in small spacers so they don't slop side-to-side, but haven't figured out a solution I'm happy with yet.
Once the glue holding the wheels on has set (at least a half-hour, but usually overnight), I'll get out a saw, and a knife or chisel and clean up the end of the axles and the wedges. Just saw the wedges and axles off a little proud of the wheel (a mm or so, or between 1/16 and 1/32 inch) and then taper the edges of the axle down to the wheel using the knife or chisel.
With both axles on and dried (I usually give them overnight), I can figure out where the alignment holes for the fenders go (if I haven't already). I put one fender against the side of the body and clamp it in place where it looks good. I then turn it over and drill ⅛ inch (3mm) holes through the body and about ¼ inch (6mm) into the fender. One at the front and one at the back. These holes are just for alignment, but they're both in places where the fender is thin, so I'm careful to avoid partly missing the fender.
With the holes drilled in the body and one fender, I place skewers into the holes (no glue yet!) and remove the clamp. Then I align the second fender, matching it to the first, then remove the first fender, and clamp the second into place. I'll also make a light pencil line along the top of each fender at this stage so I can sand off any finish from the body below the line where the glue will need to stick the fender to the body. Then I drill through the exiting holes through the body and about ¼ inch into the second fender.
After the holes are drilled, it's time to clean up any extra finish on the body and inside of the fenders. I just use a piece of 60 grit sandpaper and make sure I've got a good surface to glue to without messing up any of the finish that will still be visible.
With that done, I apply glue to the body and inside of the fenders, glue skewers into the holes and the body, and put the fenders onto the car and clamp them in place. I'll come back the next day to clean off any squeeze-out and do a final inspection on the finish. There's always something that can use a little touch-up.
Finish to this point has just been oil, but now that everything is together, I will also apply a few coats of shellac. A wipe-on poly would work too. Just a little extra something to make it pretty for Christmas.
Cool write up! I see that you take care to make sure the wedges are perpendicular to the grain - a good practice to reduce the risk of a split. I add a washer between the wheel and the body. If the wheel drifts to the body the rubbing is kept on the washer which is close to the axle.
Steve, I’ve pondered a washer, but I’ve also used wooden “washers” in one I tested, which worked great until the wood split. I may try again once I get some ⅜ inch brass washers. Steel ones caused blackening of the oak, which was no bueno.