Todd Clippinger
in almost 12 years
Dust Collection Update
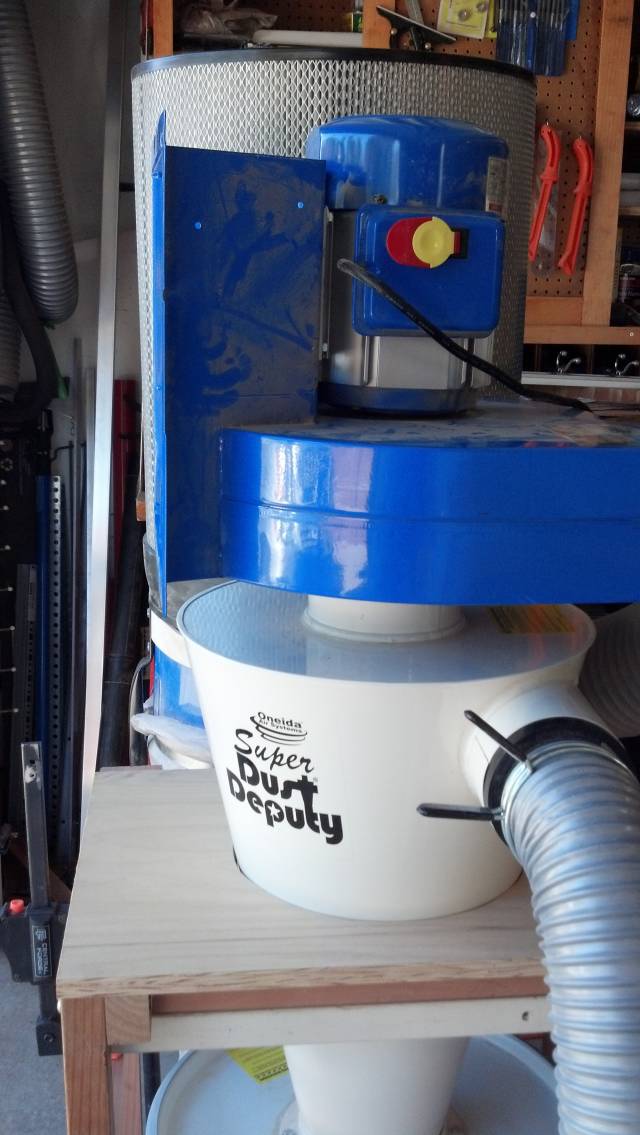
It was one year ago that I converted my single stage dust collector into a two stage system. In this video I share the final tweaks and changes to my dust collection system.
Find out some of the things I did that worked, and did not work, as I modified my dust collector.
I hope that by sharing my experience, others will find it helpful as they make decisions for their own dust collection system.
Your friend in the shop,
Todd A. Clippinger
Share the Love-Share the Knowledge
Disclaimer – I am not in any way affiliated with or receive compensation for using Oneida products or talking about them.
Todd A. Clippinger Share the Love - Share the Knowledge
4 Comments
I did similar upgrade about 2 years ago and I love it.
The suction actually improved quite a bit.
2 years later I have been thinking about version 2.0.
Abbas, Castro Valley, CA
Ianwater – Nice!
I had originally thought about mounting the blower directly on top of the cyclone too. The problem is that the outlet on blower takes 5" pipe to go into the final stage of the dust collector and I was not going to wait to have it shipped in. With my current setup, you can see the connection is pretty much straight in with a piece of flex that I had from the single configuration, and the 6" pipe that I needed between the cyclone and inlet on the blower can be found at pretty much any hardwares store.
Todd A. Clippinger Share the Love - Share the Knowledge
I wish I had space for one of these. I’m getting by with a shop made mini cyclone and shop vac. It’s great for sawdust but doesn’t pull dust out of the air nor does it separate very fine sanding dust (although the vac for a good job of containing that even though I have to clean the filter).
Losing fingers since 1969
I had the opposite problem Todd.
I could not find a short piece of flex and the price for the 10ft was in the $60 and up. So I mounted it temporarily this way. I promise myself that I will build some thin sturdy support to alleviate the weight from the fan housing. I have yet to do that :)
Abbas, Castro Valley, CA


