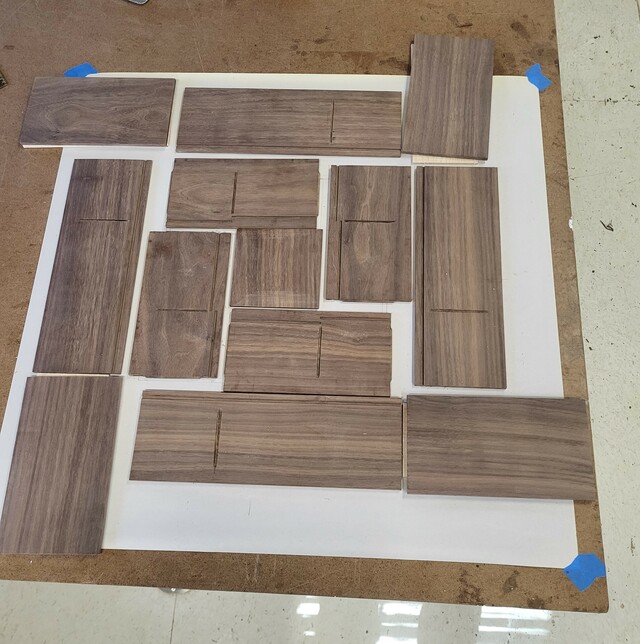
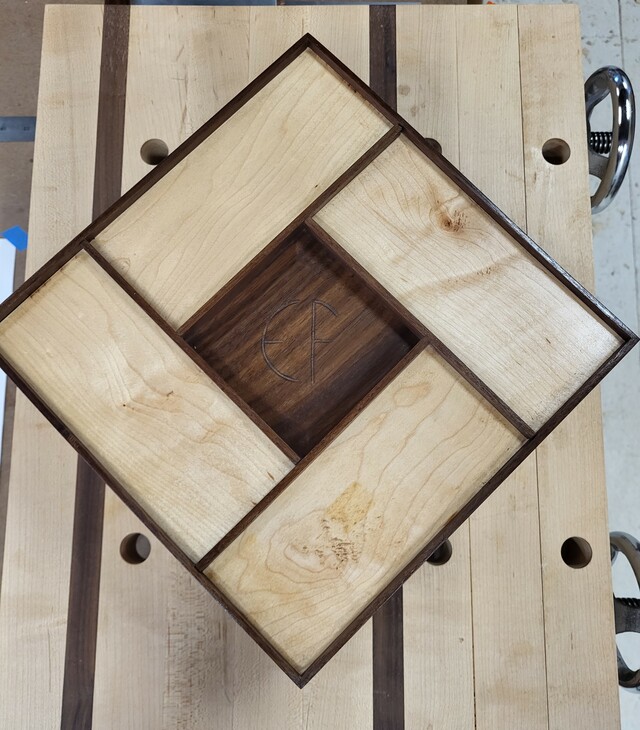
Here is my Swap project that traveled across the pond. A Tea Box I saw the idea on Pinterest and made a few adjustments to the design, to work with some of the stock I had on hand. The biggest change was the center, I wanted it large to house a set of Coasters.
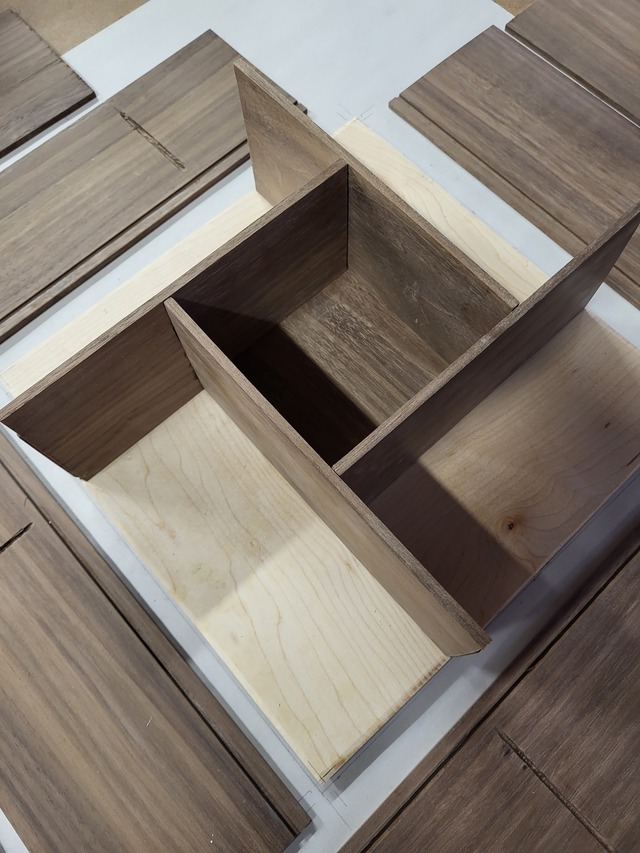
I started out with 4/4 Walnut and resawed, planned and cut to size, repeated with some Maple. I started with the interior to have a 4"x 4" area, then added the sides, creating a 3" x 7" area for the tea pouches. The interior panels have a mortise and tenon joint on each end, Tenons made on the router table and the Mortise cut with a carving chisel, Small area. I also used the router table to create groves near the bottom to hold the panels. The side panels also have a mortise and 45* cuts at the corners, with the thin stock I cut in splines at the table saw. New Box jig was built first (one of many jigs through this project).
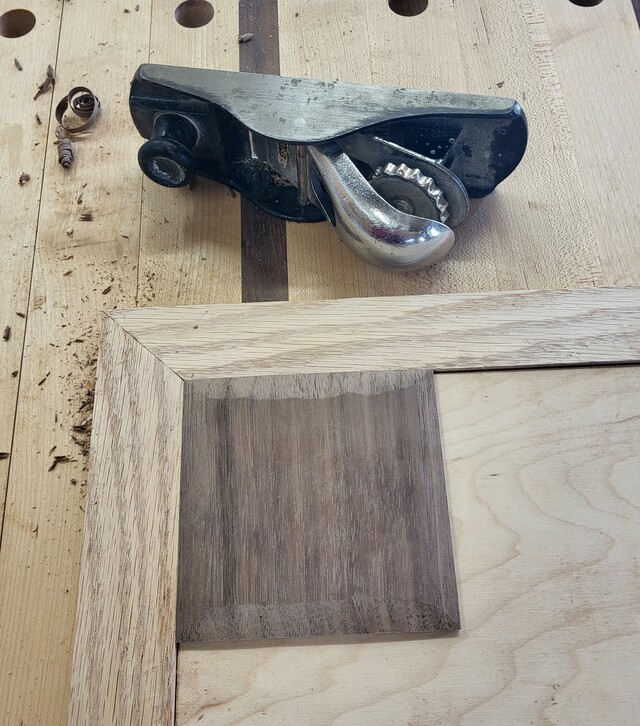
My drawing in under all of these pieces. The center panels was beveled on both sides to fit into the grove, I also raised that panel a tad bit from the edge.
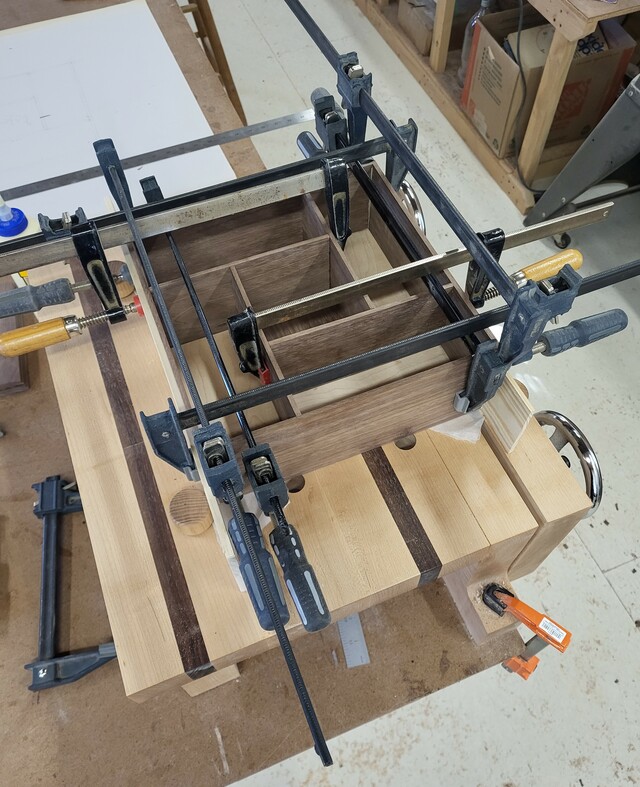
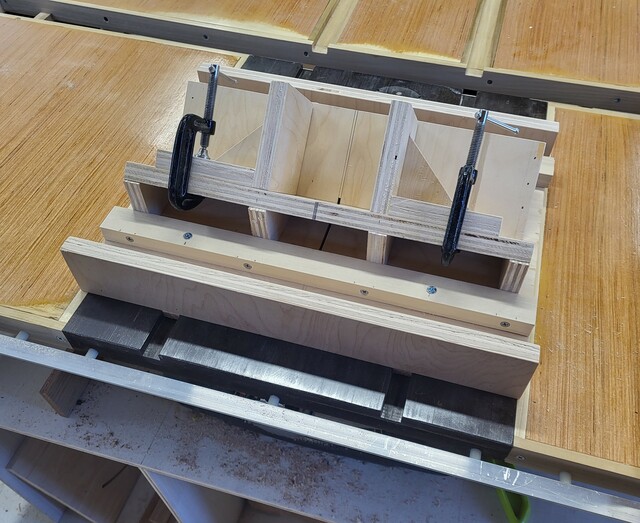
The glue up was a bit of a challenge, having to start from the center, due to the joinery I used. Once set square and dry, it was on the the sides, measuring a few times and before cutting and also a bit of trimming to creep up on the corner, There was a mortise in the middle that had to line up too. And a matter of fitting the bottom panel in place before gluing the sides. The moxon bench is a nice set of extra hands. Let this sit a bit. Note all inside surfaces were sanded to thru 220 prior to assembly.
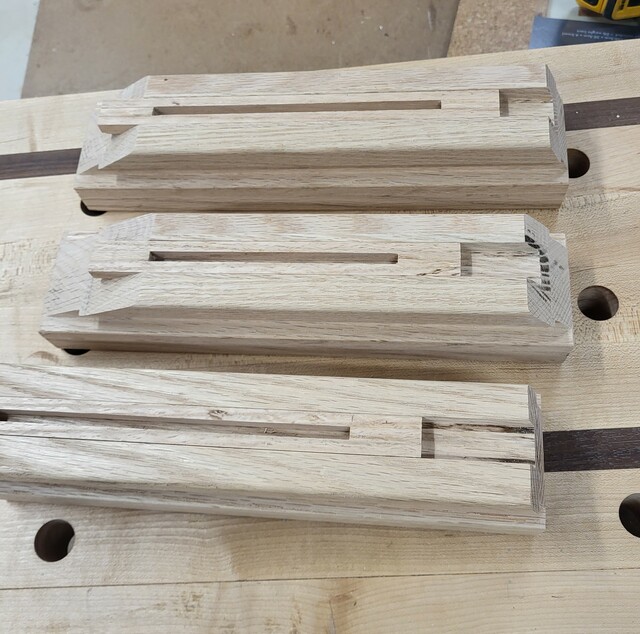
While that was setting up it was on to making another Set of Jigs, Remember the Kumiko Jigs I posted.
I also had to fit the lids to the opening, all of which are also 1/4" stock that had been milled down. All of the lids in the box have a beveled edge. I made a quick jig to hold them in place while using a hand plane with a guide too keep the proper angle.
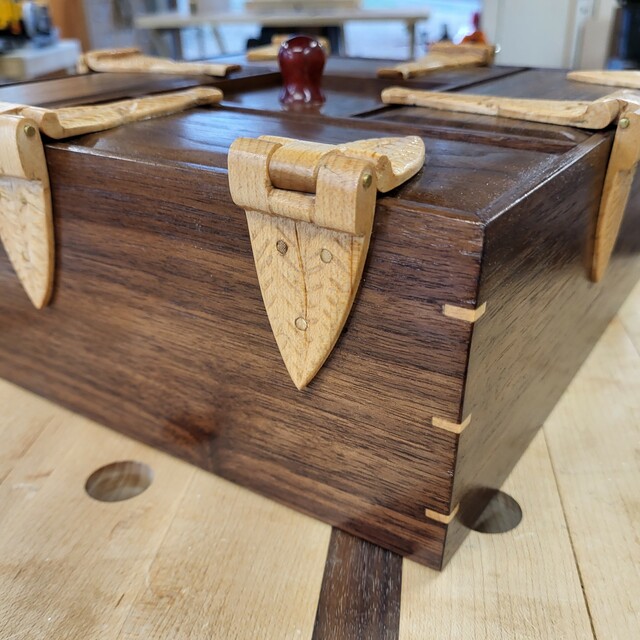
The lids needed to have some hinges, so back to the Maple for contrast. Milled the stock the thickness 3/8" and width, I think it was 1-3/8". Using the jig saw cut the fingers waste away then pared the edges down, file and sand for a good fit. I then drilled a hole through both pieces at the same time (note: do not do it that way, had a few drift a tad).
Off to the band saw to thin the stock down by half for the hinge plate, that full 3/8" would have been too bulky. Then the process of cutting the shape, and by using carving knifes, created a tea leaf on the plates tapering a tad bit further at the edge. In the box there are no stops for the lids, so I made half of the hinges longer to catch the other side of the opening, I over paled the tea leaves on those and made them a tad bit longer (trimmed later). Close up.
The nails were temporary, I used a 3/32" Brass Rod peened over for the final hinge pins.
The splines are maple, cut on this new jig.
Back to the hinges, they were fun to install, I placed a block inside the box to hold the lid in position. then just glued them in place and used painters tape to hold them while they set up. Prior to gluing the hinges in place, I drilled holes in the hinges for pins to secure them to the box. Those pins are Bamboo skewers, just the right size, and strong. Using a old school Miller Fall's Drill drilled all of the holes and glued in the number of pin that I had cut a tad bit longer than needed, driving them flush on the outside. Pared them off after they set up and sanded.
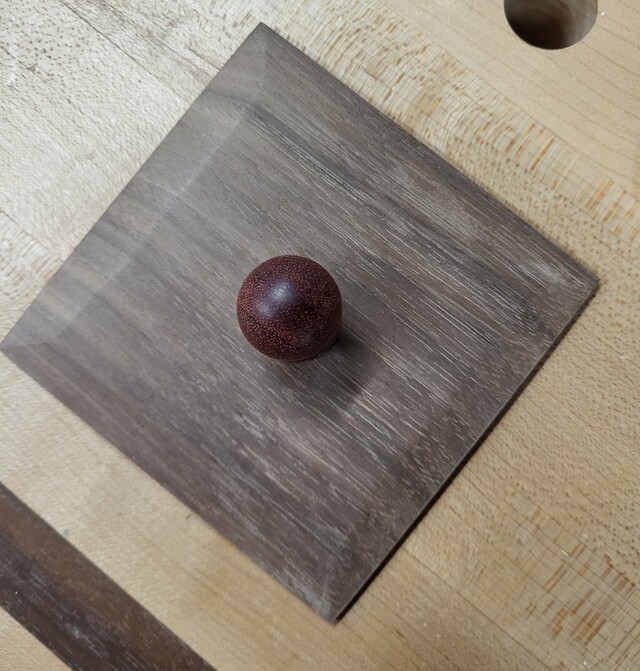
That center lid need a pull, so off the lathe with a block of Bloodwood, turned the knob and a tenon to glue it in place. I little trick I figured out is to cut the turning at the top and using a file round off the cut mark, smooth as a baby's bottom.
The box was sanded to 320 and finished with a few coats of Danish Oil, followed with multiple coats of Minwax Wipe on Poly.
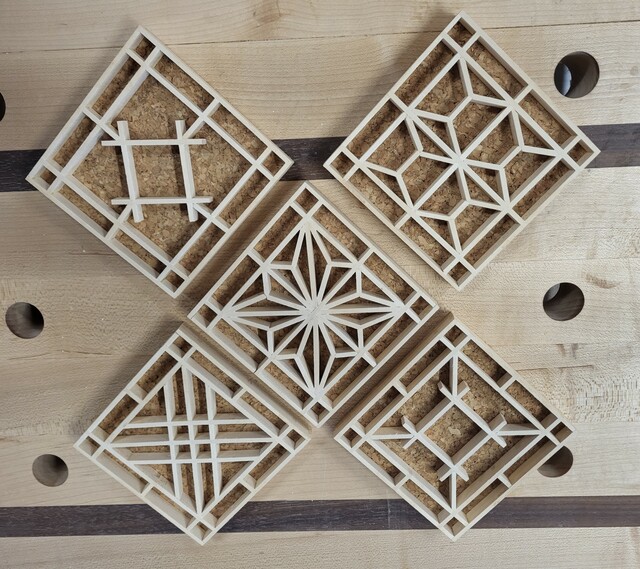
The Coasters were a little easier to make since I took the time to make all of those jigs. I used a different patterns for each one, 5 in total. I did cheat and use a dab of glue on the joints. After they were dry and sanded flush, using TB III glued them to the 1/4" cork which was a tad oversized and sanded flush, and finished with multiple coats of spray poly.
This project kept me busy and built multiple Jigs. 1) Spline Jig 2) Kumiko Sled 3) Kumiko Blocks 4) A miter Box for the Kumiko (Razor Saw) also have all the angles cut into it 5) A jig to bevel thin panels at 7*
I did not include any Tea with the project, being sent across the pond and customs.
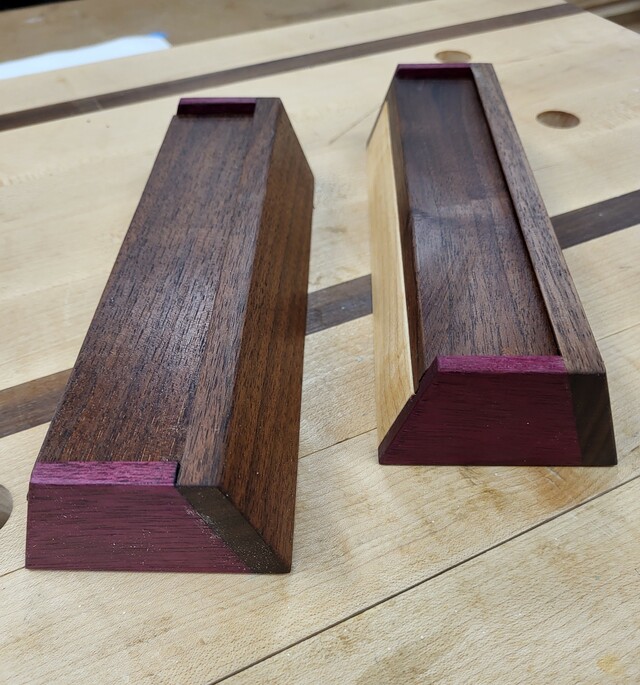
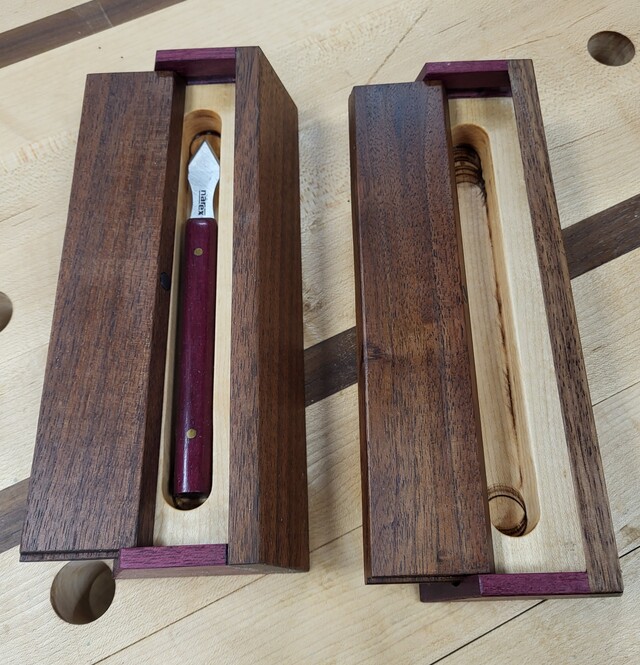
As a bonus I include a Marking Knife with Purpleheart scales. I placed this in a presentation box made up of Maple, Walnut and Purpleheart. The box has a sliding lid with a magnet to hold it closed. Finished with Danisl Oil followed with Howard's Feed and Wax. Yes, I made a few. And my Makers Marks on the bottom.
Thanks for looking and comments are always welcome and appreciated.
wow.........let me take it all in and a deep breath ! this is just an amazing project in a swap full of amazing projects. my fav part are those wood hinges. and the kumiko is just beautifully done buddy. let me say you ran a top of the line swap and delivered a top of the line box my friend. cant wait for the beer/bbq swap to relax and have a drink after this one. gotta catch my breath ! 😲😲😲😁
working with my hands is a joy,it gives me a sense of fulfillment,somthing so many seek and so few find.-SAM MALOOF.
Pottz, thanks. Take that deep breath. It was fun for me, I am liking the hinges, and each set I make get better. As for the Kumiko, I'm just getting started, I want to incorporate it into more projects if possible.
Ron, thanks. I am liking the smaller projects, adding more detail in them.
Hairy, thanks. You can do it; you have an imagination and that is all it takes. I do scroll through Pinterest, saving ideas that strike me, and ones that I think I could make. I will sit watching TV at times with a sketch pad at times.
Shipwright, thanks. I tried to stay with the theme of the Tea Box, so the leaves fit right in, I even tried to mimic the groves that one would see on metal hinges where the plate is rolled over for the pin.
Ryan, thanks. I just let the imagination flow.
I have a few ideas for some upcoming projects that would be fun to build, and great for the grandkids. I just need to work out some details and build a few samples.
Wow, just some amazing work! There is so much here I have wanted to try but you have accomplished. The coasters, the hinges, the box heck everything is so detailed. Excellent job.
Jeff, thanks. Give the hinges a try, just like making a box joint, a tad bit lose. The Kumiko is a nice quite time project, after you have the set of blocks. I made mine. It's in my project list.
The wood hinges are over the top. Really love them. Also the Kumiko panels are fun. A guy in the AZ shop put them in a lidded box, really cool. I am afraid of that many small pieces.


")
")
")
")
")
")